How to Fix Scratches on Wood Furniture
I was halfway through a much-needed coffee in my favorite mid-century modern armchair when I saw it—a jagged, ugly white gouge slicing right through the dark walnut finish. My heart sank, and for a split second, I felt that familiar wave of “well, there goes the furniture.” We’ve all been told that once a surface is marred, you either have to spend a fortune on a professional or commit to a massive, soul-crushing sanding project, but that is a total myth. Learning how to fix scratched wood doesn’t have to be a weekend-long ordeal that leaves your living room covered in fine dust; in many cases, it’s actually a simple logic puzzle that just requires the right tools and a bit of patience.
In this guide, I’m stripping away the fluff and the expensive, unnecessary kits to give you the real deal. I’ll walk you through my personal, tried-and-true methods for mending everything from light surface scuffs to those annoying deep scratches that catch the light. You’ll get straightforward, actionable steps that work with the systems you already have at home. Let’s stop staring at those imperfections and start piecing your beautiful furniture back together one step at a time.
Table of Contents
Guide Overview
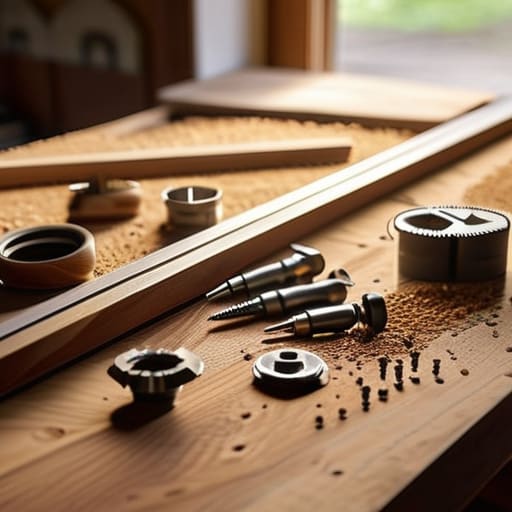
Tools & Supplies
- Sandpaper (various grits for smoothing)
- Microfiber cloth (for cleaning dust)
- Small brush (for applying finish)
- Wood filler or wax stick (1 tube/stick depending on scratch size)
- Wood stain or touch-up marker (1 pen/bottle to match color)
- Furniture polish or wax (1 small can for sealing)
Step-by-Step Instructions
- 1. Before we dive into the actual repair, we need to clear the deck. Grab a soft, lint-free cloth and some mild wood cleaner to wipe down the area. You want to make sure there’s no dust or old wax sitting in those scratches, otherwise, whatever we apply will just sit on top of the grime instead of actually bonding with the wood.
- 2. Take a close look at the depth of the damage. If it’s just a light surface scuff, you might be able to get away with a simple fix, but if you can actually feel the groove with your fingernail, we’re going to need something a bit more substantial. Think of it like debugging code; you have to identify the severity of the error before you can choose the right patch.
- 3. For those shallow, annoying scratches, let’s try the “magic” trick first. Grab a finely chopped walnut—yes, you heard me right!—and rub the meat of the nut directly into the scratch. The natural oils act like a temporary filler that darkens the scratch and helps it blend into the surrounding grain. It’s a little DIY automation for your furniture that works surprisingly well.
- 4. If the walnut trick doesn’t do the job, it’s time to bring out the heavy hitters: wood stain markers or even a bit of colored wax. Pick a shade that is just a hair lighter than the wood itself, because it’s always easier to darken a color than it is to lighten it once you’ve applied it. Trace the scratch carefully, working in the direction of the grain to keep things looking natural.
- 5. For the deeper gouges that feel like a real “system crash,” you’ll need some wood filler. Apply a small amount using a putty knife, spreading it slightly beyond the edges of the scratch. The trick here is to leave it slightly mounded above the surface, because wood filler tends to shrink a tiny bit as it dries, much like how a compressed file expands once you unzip it.
- 6. Once the filler has completely cured (check the packaging for timing, as every brand is a bit different!), grab some fine-grit sandpaper—around 220 grit is usually my sweet spot. Sand the area in light, circular motions until the patch is perfectly flush with the rest of the wood. You want the transition to be so smooth that your hand glides right over it without catching.
- 7. Finally, we need to seal the deal and bring back that luster. Apply a small amount of furniture polish or a matching wood finish over the repaired spot. This isn’t just about aesthetics; it’s about protecting your hard work from future wear and tear. Buff it gently with a clean cloth, and you’ll be amazed at how that little piece of the puzzle fits right back into place.
Mastering Sandpaper Grit for Wood Repair
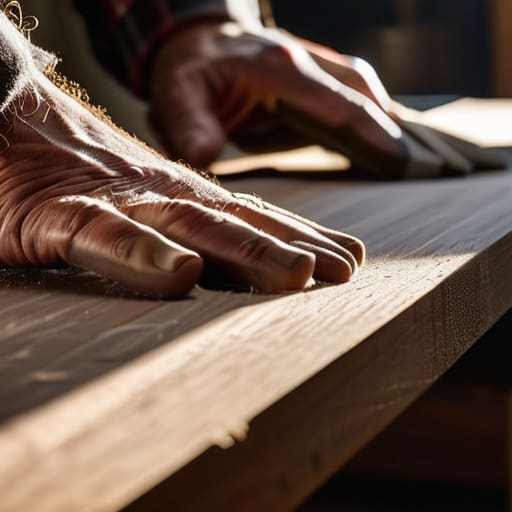
Think of sandpaper like the different settings on a productivity app; if you jump straight to the “advanced” mode without the basics, you’re going to end up with a mess. When you’re removing surface scratches from furniture, the secret isn’t just in the elbow grease, but in the sequence. I always tell my clients to think of it as a gradual descent. You’ll want to start with a coarser grit to level out those deeper gouges, then systematically move to finer grits to smooth everything out. If you skip a step, you’ll be left with swirl marks that look even worse than the original scratch!
I actually jotted a note about this in my notebook last week: never rush the transition between grits. If you’re working on something delicate, choosing the right sandpaper grit for wood repair is the difference between a seamless fix and a DIY disaster. Once you’ve smoothed the area, you’re essentially prepping a blank canvas. This makes the next phase—whether you’re restoring wood finish or applying a new coat—infinitely easier because the surface is actually uniform. It’s all about that smooth, logical progression.
Effective Wood Filler Application Techniques
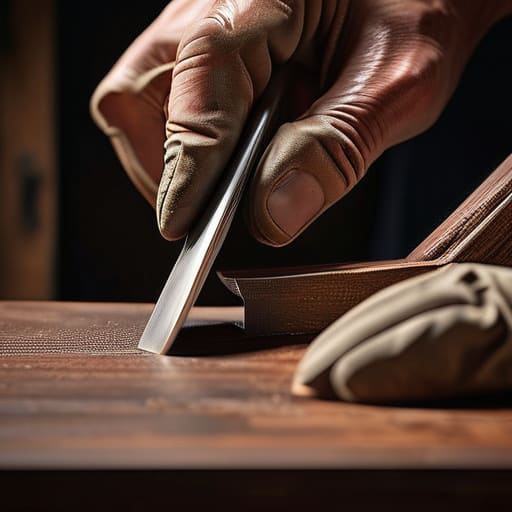
Now that you’ve got your sandpaper sorted, it’s time for the “filling” phase—think of this as the structural glue that holds your repair together. When it comes to effective wood filler application techniques, the biggest mistake I see is trying to do too much at once. Instead of globbing a massive amount of filler into a deep gouge, I always recommend working in thin, incremental layers. It’s a bit like building up a foundation for a house; if you go too heavy right away, you’ll end up with a lumpy mess that’s a nightmare to sand down later. Use a small putty knife to press the filler firmly into the scratch, ensuring you’ve eliminated any tiny air pockets.
Once the filler is in, leave it slightly “proud”—meaning just a tiny bit higher than the surrounding surface. As it dries, it tends to shrink just a hair, and being slightly over the mark saves you from a lot of frustration during the final sanding. This step is crucial for seamlessly restoring wood finish later on. If you’re working with a particularly tricky grain, take a moment to dab a little bit of the filler into the natural grooves to ensure the repair doesn’t look like a flat, artificial patch.
Pro-Tips to Keep Your Woodwork Looking Seamless
- Always test your stain or touch-up marker on a hidden spot first, like the underside of a table leg. It’s like debugging code—you want to catch those little glitches before they affect the whole system!
- Don’t rush the drying process. I know it’s tempting to jump straight to the next step, but giving wood filler or stain time to fully cure is the difference between a permanent fix and a messy setback.
- Work with the grain, not against it. Think of it like smoothing out a wrinkle in a piece of fabric; if you go across the grain, you’ll just end up highlighting the very problem you’re trying to solve.
- Keep a clean workspace. A little bit of stray sawdust can act like tiny pebbles in a gear, ruining your smooth finish, so keep a damp cloth handy to wipe things down between steps.
- Use less is more when it comes to filler. It’s much easier to add a tiny bit more to fill a void than it is to sand down a massive, messy mound of excess material later on.
Quick Wins for Your Woodwork
Don’t rush the sanding process; think of it like debugging code—if you skip the foundational steps or use the wrong grit, the whole system is going to glitch later on.
Treat wood filler like a modular component; apply it thin and precise so you aren’t left with a massive “patch” that’s a headache to level out.
Remember that perfection is the enemy of progress, so focus on making the repair seamless and functional rather than stressing over every microscopic imperfection.
## The Beauty of the Mend
“Think of a scratch not as a permanent flaw, but as a tiny glitch in your home’s operating system; with a little patience and the right tools, you aren’t just repairing a surface, you’re optimizing the life of something you love.”
Jordan Bennett
Bringing It All Together
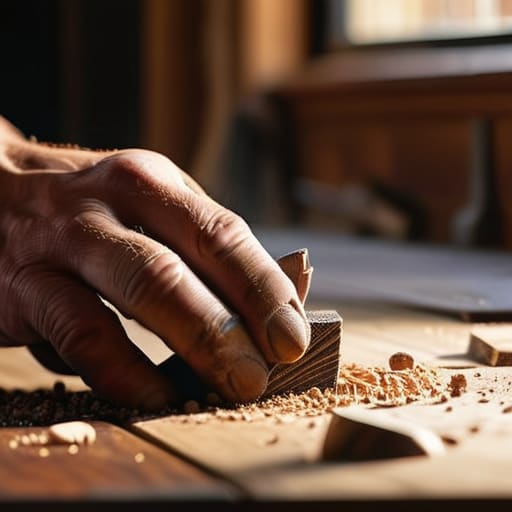
We’ve covered a lot of ground today, from the delicate art of selecting the right sandpaper grit to the precision needed when applying wood filler. It might feel a bit like a complex coding bug at first—frustrating and messy—but once you break it down into these smaller, manageable steps, the solution becomes clear. Remember, the secret isn’t in rushing the process; it’s about the patience of the prep work. Whether you’re smoothing out a deep gouge or just buffing away a light surface scratch, focusing on that gradual transition from coarse to fine grit is what truly makes the repair seamless and professional.
At the end of the day, these little DIY projects are about more than just maintaining your furniture; they are about reclaiming the things you love. I like to think of a scratch not as a flaw, but as a tiny puzzle piece waiting to be reset. Don’t let a little bit of surface damage discourage you from enjoying your space. Take it one step at a time, trust your hands, and remember that progress is better than perfection. You’ve got the tools and the plan, so now go out there and make your home feel whole again!
Frequently Asked Questions
What if the scratch is so deep that the wood filler looks totally different from the surrounding area once it dries?
Ugh, the “patchwork quilt” effect—I’ve been there! When a deep scratch refuses to blend, it’s usually because the filler’s texture or color doesn’t match the wood’s natural grain. Don’t panic; it’s just another puzzle piece to solve. Try mixing a tiny bit of your stain into the filler before applying, or use a wood stain marker to feather the edges. It’s all about softening those transitions so the repair disappears into the scenery.
Can I use these same techniques on my vintage heirloom furniture, or am I risking permanent damage?
Oh, I am so glad you asked that! I actually have a little notebook entry from a client about this exact thing. When it comes to vintage heirlooms, please proceed with caution. While these techniques work wonders on modern pieces, old wood can be temperamental—especially if it has a delicate patina or original finish. For something irreplaceable, I’d suggest testing a tiny, hidden spot first or even calling in a professional restorer to avoid any permanent “oops” moments.
How do I know if I should try a quick touch-up marker first versus going all in with the sanding and filler route?
Think of it like choosing between a quick band-aid or a full surgical repair. If the scratch is just a surface-level scuff that hasn’t broken the wood’s “skin,” reach for that touch-up marker; it’s a total lifesaver for minor blemishes. But, if you can feel the indentation with your fingernail or the wood is actually gouged, the marker won’t cut it. In those cases, it’s time to grab the sandpaper and go all in.