How to Caulk Like a Pro (without the Mess)
I was standing in my bathroom last Tuesday, staring at a jagged, peeling mess of old silicone that looked more like a failed science experiment than a waterproof seal. My first instinct was to call a professional and hide under my covers, but then I remembered my old engineering mantra: every complex system is just a series of small, manageable connections. Most people think learning how to caulk requires a steady hand of a surgeon or a specialized toolkit, but that’s a total myth. In reality, it’s less about perfection and more about understanding the flow of the material and having the right rhythm.
I’ve spent years optimizing workflows and automating my home, so I don’t have time for DIY projects that leave me feeling frustrated and messy. That’s why I’ve broken this down into a streamlined, no-nonsense guide. I’m going to show you exactly how to caulk like a pro, focusing on the tiny tweaks that make a massive difference in the final result. We’ll skip the fluff and get straight to the practical shortcuts that ensure your seals are clean, watertight, and—most importantly—actually look like you knew what you were doing.
Table of Contents
- Step-by-Step Instructions
- Choosing Your Material Silicone vs Acrylic Caulk Solutions
- The Essential Caulking Tool Kit for Efficient Results
- Pro Moves to Keep Your Caulk Looking Clean and Professional
- My Quick Cheat Sheet for a Perfect Finish
- The Secret to a Smooth Finish
- The Final Piece of the Puzzle
- Frequently Asked Questions
Guide Overview
Tools & Supplies
- Caulking gun to apply the sealant
- Caulk removal tool or utility knife to strip old material
- Paper tape for clean edges (optional)
- Microfiber cloth for cleaning residue
- Caulk tube (silicone or acrylic depending on surface)
- Caulk remover or chemical stripper if replacing old caulk
Step-by-Step Instructions
- 1. Before you even touch the caulk gun, you have to prep your workspace. Think of this like clearing the cache on a slow computer; if you don’t start with a clean slate, nothing else is going to run smoothly. Use a putty knife or a scraper to remove every last bit of the old, crusty sealant. If there’s any residue left, your new bead won’t bond, and you’ll be back to square one by next week.
- 2. Once the surface is clear, give it a good wipe down with a damp cloth or a bit of rubbing alcohol to ensure it’s completely free of dust and oils. I always keep a microfiber cloth in my DIY kit for exactly this reason. If the area is bone-dry and spotless, the new caulk will “grip” the surface much more effectively, creating that airtight seal we’re after.
- 3. Now, let’s talk about the tool. Take your caulk tube and cut the tip of the nozzle at a slight 45-degree angle. You want the opening to be small enough to control, but large enough to let the material flow. It’s a lot like adjusting the font size on a document—if it’s too big, everything looks messy, and if it’s too small, it’s a total headache to work with.
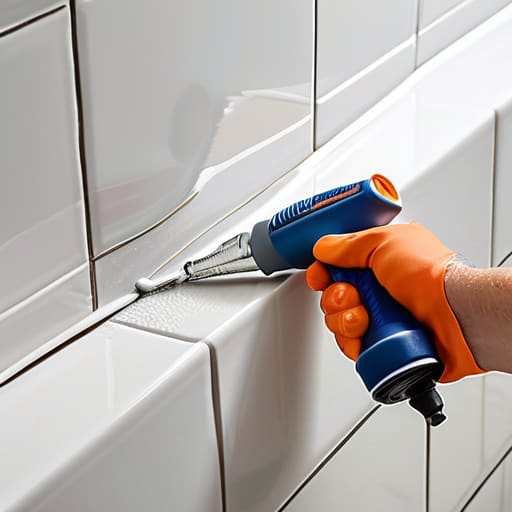
- 4. When you’re ready to apply, place the nozzle at the very start of the gap and squeeze the trigger with steady, consistent pressure. Try to move the gun in one continuous, fluid motion rather than a series of jerky stabs. If you feel the pressure changing, adjust your hand strength accordingly; the goal is a smooth, even line that looks like it was laid down by a pro.
- 5. This is the part where most people get nervous, but don’t sweat it! While the bead is still wet, take a damp finger (or a specialized smoothing tool if you’re feeling fancy) and lightly run it along the line to shape the bead. This isn’t just about making it look pretty; it actually pushes the caulk into the crevices, ensuring there are no tiny air pockets hiding in there.
- 6. Finally, the hardest part for any tinkerer: leave it alone. Most caulks need anywhere from 24 to 48 hours to fully cure. I know the urge to poke it and see if it’s dry is real, but touching it too early is the fastest way to ruin your hard work and create a lumpy mess. Just step back, grab your notebook, and admire the progress!
Choosing Your Material Silicone vs Acrylic Caulk Solutions
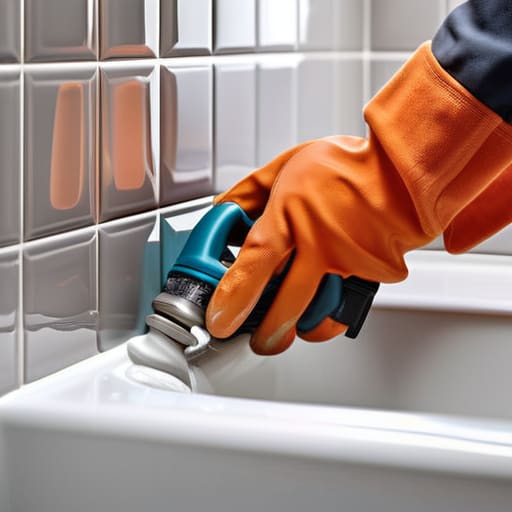
Before you even pick up your caulk gun, you need to decide which “tool” is right for the specific puzzle piece you’re fixing. Think of it like choosing between a heavy-duty software update and a quick UI tweak; both are necessary, but they serve totally different purposes. When you’re silicone vs acrylic caulk shopping, the biggest differentiator is flexibility and moisture resistance. Silicone is your absolute best friend for high-moisture zones, especially when you’re caulking bathtub seams or anything near a showerhead. It’s waterproof and stays stretchy, which is vital when your house shifts slightly with the seasons.
On the other hand, acrylic caulk (often called “painter’s caulk”) is much more user-friendly for indoor trim or baseboards. It’s water-based, meaning it’s easier to clean up if you make a mess, and it’s perfectly paintable once it dries. The downside? It’s not nearly as tough against standing water. If you try to use acrylic in a wet zone, you’ll likely find yourself removing old caulk and starting over much sooner than you’d like. Pick the right material first, and the rest of the process will feel much more seamless!
The Essential Caulking Tool Kit for Efficient Results
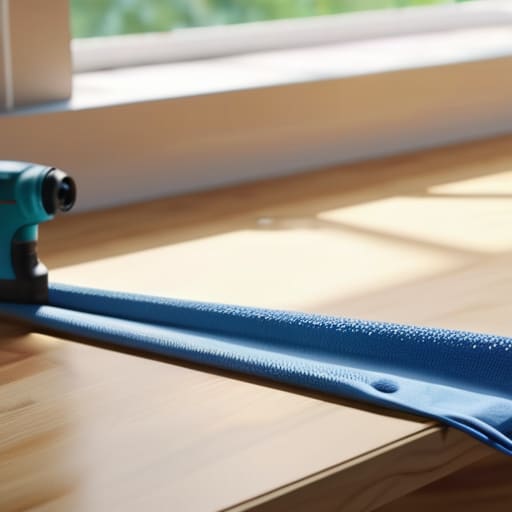
Before you dive into the actual application, let’s talk about your setup. I like to think of your caulking tool kit as your personal workstation; if you’re hunting for a screwdriver in the middle of a job, you’ve already lost your momentum. Beyond just the tube itself, you’ll want a reliable caulk gun—don’t settle for the cheapest one in the bin, as a smooth trigger pull makes a world of difference for your hands. I also highly recommend keeping a small bucket of warm, soapy water and a few microfiber cloths nearby. These are absolute lifesavers when you’re smoothing caulk bead lines to ensure they look professional rather than messy.
One thing my old software engineering brain always tells me is to prepare the environment before running the code. In this case, that means being prepared for the cleanup. If you’re tackling a renovation, you’ll likely need a utility knife or a specialized scraper for removing old caulk from existing gaps. Trying to layer new sealant over old, peeling residue is like trying to patch a bug in a broken codebase—it just won’t hold. Grab a few painter’s tape rolls too; they are the ultimate “cheat code” for achieving those perfectly crisp edges without the stress.
Pro Moves to Keep Your Caulk Looking Clean and Professional
- Don’t rush the prep work; think of cleaning the surface like clearing the cache on a computer—if there’s old, crusty residue or dust in the way, your new layer just won’t “install” properly.
- Master the “steady hand” trick by using a piece of painter’s tape on both sides of the joint, which acts like a physical guardrail to keep your lines perfectly straight while you work.
- Keep a damp rag or a small bucket of water right next to you, because the secret to that smooth, professional finish is smoothing the bead immediately before it starts to set.
- Less is definitely more when it comes to pressure; instead of squeezing the tube like you’re fighting a boss in a video game, aim for a consistent, gentle flow to avoid huge, messy globs.
- Always do a quick “dry run” by tracing the gap with your finger or a tool first, just to get a feel for the rhythm and depth before you commit the actual sealant to the crack.
My Quick Cheat Sheet for a Perfect Finish
Don’t skip the prep work; a clean, dry surface is the secret sauce that ensures your caulk actually sticks instead of just sitting there looking pretty.
Match your material to the mission, because using acrylic where you need silicone is like trying to use a screwdriver to hammer a nail—it’s just going to cause a headache later.
Embrace the “less is more” mindset with your application; it’s much easier to smooth out a small, controlled bead than it is to fix a massive, messy overflow.
The Secret to a Smooth Finish
“Think of caulking less like a messy chore and more like the final line of code in a program; it’s that tiny, intentional detail that ensures the whole system runs smoothly without any leaks or glitches.”
Jordan Bennett
The Final Piece of the Puzzle
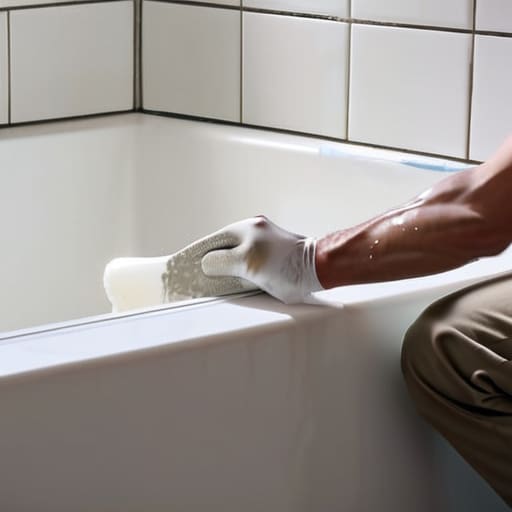
At the end of the day, mastering the art of caulking is really about understanding the small details that make a big difference. We’ve walked through everything from picking the right material—whether that’s the flexible durability of silicone or the easy cleanup of acrylic—to gathering the specific tools that turn a messy job into a professional one. Remember, the secret isn’t just in the application itself, but in the preparation and patience you bring to the process. By stripping away the old residue and ensuring your surfaces are clean, you’re setting yourself up for a seal that actually lasts, rather than one that just looks good for a week.
I know that staring at a half-finished bathroom or a gap in your kitchen backsplash can feel a little overwhelming, like a complex system that’s just slightly out of alignment. But think of this project as a small, manageable upgrade to your personal ecosystem. Every clean bead of sealant is a tiny victory that protects your home and saves you from much bigger headaches down the road. Don’t aim for perfection on your first try; just focus on building momentum. Once you see that seamless, watertight finish, you’ll realize that even the most tedious tasks can be incredibly rewarding when you approach them with the right mindset.
Frequently Asked Questions
How do I know if I should scrape out the old caulk entirely or if I can just layer the new stuff right on top?
Think of it like trying to build a new Lego set on top of a messy pile of old bricks—it’s just not going to stick! If you layer new caulk over old, it won’t bond properly, and you’ll end up with a peeling, messy disaster. If the old stuff is cracked, peeling, or even just a bit funky, scrape it all out. Starting with a clean slate is the only way to ensure a seamless, watertight finish.
Is there a trick to getting that perfectly smooth, professional-looking bead without making a massive mess on my tiles?
Honestly, I used to dread this part! The secret isn’t actually in the squeeze; it’s in the smoothing. Once you’ve laid your bead, grab a small bowl of soapy water and a finger (or a caulking tool). Dip your finger in the water and lightly glide it along the bead in one continuous motion. The soap prevents the caulk from sticking to your skin, leaving you with that crisp, professional finish without the sticky chaos.
How long do I actually have to wait before I can get things wet again, like in a shower or a sink?
The “waiting game” is the trickiest part of the puzzle! While the caulk might feel dry to the touch in an hour, it hasn’t actually cured. For silicone, I usually recommend waiting a full 24 hours before letting any water hit it. If you’re using acrylic, you might get away with 12, but patience is your best friend here. Think of it like a software update—if you interrupt the installation too early, the whole thing crashes!