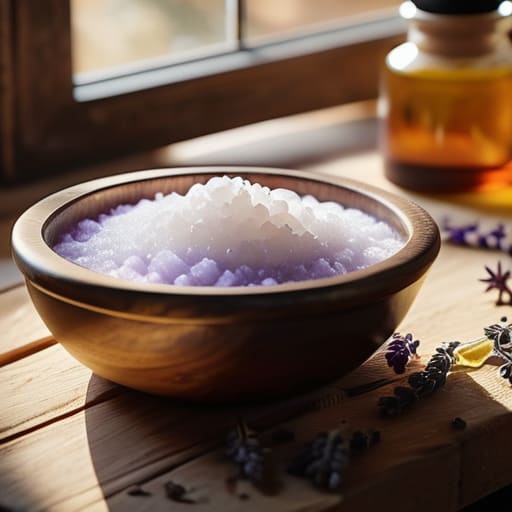
How to Make Soap at Home: a Beginner’s Guide
I was standing in my kitchen last Tuesday, staring at a countertop covered in spilled lye and a batch of what looked more like grey sludge than artisanal bars, thinking: why did I make this so complicated? I’ve spent years optimizing workflows and automating my home, yet I somehow managed to turn a simple hobby into a chaotic, high-stress science experiment. Most people think learning how to make soap requires a chemistry degree and a laboratory-grade setup, but that’s just a recipe for burnout. In reality, it’s much more like building a simple piece of furniture; once you understand the basic mechanics of how the pieces fit together, the complexity just melts away.
In this guide, I’m stripping away the intimidating jargon and the unnecessary fluff to give you a streamlined, repeatable system. I’ll show you exactly how to make soap using a logical, step-by-step framework that prioritizes efficiency and safety without sacrificing that beautiful, handcrafted feel. We aren’t going to chase every trendy, over-complicated additive under the sun; instead, we are going to focus on mastering the fundamentals so you can create something truly wonderful for your daily routine. Let’s get to work!
Table of Contents
- Step-by-Step Instructions
- Mastering Cold Process Soap Making Methods for Efficiency
- Essential Oils for Natural Soap and Perfecting Your Blend
- Pro-Tips to Keep Your Soap Lab Running Like a Well-Oiled Machine
- The Quick & Dirty Summary: Making Soap Simple
- ## The Logic of the Lather
- Bringing It All Together
- Frequently Asked Questions
Guide Overview
Tools & Supplies
- Digital scale for precise measurements
- Stick blender for emulsifying oils and lye
- Heat-resistant glass beaker or stainless steel pot
- Infrared thermometer to monitor temperatures
- Silicone spatula for scraping containers
- Coconut oil (approx. 500g)
- Olive oil (approx. 500g)
- Sodium hydroxide/Lye (approx. 140g)
- Distilled water (approx. 330g)
- Essential oils (approx. 30ml)
Step-by-Step Instructions
- 1. First things first, we need to set up our “command center.” Think of this like prepping your workspace before a big coding sprint; if your environment is messy, your output will be too. Clear off a large counter space, grab a digital scale (precision is everything here), and lay out all your tools. You’ll want stainless steel or heat-resistant plastic bowls, a silicone spatula, and most importantly, a pair of safety goggles and gloves. Since we’re working with lye, we have to treat this stage with absolute respect to keep things safe and smooth.
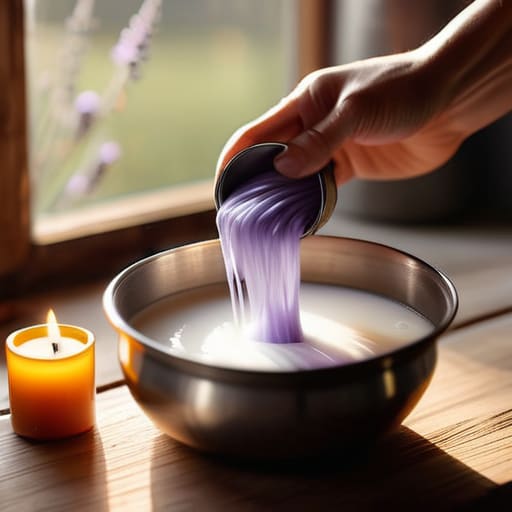
- 2. Next, let’s handle the chemistry. It’s time to measure out your distilled water and your lye (sodium hydroxide) using your digital scale. Here’s the golden rule of soap making: always add the lye to the water, never the other way around. It sounds counterintuitive, but adding water to lye can cause a sudden, scary chemical reaction that’s hard to control. Once you pour the lye into the water, stir it gently until it’s clear. It’s going to get quite warm—almost like a tiny, controlled exothermic reaction—so just let it sit in a safe spot to cool down to a comfortable temperature.
- 3. While our lye solution is chilling out, let’s prep our oils. I like to think of this as gathering the raw materials for our system. Weigh out your base oils—like olive oil for moisture or coconut oil for bubbles—into a large heat-safe container. If you’re using solid fats like shea butter, you might need to gently melt them first. The goal is to get your oils and your lye water to roughly the same temperature (usually around 100°F) before we bring them together. It’s all about thermal equilibrium to ensure a perfect emulsion.
- 4. Now comes the magic moment: the emulsification. Slowly pour your cooled lye water into your container of oils. Grab your stick blender (or immersion blender) and start pulsing it. You aren’t just stirring; you’re using mechanical energy to break the molecules down so they can bond. You’re looking for what we call “trace”—this is when the mixture reaches a consistency similar to pudding. When you lift the blender and see the drips sit on the surface rather than sinking immediately, you’ve officially hit the sweet spot.
- 5. If you’re feeling a bit creative (which, as a tinkerer, I totally encourage!), this is when you add your “plugins.” This could be essential oils for a lovely scent or natural clays for a bit of color. Stir these in by hand with your spatula to ensure they are evenly distributed throughout the batch. Don’t overthink it; think of this as the final customization phase of your project to make the soap uniquely yours.
- 6. Once your mixture is uniform, it’s time to pour it into your mold. I usually use silicone molds because they are incredibly easy to “unplug” later, much like a modular component. Tap the mold firmly on the counter a few times to release any trapped air bubbles—we want a solid, seamless block of soap, not one full of holes. Cover the mold with a piece of parchment paper and a towel to help it retain its heat as it undergoes the final transformation.
- 7. Finally, we enter the “waiting game,” which is arguably the hardest part for anyone used to instant gratification. Let your soap sit in the mold for about 24 to 48 hours until it is firm. Once it’s set, pop it out of the mold and slice it into your desired bar sizes using a sharp knife. But wait! You aren’t done quite yet. You need to let these bars cure for 4 to 6 weeks in a well-ventilated area. This allows the water to evaporate, resulting in a bar that is much harder, longer-lasting, and gentler on your skin.
Mastering Cold Process Soap Making Methods for Efficiency
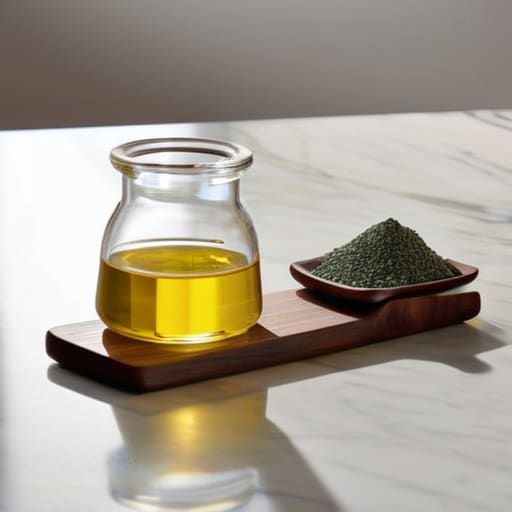
Once you’ve got the basic steps down, the real magic happens when you start fine-tuning your workflow. I like to think of cold process soap making methods as a bit like coding: once you understand the underlying logic, you can start optimizing for better results. One of the biggest “efficiency leaks” I see is people guessing their measurements. To avoid a messy disaster, I always recommend using a reliable lye and oils ratio calculator before you even touch a beaker. It takes the guesswork out of the chemistry, ensuring your bars are perfectly balanced every single time without the stress of trial and error.
Another way to level up is by being intentional with your additives. If you want that high-end, boutique feel, start experimenting with different essential oils for natural soap to create signature scents that actually linger. However, don’t get so caught up in the creative side that you forget the foundation. Always prioritize your setup by having your safety gear laid out and ready to go. When your workspace is organized and your ratios are precise, the whole process shifts from a daunting chore to a seamless, rewarding ritual.
Essential Oils for Natural Soap and Perfecting Your Blend
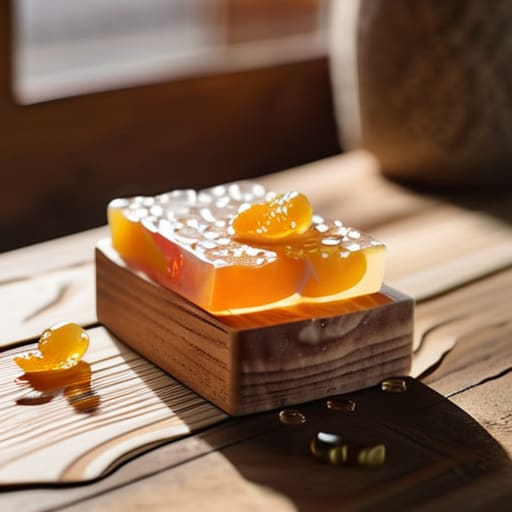
Once you’ve mastered the technical side of the chemistry, it’s time for the fun part: the scent. Think of choosing essential oils for natural soap like composing a piece of music; you need a melody, a harmony, and maybe a little bit of rhythm to make it truly resonate. Instead of just tossing in a single oil, I love experimenting with “scent families.” For instance, pairing a bright citrus note with a grounding cedarwood creates a balanced profile that feels much more professional than a single-note aroma.
Just a quick heads-up from my notebook: scent can be a bit of a moving target. Because we are working with the chemical reactions inherent in cold process soap making methods, some oils might fade or even change character as the soap cures. To avoid any unexpected surprises, I always recommend doing a small “scent test” in a tiny batch first. It’s all about that trial and error process that turns a simple hobby into a true craft. If you play with the ratios carefully, you’ll eventually find that “signature scent” that makes your bathroom feel like a high-end spa.
Pro-Tips to Keep Your Soap Lab Running Like a Well-Oiled Machine
- Safety first, always! Think of lye like a high-stakes coding error—it’s powerful and can be messy if you aren’t careful. Always wear your goggles and gloves, and work in a well-ventilated space to keep your “workspace” as safe as it is productive.
- Precision is your best friend here. In software, a single misplaced semicolon breaks the whole build; in soap making, being even slightly off with your measurements can ruin a batch. Invest in a high-quality digital scale and measure everything by weight, never by volume.
- Don’t rush the “cure” phase. I know, I know—we live in an era of instant gratification, but your soap needs time to settle and harden. Think of it like letting a complex program compile; if you try to skip the waiting period, the end result just won’t be as stable or high-quality.
- Keep a “Dev Log” for your recipes. I always keep my little notebook handy to jot down exactly what I did—the temperature, the exact scent ratios, even the humidity that day. If a batch turns out absolutely incredible (or a total disaster), you’ll want that data to replicate your success next time.
- Master the art of the “trace.” Before you pour your mixture into the mold, you want to reach a consistency similar to thin pudding. This is the sweet spot where your oils and lye have successfully bonded, ensuring your soap holds its shape and doesn’t separate once it’s in the mold.
The Quick & Dirty Summary: Making Soap Simple
Think of soap making like a tiny science experiment in your kitchen; as long as you respect the chemistry (and your safety gear!), the process is incredibly rewarding and easy to master.
Don’t get bogged down in perfectionism right away—start with a solid cold process foundation and use high-quality essential oils to let your creativity shine through the scents.
Efficiency is key to making this a sustainable hobby, so treat your soap-making setup like a well-oiled machine by prepping your tools and ingredients before you ever touch the lye.
## The Logic of the Lather
“Think of soap making like writing a clean piece of code: it’s all about the perfect balance of inputs and the patience to let the system run its course. Once you master that initial chemistry, you aren’t just making a cleanser; you’re engineering a little piece of daily ritual.”
Jordan Bennett
Bringing It All Together
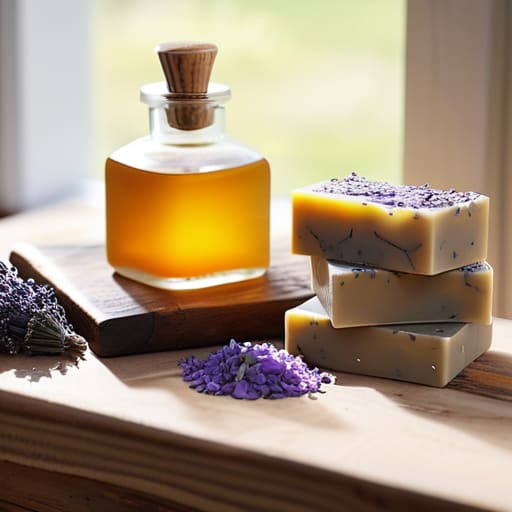
At the end of the day, soap making is really just a beautiful intersection of chemistry and creativity. We’ve walked through the technicalities of the cold process method, explored how to select the perfect essential oils, and looked at how to streamline your workflow so you aren’t spending your entire weekend covered in lye. It might feel like a lot of moving parts right now—sort of like trying to debug a complex piece of code for the first time—but once you understand how the oils and lye interact, it becomes second nature. The most important thing to remember is that consistency beats perfection every single time. Don’t worry if your first batch isn’t a masterpiece; every “failed” bar is just more data to help you refine your next successful batch.
I truly believe that finding joy in these small, tactile DIY projects is one of the best ways to reclaim your time in this hyper-digital world. There is something incredibly grounding about stepping away from the screen and using your hands to create something that actually serves a purpose in your daily routine. Think of this hobby as your own personal productivity hack for the soul. You aren’t just making soap; you are building a ritual of mindfulness and self-sufficiency. So, grab your notebook, prep your workspace, and go see what kind of magic you can create. I can’t wait to see the unique blends you come up with!
Frequently Asked Questions
Is it safe to make soap in my kitchen, or do I need a dedicated workspace to avoid contaminating my food prep areas?
I totally get the hesitation—mixing chemicals near your sandwich feels a bit wild! While you don’t need a laboratory, I wouldn’t recommend using your primary prep area. Think of it like a DIY electronics project: you want a clean, dedicated “zone.” If you must use the kitchen, clear a specific counter, use dedicated tools (no sharing with your pasta pot!), and deep-clean everything afterward. It’s all about creating a safe, controlled system.
How do I know if my soap is actually "ready" to use, and how long should I really wait during the curing process?
The “patience test” is the hardest part of the process, I know! Think of curing like letting a complex piece of code compile—you can’t rush the backend work. Generally, you’re looking at 4 to 6 weeks. To know if it’s ready, grab a bar and check: is it hard, smooth, and does it lather without feeling slimy? If it feels soft or “mushy,” it needs more time in the drying rack.
What's the best way to handle it if my batch fails—like if it gets too soft or doesn't emulsify properly?
Don’t panic—even my best DIY automation projects hit a glitch now and then! If your batch is too soft, try the “rebatching” method: grate the soap, melt it down in a double boiler, and pour it back into molds. If it didn’t emulsify, it might just need a little more agitation or a temperature tweak next time. Think of it as a software bug; we just need to patch it and try again!