Diy Jewelry Making: a Beginner’s Starter Guide
I was sitting on my living room floor last Tuesday, surrounded by a chaotic sea of tangled silver chains, tiny beads that seemed to have a mind of their own, and a set of pliers that felt more like a puzzle than a tool. I had spent three hours trying to replicate a simple pendant I saw online, only to end up with something that looked less like high-end fashion and more like a mechanical malfunction. It’s easy to fall into the trap of thinking that DIY jewelry making requires a professional studio or an expensive degree in fine arts, but honestly? That’s just a myth that keeps people from ever picking up the tools.
The truth is, you don’t need a massive budget or a perfect workspace to create something stunning; you just need a systematic approach. In this guide, I’m stripping away all the intimidating jargon and the “must-have” expensive gadgetry to give you the actual, no-nonsense fundamentals. We’re going to break down the essential tools, the basic movements, and the tiny workflows that turn a messy hobby into a seamless creative outlet. Let’s stop fighting with the wire and start building something beautiful, one piece at a time.
Table of Contents
- Step-by-Step Instructions
- Essential Beadwork Supplies to Start Your Journey
- Mastering Jewelry Making Tools for Beginners
- Pro-Tips to Keep Your Creative Flow (and Your Sanity) Intact
- Small Wins, Big Sparkle: My Final Thoughts
- Finding Your Flow in the Details
- Finding Your Creative Flow
- Frequently Asked Questions
Guide Overview
Tools & Supplies
- Needle-nose pliers for gripping and bending wire
- Wire cutters for trimming excess material
- Beading mat to prevent rolling
- Assorted glass beads (1 pack)
- Jewelry wire or cord (1 spool)
- Lobster clasps (5-10 pieces)
- Jump rings (1 pack)
Step-by-Step Instructions
- 1. First things first, let’s talk about your “command center.” Before you dive into the actual crafting, you need to clear a dedicated space on your desk and gather your essentials. I always tell my clients that clutter is the enemy of flow, so grab a small tray or even a ceramic plate to hold your beads and findings. This prevents that dreaded “lost bead hunt” under the sofa later on. You’ll want your basic toolkit ready: needle-nose pliers, wire cutters, and a bead mat to keep everything from rolling away.
- 2. Once your workspace is optimized, it’s time to design your blueprint. Think of this like the wireframing stage in software development; you wouldn’t build an app without a sketch, right? Lay out your beads and charms on your mat in the exact order you want them to appear. This allows you to see the visual rhythm of the piece and make quick adjustments to the color balance before you commit to a single permanent loop.
- 3. Now, let’s get into the actual assembly by prepping your base material, whether that’s elastic cord, jewelry wire, or silk thread. If you’re working with wire, use your pliers to create a small loop at one end—this is your anchor point. A common mistake is jumping straight into stringing without securing the ends, which usually leads to a very expensive pile of beads on the floor when the tension fails.
- 4. Start threading your chosen elements onto your line, paying close attention to the tactile feedback of each piece. As you work, I like to periodically step back and look at the piece from a distance to ensure the pattern feels intentional rather than accidental. If you’re using a pattern, try to maintain a consistent cadence to give the jewelry a professional, polished look.
- 5. When you reach the end of your design, it’s time for the most critical part: the closure. If you’re using a clasp, you’ll need to attach jump rings or crimp beads to secure the connection. I always recommend giving your connection a gentle tug test once it’s closed. It might feel a little nerve-wracking, but it’s much better to find a weak link now than when you’re wearing the piece out to dinner!
- 6. Finally, give your creation a quick “quality assurance” check. Look for any sharp edges on the wire or uneven spacing in the beads. If everything looks smooth and the tension feels just right, your piece is officially complete! I find that once a project is finished, I immediately reach for my notebook to jot down the specific sequence of beads I used, just in case I want to recreate the magic later.
Essential Beadwork Supplies to Start Your Journey
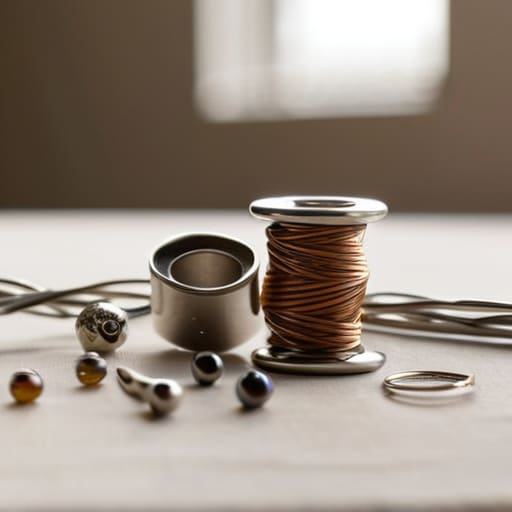
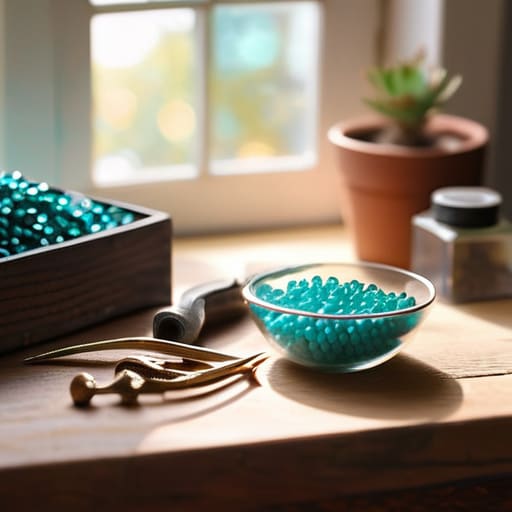
I always tell my clients that the secret to a smooth workflow—whether you’re coding or crafting—is having the right setup before you even start. When it comes to gathering your essential beadwork supplies, it’s easy to get caught up in the “shiny object syndrome” and buy every color of glass bead in the shop. Trust me, I’ve been there! Instead, start with a solid foundation: a good pair of needle-nose pliers, some sturdy bead stringing wire, and a variety of high-quality beads. Think of these as your core operating system; once you have the basics down, you can start adding all the fancy “apps” and embellishments later.
If you’re feeling a little intimidated by the sheer amount of gear out there, don’t sweat it. You don’t need a professional studio to start crafting handmade accessories that look like they came from a boutique. I like to keep my workspace organized with small compartment trays—kind of like how I organize my digital files—so I never lose a tiny spacer bead in the couch cushions. Just grab a few fundamental tools and a handful of your favorite colors, and you’ll be surprised at how quickly the creative momentum takes over.
Mastering Jewelry Making Tools for Beginners
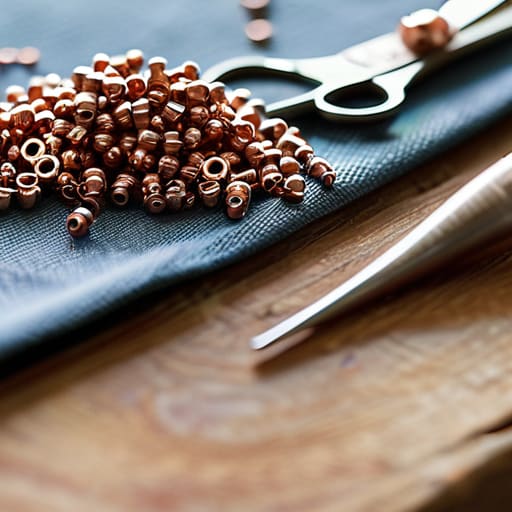
Now that you’ve gathered your essential beadwork supplies, it’s time to actually get your hands on the hardware. I remember when I first started tinkering with my own projects, I thought any old pair of needle-nose pliers from my dad’s toolbox would do the trick. Spoiler alert: they didn’t! When you’re working with tiny jump rings or delicate wires, having the right jewelry making tools for beginners makes the difference between a polished finished product and a frustrating afternoon of tangled metal.
Think of your pliers like a specialized toolkit for a software developer; you wouldn’t use a hammer to fix a line of code, right? You’ll want a dedicated set of round-nose pliers for creating those perfect loops and wire cutters that snip cleanly without leaving jagged edges. As you start experimenting with more advanced wire wrapping techniques, the precision of your tools will become your best friend. Don’t feel like you need to buy the most expensive professional kit right away, but investing in a few quality basics will keep your workflow smooth and, more importantly, keep the “puzzle” of crafting fun rather than a headache.
Pro-Tips to Keep Your Creative Flow (and Your Sanity) Intact
- Don’t aim for perfection on your first go. Think of your first few pieces as “beta tests”—they’re meant to help you find the bugs in your technique before you launch your masterpiece.
- Create a dedicated “chaos zone.” Even if it’s just a specific tray or a small corner of your desk, having a designated spot for your beads and wires prevents that dreaded “where did I put that tiny clasp?” meltdown.
- Work with light, not just for seeing, but for feeling. I always find that sitting near a window or using a bright desk lamp makes the intricate work feel way less like a chore and more like a fun puzzle.
- Batch your tiny tasks. Instead of hunting for jump rings every time you start a new piece, spend ten minutes organizing all your findings by size and color. It’s like optimizing a piece of code—it feels tedious now, but it saves you so much processing time later!
- Listen to your intuition (and your hands). If a certain pattern feels clunky or a wire is fighting you, step away for a coffee. Sometimes the best way to solve a design problem is to let your brain run in the background while you reset.
Small Wins, Big Sparkle: My Final Thoughts
Don’t feel like you need a professional studio to start; just grab a few basics and let your creativity lead the way.
Treat every “failed” necklace as a data point—it’s just part of the iterative process of finding your unique style.
Remember to pace yourself and enjoy the flow, because the best part of this puzzle is the joy of creating something with your own two hands.
Finding Your Flow in the Details
“Think of jewelry making like debugging a piece of code: it’s all about understanding how the tiny, individual elements connect to create a functional, beautiful system. When you stop seeing beads as just objects and start seeing them as pieces of a larger puzzle, that’s when the real magic—and the real flow—happens.”
Jordan Bennett
Finding Your Creative Flow
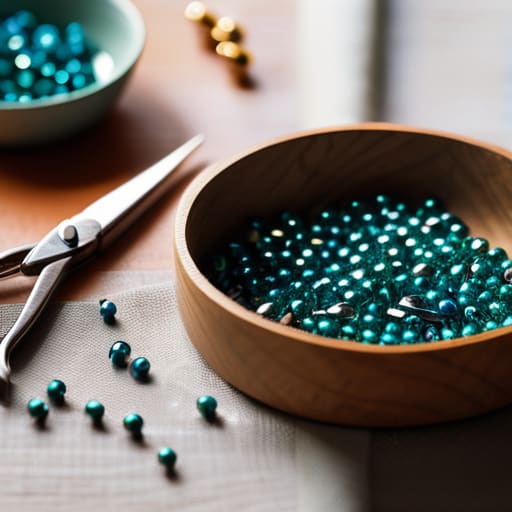
We’ve covered a lot of ground today, from gathering your essential beadwork supplies to getting comfortable with those tricky pliers and cutters. I know it can feel a bit like staring at a massive, disorganized codebase when you first sit down at your workbench, but remember that every expert maker started with a single, slightly crooked bracelet. By mastering your tools and understanding your materials, you aren’t just making trinkets; you are building a system for creativity. Once you have your kit organized and your basic techniques down, the technical hurdles start to fade into the background, leaving you with more mental bandwidth to actually design rather than just struggle with the hardware.
At the end of the day, jewelry making is a lot like any other complex puzzle—it’s all about how you choose to piece the elements together. Don’t get too hung up on making every single piece perfect on your first try; the real magic happens in the iterative process of trial and error. I always tell my clients that the most efficient way to grow is to embrace the messy middle. So, grab your notebook, sketch out a wild idea, and just start building. You have everything you need to turn a pile of loose beads into something truly uniquely yours. Happy making!
Frequently Asked Questions
I have all these beautiful beads, but how do I actually figure out which stringing materials—like wire versus elastic—will keep my pieces from snapping?
Think of your stringing material as the foundation of your project—if the base is shaky, the whole thing collapses! For heavy, chunky beads, I always reach for beading wire; it’s sturdy and holds its shape like a pro. But if you’re making a quick, stretchy bracelet, elastic is your best friend. Just remember: always check the tension and match the material’s strength to your bead weight so nothing snaps unexpectedly!
Is there a way to make my DIY pieces look professional and "store-bought" rather than just a bunch of beads on a string?
The secret isn’t in the beads themselves, but in the “architecture” of the piece. Think of it like coding: clean syntax makes everything run smoother. To avoid that “beads on a string” look, focus on tension and finishing. Use crimp beads to secure your ends tightly, and always incorporate high-quality findings like lobster claws and jump rings. When your closures look intentional and sturdy, your jewelry instantly shifts from a hobby project to a professional creation.
I'm worried about making a huge mess or spending a fortune; what's the best way to organize my tiny supplies so I don't lose them in my desk?
I totally get it—I used to have a “junk drawer” phase that was more like a “chaos vortex.” To keep your desk from becoming a bead graveyard without breaking the bank, skip the fancy organizers. Grab some cheap ice cube trays or even an old egg carton! They’re perfect for sorting tiny findings and beads. Just assign one little compartment to each color or size, and you’ve turned a mess into a system.