Creative Diy Planters Made From Things You Already Own
I was standing in the middle of my living room last Tuesday, staring at a pile of mismatched tin cans and a half-empty bag of potting soil, feeling completely overwhelmed by the sheer chaos of my indoor jungle. For the longest time, I fell into the trap of thinking that creating beautiful greenery required a massive budget and a professional degree in botany. But here’s the truth I learned while tinkering in my garage: you don’t need a boutique garden center to find peace in your space; you just need a few clever hacks to build your own diy planters from things you probably already have in your recycling bin.
In this guide, I’m stripping away the fluff and the expensive “aesthetic” trends to give you a blueprint for success. I’ll show you how to engineer functional, stylish containers that actually work for your plants’ health, rather than just looking pretty on a shelf. We’re going to focus on smart, low-effort systems that integrate seamlessly into your busy life. Whether you’re a seasoned plant parent or someone who struggles to keep a cactus alive, these practical steps will help you piece together a greener, more organized home without the stress.
Table of Contents
- Step-by-Step Instructions
- Upcycled Container Gardening for a Simpler Life
- Budget Friendly Garden Decor to Ease Your Mind
- Small Tweaks for Big Success: My Top 5 Pro-Tips for DIY Planters
- Small Steps to a Greener, Simpler Routine
- Finding Flow in the Small Things
- Bringing Your Green Vision to Life
- Frequently Asked Questions
Guide Overview
Tools & Supplies
- Drill and drill bits for creating drainage holes
- Measuring tape for accurate sizing
- Sandpaper to smooth rough edges
- Upcycled containers (tin cans, plastic bottles, or wooden crates) 3-5 units
- Potting soil 1 large bag
- Drill bit (small size for drainage)
- Decorative paint or twine for aesthetics
Step-by-Step Instructions
- 1. First things first, let’s gather our “components.” Think of this like setting up your workspace before a big coding sprint—you don’t want to be hunting for a screwdriver halfway through. You’ll need your chosen container (an old tin can, a wooden crate, or even a vintage teapot), some high-quality potting soil, a drill or hammer and nail, and of course, your plant babies. I always keep a small notebook handy to jot down the specific dimensions of my containers so I don’t accidentally buy a plant that’s way too big for its new home.
- 2. Now, we need to address the most critical part of the system: drainage. If water sits at the bottom of your planter without an exit strategy, your plant’s roots will essentially drown, which is the ultimate productivity killer for greenery. Take your drill or a hammer and nail and create several small holes at the bottom of your container. If you’re working with something sturdier like a ceramic pot, just be careful and take it slow so you don’t crack the material.
- 3. Once your drainage holes are set, it’s time to add a little “buffer layer.” I like to use a thin layer of small pebbles or even broken bits of old terracotta at the very bottom of the pot. This creates a small reservoir that helps prevent soil from clogging up those vital drainage holes we just made. It’s a simple little hack, but it makes a world of difference in maintaining a healthy ecosystem for your plants.
- 4. Next, let’s layer in the fuel. Scoop your potting soil into the container, filling it about two-thirds of the way up. Try not to pack it down too tightly; you want the soil to stay light and airy so the roots can actually breathe and move around easily. It’s a lot like optimizing a workflow—if everything is too compressed and rigid, there’s no room for growth or necessary adjustments.
- 5. Now for the fun part: the planting! Gently remove your plant from its original nursery pot, being careful not to disturb the root ball too much. Place it in the center of your DIY planter and begin filling in the gaps around the sides with more soil. Aim for a level surface that sits about an inch below the rim of the container; this gives you a little “safety margin” so that when you water it later, the liquid doesn’t just spill over the sides.
- 6. To wrap things up, give your new plant a good, thorough drink. Water it until you see the liquid start to trickle out of those drainage holes we worked so hard on earlier. This ensures the soil is fully hydrated all the way to the bottom. Once the water settles, you can tuck in some decorative moss or colorful pebbles to give it that polished, “I totally meant for it to look this way” aesthetic.
Upcycled Container Gardening for a Simpler Life
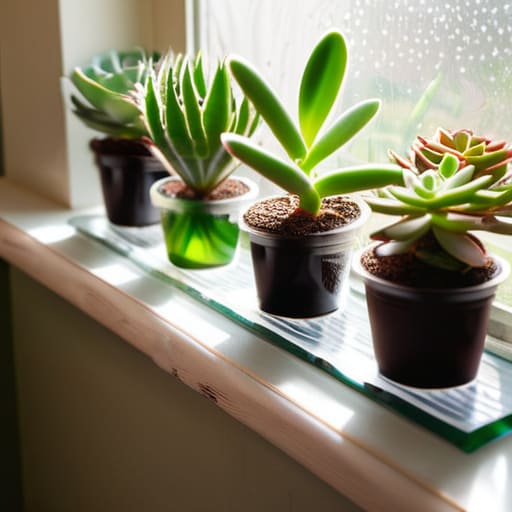
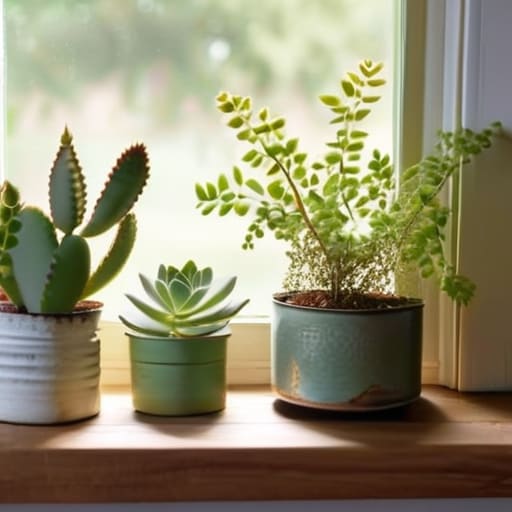
One thing I’ve learned from my years in tech is that you don’t need a massive budget or a warehouse of supplies to build something functional; you just need to look at your “waste” through a different lens. I’m a huge advocate for upcycled container gardening because it turns the clutter in your recycling bin into a system that actually serves you. For instance, if you’re tight on space, don’t overlook those old soda or water bottles. With a quick trim and a few drainage holes, you can create recycled plastic bottle planters that look surprisingly chic when grouped together on a sunny windowsill.
If you’re looking to add a bit more character to your living space, I love leaning into a more textured aesthetic. A rustic wooden planter box diy project is my go-to when I want to bridge the gap between my digital workspace and the natural world. These can serve as perfect indoor herb garden containers, bringing a splash of green and a hint of freshness to your kitchen counter. It’s all about finding those small, clever ways to integrate nature into your daily flow without making it feel like a massive chore.
Budget Friendly Garden Decor to Ease Your Mind
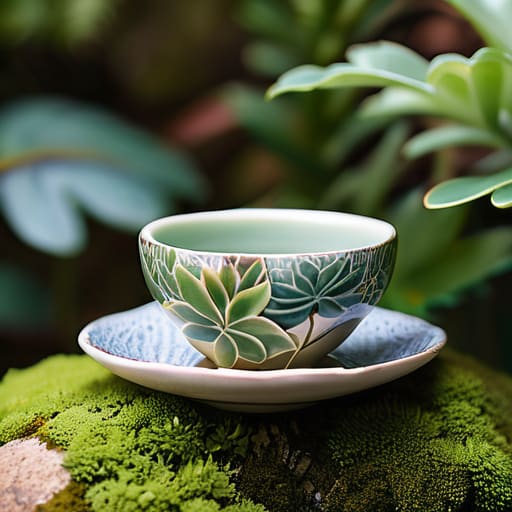
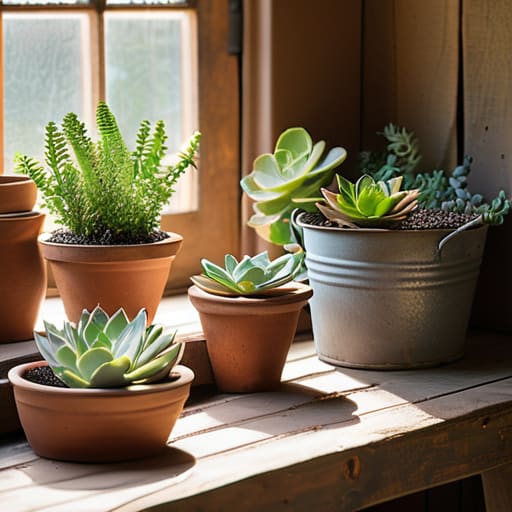
Once you’ve mastered the basics of your new greenery, I always find that the “soul” of a garden comes from the little details that make the space feel uniquely yours. You don’t need a massive budget to create a sanctuary; in fact, I’m a firm believer that some of the most calming elements are found in the things we usually toss away. For instance, if you’re looking for some budget friendly garden decor, try experimenting with smooth river stones or even old mismatched tea sets to hold small succulents. It’s like adding little pieces to a puzzle—each tiny addition helps create a cohesive, peaceful atmosphere that eases the mental clutter of a busy day.
If you’re working with limited vertical space, I highly recommend diving into some hanging planter tutorials using macramé or even simple wire hangers. This keeps your surfaces clear and makes your greenery feel like it’s floating, which adds a lovely sense of lightness to any room. Whether you’re styling a windowsill or a balcony, remember that the goal isn’t perfection; it’s about creating a space that feels intentionally restful and easy to maintain.
Small Tweaks for Big Success: My Top 5 Pro-Tips for DIY Planters
- Don’t forget the drainage! I once tried to be a hero with a cute, solid ceramic bowl, but my poor succulents ended up “drowning” because there was no way for excess water to escape. Always poke a few holes in the bottom or use a layer of pebbles to keep those roots happy.
- Think about your “user experience”—or in this case, your plant’s experience. Before you commit to a beautiful vintage tin or a heavy wooden crate, ask yourself if it’s actually practical for the weight of wet soil and whether it’ll be easy for you to move around when you’re cleaning.
- Match the container to the “system.” Just like you wouldn’t run heavy software on an old, dusty laptop, don’t put a thirsty, fast-growing fern in a tiny, shallow saucer. Match the volume of your planter to the root system of the plant to avoid a total system crash.
- Layer up with lightweight materials. If you’re building a large, heavy planter, don’t fill the entire thing with expensive, heavy potting soil. I love using a layer of crushed soda cans or recycled plastic bits at the bottom to save money and make the whole setup much easier to manage.
- Get creative with your “interface” by adding personality. Your planters shouldn’t just be functional; they should be a joy to look at. A quick coat of weather-resistant paint or even some twine wrapped around a plastic pot can turn a boring utility item into a piece of decor that actually makes you smile when you walk by.
Small Steps to a Greener, Simpler Routine
Don’t overcomplicate the process; the best DIY planters are often just repurposed items from your pantry or garage that give a second life to things you already own.
Focus on low-maintenance greenery to reduce decision fatigue and ensure your little indoor oasis stays a source of calm rather than another chore on your to-do list.
View your gardening projects as a way to “systematize” your relaxation, using these small, creative wins to recharge your mental batteries throughout a busy week.
Finding Flow in the Small Things
“I’ve always seen productivity as more than just clearing a to-do list; it’s about designing an environment that breathes. When you craft a DIY planter from something old, you aren’t just recycling a container—you’re reclaiming a tiny piece of your space and turning a chaotic corner into a moment of intentional, quiet growth.”
Jordan Bennett
Bringing Your Green Vision to Life
As we wrap up this little journey into the world of DIY planters, I hope you see that gardening doesn’t have to be a massive, overwhelming undertaking that eats up your entire weekend. We’ve explored how you can transform everyday household items into beautiful upcycled containers and how even the smallest budget-friendly decor can turn a chaotic corner into a peaceful sanctuary. Whether you’re repurposing an old tin can or crafting something more substantial, the goal was never about perfection; it was about simplifying your environment and finding joy in the process of creation. By integrating these small, intentional projects into your routine, you’re not just growing plants—you’re cultivating a space that works for you.
At the end of the day, I like to think of your home as a complex system that we can constantly optimize, one small piece at a time. Don’t feel like you have to build a botanical empire overnight. Start with one single planter, one small seed, and see how that tiny bit of green changes your perspective. Life is a beautiful, messy puzzle, and sometimes the best way to solve it is to simply step back and breathe amidst the things you’ve built with your own two hands. I can’t wait to hear how your little urban jungle turns out!
Frequently Asked Questions
How do I know if my upcycled containers have enough drainage to keep my plants from drowning?
Think of drainage like a safety valve for your plants—if the water has nowhere to go, it’s game over. The easiest way to check? Grab a watering can and give it a good soak. If you see water pooling on top or sitting stagnant for more than a few minutes, your “container” is basically a bathtub. Grab your drill and pop a few extra holes in the bottom; it’s a quick fix to keep things breathing!
Are there specific types of DIY materials I should avoid to ensure they don't leach chemicals into the soil?
That is such a sharp question! It’s like checking the code for bugs before you hit deploy—you want to make sure nothing hidden is going to mess up your system later. Definitely steer clear of treated wood (like old pressure-treated lumber) and certain plastics that aren’t food-safe, as they can leach chemicals into your soil. I always double-check for “BPA-free” labels on containers; it’s a small step that keeps your little green ecosystem healthy!
What's the best way to scale up my DIY planter setup if I decide to move from a windowsill garden to a full balcony?
Moving from a windowsill to a balcony is like upgrading from a single-task app to a full operating system—it’s exciting, but you need a better framework! I’d recommend thinking in “modules.” Instead of random pots, use vertical shelving or modular stacking planters to maximize your square footage. This keeps things organized and prevents your balcony from feeling like a cluttered hard drive. Start with a few sturdy, uniform containers to create a cohesive, manageable system.