How to Mend Clothes and Make Them Last Longer
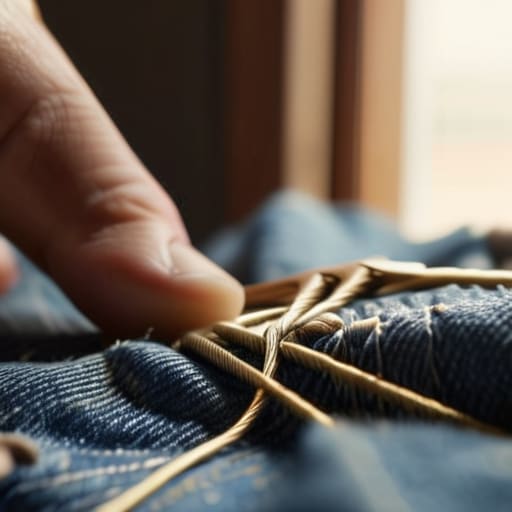
I was staring at my favorite vintage denim jacket last Tuesday, watching a loose thread dangle like a tiny, taunting flag from a fraying seam, and I felt that familiar pang of frustration. Most people think you need a professional tailor or a massive, intimidating sewing machine to fix a snag, but that’s a total myth that keeps us from saving our gear. Learning how to mend clothes isn’t about becoming a master seamstress; it’s really just about optimizing your wardrobe so you aren’t constantly stuck in a cycle of buying replacements for things that aren’t actually broken.
In this guide, I’m stripping away the complicated jargon and the “expert-only” gatekeeping to give you a toolkit of high-impact, low-effort fixes. We’re going to dive into the most efficient ways to tackle everything from stubborn holes to popped buttons using simple tools you probably already have in a junk drawer. My goal is to show you how to patch up the gaps in your clothing with confidence, turning a potential trip to the landfill into a quick, satisfying win for your schedule and your wallet.
Table of Contents
- Step-by-Step Instructions
- Building Your Essential Sewing Kit Essentials
- Mastering Hand Sewing for Beginners and Quick Fixes
- Pro-Tips from My Little Notebook: Small Tweaks for Big Results
- Quick Wins to Keep Your Wardrobe Running Smoothly
- The Beauty in the Repair
- Small Stitches, Big Impact
- Frequently Asked Questions
Guide Overview
Tools & Supplies
- Hand sewing needles (various sizes for different fabric weights)
- Fabric scissors (sharp blades for clean cuts)
- Embroidery hoop (optional, for stabilizing fabric)
- Sewing thread (matching colors for the specific garment)
- Fabric scraps (for patching holes)
- Sewing pins (to hold fabric in place)
Step-by-Step Instructions
- 1. First things first, let’s gather our “toolkit.” Think of this like setting up your workspace before a coding sprint; you don’t want to be hunting for a needle halfway through a seam. You’ll need a few essential supplies: a needle (get a variety pack if you can!), some high-quality thread that matches your fabric, a small pair of scissors, and maybe some embroidery floss if you’re feeling a bit more adventurous. I always keep a small sewing kit in my junk drawer, much like my trusty notebook, because preparedness is half the battle.
- 2. Once you’ve got your gear, take a close look at the damage. Is it a clean tear, or is the fabric actually fraying at the edges? If the edges are looking a bit “fuzzy” or unraveled, you’ll want to trim away those loose threads carefully with your scissors. It might feel a little scary to cut your clothes, but trust me, it’s better to have a clean starting point than to try and sew over a mess of tangled fibers.
- 3. Now, let’s prep the thread. Grab your needle and thread, and pull a length through the eye. If you’re working with a larger hole, I recommend doubling the thread for extra strength—it’s like adding a bit of redundancy to your code to ensure everything stays stable. Tie a sturdy knot at the end of the thread. If you’re worried about the knot slipping through a loose weave, you can even add a tiny dot of clear nail polish to it to lock it in place.
- 4. Time to start the actual stitching! If you’re dealing with a simple tear, the “running stitch” is your best friend. Just weave the needle in and out of the fabric in a straight line. It’s a rhythmic, almost meditative process. If the hole is a bit more substantial, try a “whip stitch” where you wrap the thread around the edges of the tear to pull the sides together. Think of it as bridging the gap between two disconnected systems.
- 5. For those pesky holes that seem to have no edges left—like a moth hole in a sweater—you might want to try a “darning” technique. This is where you create a new “web” of thread across the gap. You essentially weave horizontal and vertical threads to reconstruct the fabric entirely. It takes a little more patience, but it’s incredibly satisfying to see a hole vanish under your needle, much like debugging a particularly stubborn line of code.
- 6. As you get closer to the end of your repair, don’t just yank the thread out! Slow down and make sure your stitches are even and tight. Once you’ve covered the area, take one last stitch through the fabric and pull the needle through to the underside. To secure your work, tie a couple of small knots against the back of the cloth. This ensures your hard work doesn’t unravel the moment you put the garment on.
- 7. Finally, give your handiwork a quick inspection. Turn the garment inside out to make sure there aren’t any long, loose threads hanging around that could get caught on something. If everything looks smooth and secure, you’re officially done! Take a second to appreciate what you’ve accomplished; you didn’t just fix a piece of clothing, you extended its lifecycle and saved it from a landfill.
Building Your Essential Sewing Kit Essentials
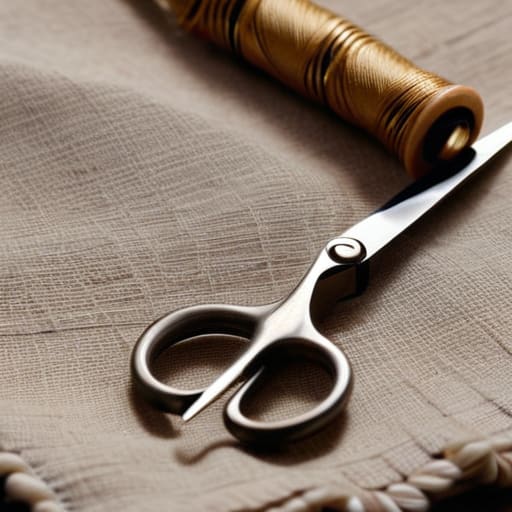
Think of your sewing kit like a developer’s toolkit; you don’t need every single gadget under the sun, but you definitely need the right high-quality components to avoid a system crash halfway through a project. I used to think a cheap, all-in-one plastic box was enough, but I quickly learned that dull needles and tangled thread are the ultimate productivity killers. Instead, I recommend curating your own sewing kit essentials with a few sturdy embroidery scissors, a variety of thread colors that actually match your wardrobe, and a handful of assorted needles. Having the right tools on hand turns a frustrating chore into a satisfying little ritual.
As you start experimenting, don’t feel like you need a professional studio setup. Even if you’re just starting with hand sewing for beginners, having a small magnetic tray to catch dropped pins can save you a massive headache (and a lot of floor-searching time). If you find yourself drawn to more creative styles, you might even want to tuck a few colorful embroidery flosses into your kit to explore visible mending techniques that turn a tear into a design feature. It’s all about having the right resources to make the process feel seamless and, honestly, a little bit fun.
Mastering Hand Sewing for Beginners and Quick Fixes
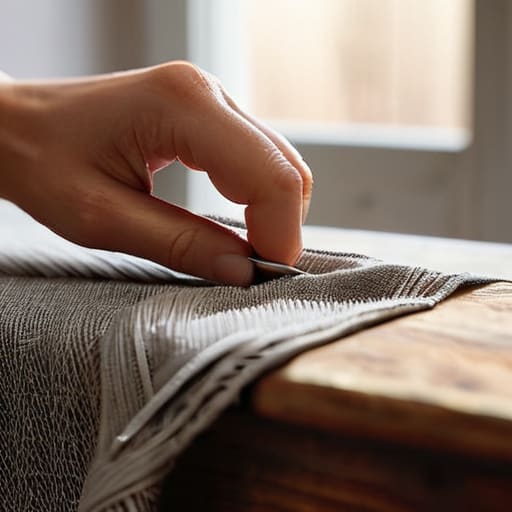
Now that you’ve got your kit ready, let’s get your hands moving! If you’re feeling a bit intimidated, remember that hand sewing for beginners isn’t about achieving runway perfection; it’s about functionality. Think of it like debugging a line of code—you’re just identifying the error and applying a targeted patch. Start with something low-stakes, like a loose seam on a pillowcase, to get a feel for your tension. The trick is to keep your stitches even; if they’re too tight, the fabric will pucker like a crumpled receipt, and if they’re too loose, well, you’ll be back here in ten minutes.
Once you’ve mastered the basics, you can start playing around with more creative options. If you have a hole in a pair of jeans, instead of trying to hide it, why not lean into visible mending techniques? I love using contrasting thread colors to turn a tear into a tiny piece of art. It’s a way to give your clothes a second life with a bit of personality. Whether you’re learning how to sew a button or tackling a tricky patch, embrace the imperfections—that’s where the character lives!
Pro-Tips from My Little Notebook: Small Tweaks for Big Results
- Don’t be afraid to “embrace the flaw.” Sometimes, a visible mend—like using a contrasting thread color for a darned hole—actually turns a damaged piece into a custom, one-of-a-kind design feature.
- Always do a “stress test” before you even think about wearing the item. Give the fabric a gentle tug to make sure your stitches are holding firm; there’s nothing worse than a seam popping open while you’re halfway through a coffee run.
- Match your thread weight to your fabric’s “vibe.” Using heavy-duty upholstery thread on a delicate silk blouse is like trying to use a sledgehammer to hang a picture frame—it’s just going to cause more damage.
- Work from the inside out whenever possible. If you can tuck your stitches into the seam allowance or the underside of the garment, the repair stays invisible and keeps the focus on the clothes, not the fix.
- Keep a “scrap bin” of fabric scraps from your projects. When you need to patch a hole, having a little bit of similar cotton or linen on hand makes finding a perfect color match way less of a scavenger hunt.
Quick Wins to Keep Your Wardrobe Running Smoothly
Don’t let a tiny snag become a reason to declutter; most small tears are just a five-minute DIY project away from being fixed.
Think of your sewing kit as a small toolkit for your life—having the right needle and thread on hand turns a wardrobe crisis into a quick, satisfying win.
Mending isn’t just about saving money; it’s about slowing down and giving your favorite pieces a second life so they can stay part of your story.
The Beauty in the Repair
“Mending a piece of clothing is a lot like optimizing a messy workflow; it’s about taking something that feels broken or inefficient and applying a little bit of intentionality to make it functional, beautiful, and ready for the long haul again.”
Jordan Bennett
Small Stitches, Big Impact
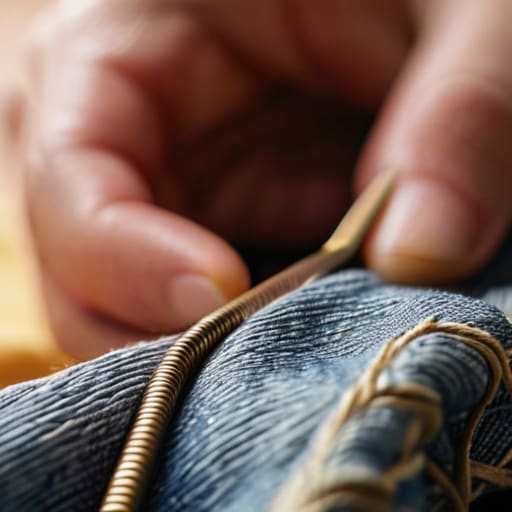
At the end of the day, mending your clothes isn’t just about fixing a loose thread or patching a tiny hole; it’s about building a toolkit that makes your life more sustainable. We’ve walked through everything from assembling your first sewing kit to mastering those fundamental hand-sewing stitches that save the day. Remember, you don’t need to be a master tailor to make a difference. By taking a few minutes to address a tear now, you are effectively extending the lifecycle of your favorite pieces and preventing them from ending up in a landfill. It’s a small, intentional shift in how you interact with your belongings, turning a moment of frustration into a quick, satisfying win for your productivity and your wallet.
I like to think of mending as a way of solving the little puzzles that life throws at us. Every time you sit down with a needle and thread, you’re choosing to slow down and care for something instead of just replacing it. It might feel a bit tedious at first, but I promise that once you get into the rhythm, it becomes a meditative part of your routine. So, don’t let that snagged sweater sit in the back of your closet gathering dust. Grab your notebook, jot down a reminder to fix it this weekend, and start piecing your life back together, one stitch at a time. You’ve totally got this!
Frequently Asked Questions
What if I accidentally make the hole even bigger while I'm trying to fix it?
Oh no, the dreaded “oops” moment! Honestly, I’ve been there more times than I’d like to admit—usually while multitasking. Take a deep breath; it’s not a disaster, just a slightly larger puzzle piece now. If the hole expands, don’t panic. Just pivot your strategy. Instead of a simple stitch, you might need to transition to a decorative patch or some cool embroidery to mask the new edges. We’ll make it look intentional!
How do I know if a garment is actually worth the effort of mending, or if I should just let it go?
Think of it like a software bug: is it a quick patch or a total system failure? I always ask myself two questions. First, how much do I actually love wearing this? If it’s a sentimental favorite, it’s worth the squeeze. Second, is the damage structural? A loose thread is a breeze, but a massive tear in a delicate fabric might be a lost cause. If it’s not worth the time, let it go!
Can I use these same hand-sewing techniques on more delicate fabrics like silk or lace?
That’s a fantastic question! Think of delicate fabrics like silk or lace as the “high-maintenance” users of the textile world. While the basic logic of the stitch stays the same, your approach needs a software update. You’ll want to switch to an ultra-fine needle and use much smaller, lighter stitches. It’s all about reducing tension so you don’t accidentally snag or distort the weave. Go slow—precision is your best friend here!