How to Build a Raised Garden Bed From Scratch
I was standing in my backyard last spring, staring at a pile of expensive cedar planks and a half-empty bag of soil, feeling completely overwhelmed by the sheer complexity of it all. I had spent years optimizing software workflows and automating my home, yet here I was, defeated by a simple DIY project. Most people think you need a master carpenter’s toolkit or a massive budget to get started, but that’s a total myth. Learning how to build a raised garden bed shouldn’t feel like you’re trying to debug a thousand lines of broken code; it’s actually just a series of small, manageable steps that anyone can master with a little bit of planning.
In this guide, I’m stripping away the fluff and the intimidating jargon to give you a straightforward blueprint for success. I’ll walk you through selecting the right materials, avoiding those common “rookie mistakes” that lead to rotting wood, and assembling your setup without the typical weekend headache. My goal is to help you piece this project together so efficiently that you can spend less time tinkering with tools and more time actually enjoying your harvest. Let’s get growing!
Table of Contents
- Step-by-Step Instructions
- Choosing Your Foundation Cedar vs Pressure Treated Lumber
- Finding the Perfect Dimensions for Vegetable Growth
- Pro-Tips to Avoid the "Gardening Headache"
- Quick Wins for Your Garden Blueprint
- The Philosophy of the Plot
- Putting the Final Pieces in Place
- Frequently Asked Questions
Guide Overview
Tools & Supplies
- Measuring tape for marking lumber lengths
- Power drill for driving screws
- Hand saw or miter saw for cutting wood
- Level to ensure even ground
- Untreated cedar or redwood boards (approx. 4-6 pieces)
- Wood screws (1 box of 2.5-inch exterior grade)
- Garden soil and compost (enough to fill volume)
- Hardware cloth or landscape fabric (to prevent pests/weeds)
Step-by-Step Instructions
- 1. First things first, we need to gather our “ingredients.” Think of this like setting up your workspace before a coding sprint—you don’t want to be hunting for a screwdriver halfway through. You’ll need untreated cedar or redwood (they’re the gold standard for longevity), some galvanized screws, a drill, a level, and a measuring tape. I always recommend grabbing a few extra screws just in case, because there is nothing more frustrating than running out of supplies when you’re in the flow state.
- 2. Once you have your materials, it’s time to map out the blueprint. Grab your measuring tape and mark your boards according to the dimensions you’ve chosen. If you’re a beginner, I suggest starting with a standard 4×4 foot bed; it’s the perfect sweet spot for reaching the center without having to step inside and compact your soil. Use a pencil to mark your cut lines clearly so you aren’t second-guessing yourself later.
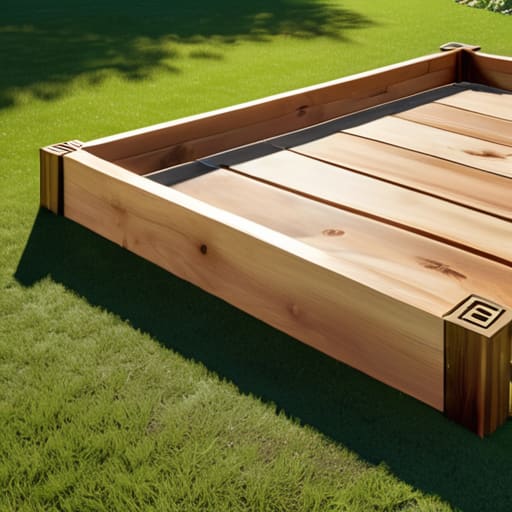
- 3. Now, let’s get to the assembly. This is where the pieces of the puzzle finally start to click together. Align your side boards with your end pieces to form a rectangle, and pre-drill your holes to prevent the wood from splitting—this is a crucial pro-tip that saves so much heartache. Drive your screws in snugly, but don’t go overboard; you want the structure to be solid, not stressed to the breaking point.
- 4. Before we move this heavy thing into its permanent home, we need to ensure it’s sitting perfectly flat. Place your frame in its intended spot and use your level to check it from multiple angles. If one side is dipping, dig out a little soil underneath it until the frame sits true. A level bed isn’t just about aesthetics; it ensures that water distributes evenly so your plants don’t end up with “wet feet” on one side and drought on the other.
- 5. To protect your soil and keep those pesky weeds at bay, I love adding a layer of cardboard to the bottom of the bed. It’s a simple, low-tech hack that acts as a biodegradable weed barrier. Just overlap the edges of the cardboard so there are no gaps, and it will eventually decompose, adding organic matter back into your garden ecosystem as it does its job.
- 6. Finally, it’s time for the most rewarding part: the fill. Don’t just grab any old dirt from your yard; instead, aim for a high-quality mix of compost, topsoil, and peat moss. I like to think of this as upgrading your system’s hardware—the better the foundation, the better the performance. Fill the bed to about an inch below the rim, give it a light watering to settle everything, and you are officially ready to start planting!
Choosing Your Foundation Cedar vs Pressure Treated Lumber
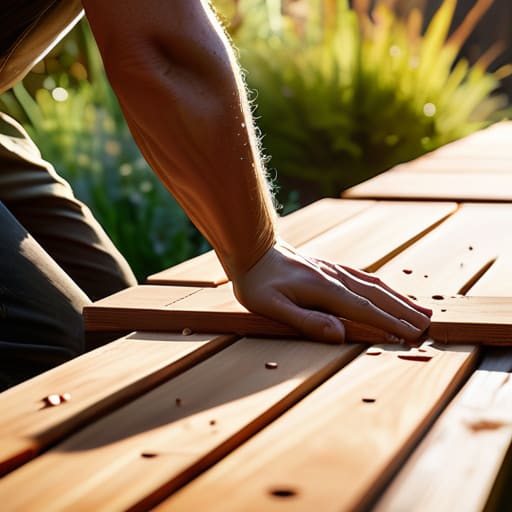
Now, let’s talk about the heavy lifting: picking your materials. This is where most people get stuck, but think of it like choosing the OS for a new computer—you want something reliable that won’t crash halfway through the project. When weighing cedar vs pressure treated lumber, you’re really looking at a trade-off between longevity and budget. Cedar is widely considered the best wood for raised beds because its natural oils act like a built-in shield against rot and pests. It’s a bit pricier upfront, but it’s a long-term investment in your garden’s infrastructure.
On the flip side, pressure-treated wood is much more affordable and easier to find at your local hardware store. While older treatments raised some red flags, modern versions are generally considered safe for food crops, though some purists still prefer to play it extra safe. If you go this route, I always suggest lining your beds with a food-grade barrier just for peace of mind. Ultimately, it’s about finding the sweet spot between what your wallet allows and how much maintenance you’re willing to do down the road!
Finding the Perfect Dimensions for Vegetable Growth
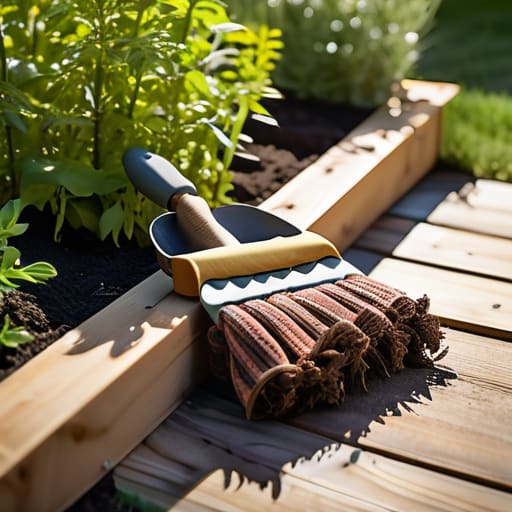
Now, before you start sawing through that lumber, let’s talk about the footprint of your project. It’s tempting to go big—I know I used to think “more space equals more veggies”—but there’s a bit of a logic puzzle here. The golden rule for garden bed dimensions for vegetables is accessibility. You really don’t want to be stepping into your bed to reach a tomato plant in the middle; that compacts your soil and ruins all that hard work you put into your drainage. I always recommend keeping the width to about 3 or 4 feet maximum. This allows you to reach the center from either side without breaking your stride (or your back!).
Depth is another piece of the puzzle. While a shallow bed might look sleek, most hearty vegetables need a bit more “elbow room” for their roots to stretch out. Aiming for at least 12 inches is a sweet spot that ensures your plants feel right at home. If you’re planning on growing heavy hitters like carrots or deep-rooted perennials, you might even want to go a few inches deeper to give them the luxury they deserve.
Pro-Tips to Avoid the "Gardening Headache"
- Don’t forget the barrier! I always suggest laying down a thick layer of cardboard at the bottom before you add soil. It’s a total game-changer for suppressing weeds and grass without having to use any nasty chemicals.
- Think about your back! While it’s tempting to build a massive, deep bed, remember that you actually only need about 12 to 18 inches of soil for most veggies. Anything deeper is just extra money spent on dirt you don’t strictly need.
- Level it out or lose it: Spend a little extra time ensuring your ground is flat before you start assembling. If your bed is lopsided, water will pool in one corner, leaving your plants in one spot drowning and the others thirsty.
- Plan for your tools: When you’re deciding on the height, consider if you want to sit on the edge while you weed. Building it about 18-24 inches high makes it much more ergonomic if you’re planning on a little “seated gardening” session.
- Optimize your irrigation: Since we’re all about making life easier, consider installing a simple drip irrigation kit right as you’re building. It’s much easier to tuck those lines under the soil now than to try and retrofit them once your beautiful seedlings are already established.
Quick Wins for Your Garden Blueprint
Don’t overthink the wood; if you’re playing the long game, go with cedar for that natural durability, but if you’re on a tight budget, just make sure any treated lumber is modern and safe for your veggies.
Scale your garden to your reach—keep those beds narrow enough so you aren’t constantly stretching or stepping into the soil, which keeps your rows tidy and your back happy.
Treat your garden like a well-oiled system by prepping the ground and choosing the right dimensions before you even pick up a hammer; it saves you from a massive headache (and a lot of wasted lumber) later on.
The Philosophy of the Plot
“Think of a raised garden bed not just as a box of dirt, but as a custom-built operating system for your backyard; when you get the hardware right, the actual growing part becomes a seamless, joyful process rather than a daily struggle against the elements.”
Jordan Bennett
Putting the Final Pieces in Place
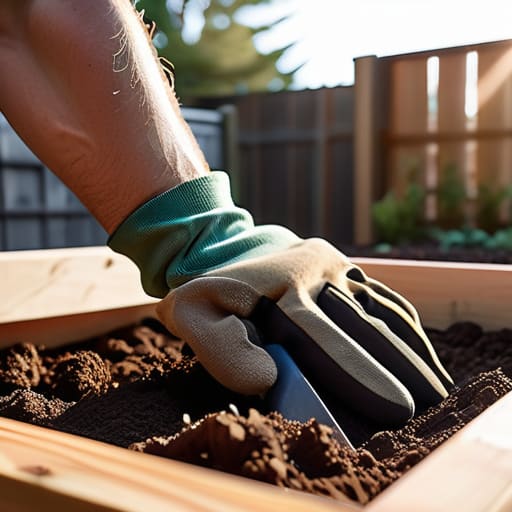
Now that we’ve navigated through the technicalities—from selecting the right wood to mapping out your dimensions—you’re officially ready to transition from the planning phase to the actual build. Remember, the goal here wasn’t just to follow a manual, but to create a customized system that works specifically for your lifestyle and your soil. Whether you opted for the longevity of cedar or the budget-friendly route of pressure-treated lumber, you’ve laid the groundwork for something truly rewarding. By getting the foundation right, you’ve effectively automated the hardest part of gardening: the heavy lifting and the guesswork.
As I sit here jotting down some new plant combinations in my notebook, I’m reminded that building a raised bed is a lot like optimizing a workflow. It’s about setting up a structure that allows for growth, minimizes friction, and ultimately makes the daily “maintenance” feel like a joy rather than a chore. Don’t worry if your first build isn’t a masterpiece of architectural precision; the most important part is that you’ve started the process. So, grab your tools, get a little dirt under your fingernails, and start piecing together your own little slice of paradise. You’ve totally got this!
Frequently Asked Questions
How much soil do I actually need to buy so I don't end up with a mountain of extra bags in my driveway?
Don’t let the “soil math” stress you out—it’s one of those little puzzles that can feel overwhelming until you have a simple formula. To avoid that mountain of extra bags in your driveway, just multiply your bed’s length by width by depth (in feet). That gives you the cubic feet you need. I always recommend adding about 10% extra, though; soil settles once you water it, and trust me, you’ll want that little buffer!
Is it worth adding a layer of cardboard or hardware cloth at the bottom to keep the weeds and critters at bay?
That’s a fantastic question! Think of it like setting up a firewall for your garden. Using cardboard is a total game-changer for suppressing weeds—it basically smothers them while eventually breaking down into organic matter. If you’re worried about hungry gophers or moles, adding hardware cloth is like installing a physical security layer; it keeps the critters out of your precious roots. It’s a little extra prep work, but it definitely saves you future headaches!
Once the bed is built, how often should I be refreshing the soil to keep my veggies happy and productive?
Think of your soil like a battery—it’s constantly powering your plants, and eventually, it needs a recharge. For most veggie beds, I recommend adding a fresh layer of high-quality compost every spring or fall. If you’re seeing plants struggle mid-season, a quick “top-off” of organic matter can work wonders. It’s all about keeping that nutrient cycle flowing so your garden stays as productive as a well-optimized workflow!