How to Patch Jeans So They Look Better Than New
I was sitting on my floor yesterday, surrounded by half-finished DIY automation sensors and a scattered pile of denim, when I realized my absolute favorite pair of vintage Levi’s had finally met their match: a jagged tear right at the knee. Most people will tell you that once a hole gets that big, it’s time to head to the thrift store and start over, but I’ve always believed that nothing is truly broken if you can just find the right system to fix it. Learning how to patch jeans isn’t just about sewing; it’s about applying a little bit of engineering logic to your wardrobe so you can stop wasting resources and start extending the life of the things you love.
In this guide, I’m stripping away the complicated, intimidating sewing jargon and giving you my streamlined, no-nonsense approach to mending. We aren’t going for “perfectly invisible” (because let’s be real, that’s a myth), but rather a functional and stylish repair that actually holds up to daily wear. I’ll walk you through the essential tools you’ll need and the simplest techniques to bridge those gaps, so you can get back to your day with your favorite gear looking better than ever.
Table of Contents
- Step-by-Step Instructions
- Mastering Visible Mending Techniques for a Unique Look
- The Right Denim Sewing Supplies to Piece It Together
- Pro-Tips for a Patch That Actually Lasts
- Quick Wins for Your Denim Revival
- ## A New Perspective on Wear and Tear
- Piece by Piece: Your Denim Journey
- Frequently Asked Questions
Guide Overview
Tools & Supplies
- Fabric scissors for cutting patch shapes
- Sewing needle for hand stitching or machine sewing
- Thimble to protect finger during heavy denim stitching
- Patch fabric (denim or cotton scrap) 1 piece
- Thread (matching or contrasting color) 1 spool
Step-by-Step Instructions
- 1. First things first, grab your favorite pair of jeans and a pair of sharp fabric scissors. You’ll want to trim away any of those annoying, frayed threads hanging around the hole. Think of it like cleaning up a messy desktop before you start organizing your files; you need a clean workspace to make sure the patch actually sits flat and stays put.
- 2. Next, pick out your patching material. If you want the fix to be almost invisible, find a scrap of denim that matches the weight and color of your jeans perfectly. However, if you’re feeling a bit more creative—kind of like when I’m tinkering with a new automation script—you can use a colorful patterned fabric to turn that tear into a deliberate design choice.
- 3. Lay your jeans flat on a hard surface and place your patch piece underneath the hole. I like to use a bit of double-sided fusible web (it’s like the double-sided tape of the sewing world) to hold the patch in place. This prevents the fabric from shifting around while you’re working, saving you a massive amount of frustration.
- 4. Now, it’s time to get your sewing kit ready. If you’re using a sewing machine, select a heavy-duty denim needle; if you’re going old-school with a needle and thread, make sure your thread is a strong cotton or polyester blend. You want to create a “zigzag” stitch around the edges of the hole, which helps distribute the tension so the fabric doesn’t pull and tear again in the same spot.
- 5. As you stitch, keep your movements small and consistent. Don’t just rush through the perimeter; you want to make sure you’re catching both the denim and the patch material in every single loop. It’s a bit like debugging a line of code—if you miss a tiny detail now, the whole system might fail later when you actually put the jeans on.
- 6. Once you’ve finished your stitching, take a moment to trim any excess fabric from the underside of the patch. You don’t want a bulky lump of extra denim sitting against your skin. Give the area a gentle tug to make sure everything feels secure and integrated into the garment.
- 7. Finally, give your newly mended jeans a quick press with an iron. The heat helps set the stitches and flattens the fabric, making the repair look much more seamless. Now, instead of a hole in your wardrobe, you’ve got a customized piece of art ready for your next adventure!
Mastering Visible Mending Techniques for a Unique Look
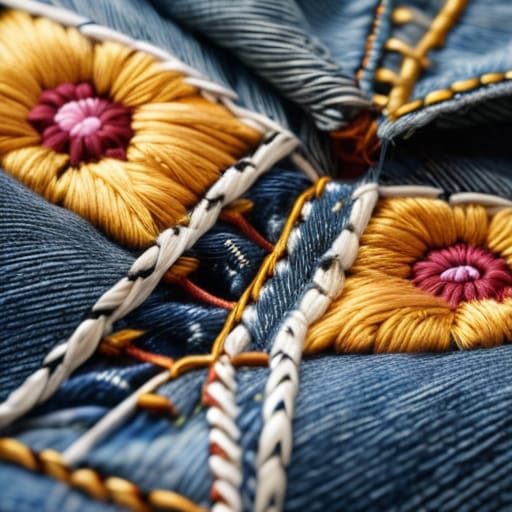
Now, if you’re feeling a little adventurous, let’s turn that “oops” moment into a deliberate design choice. I’ve always loved the idea that our belongings should tell a story, and visible mending techniques are the perfect way to do just that. Instead of trying to hide the repair, embrace it! You can use colorful threads or contrasting fabric scraps to create a beautiful mosaic over the worn area. It’s a bit like adding a custom skin to a piece of software—it doesn’t just fix the bug; it makes the whole system look more interesting.
If you aren’t quite ready to dive into heavy-duty needlework, don’t sweat it. You can achieve some really cool textures by experimenting with embroidery for clothing repair. Adding a few simple geometric patterns or even a tiny floral motif around the edges of a patch can make the repair look intentional rather than accidental. Think of it as “upcycling” your wardrobe rather than just fixing it. Whether you’re playing with bold colors or subtle textures, these little creative flourishes turn a simple repair into a one-of-a-kind statement piece.
The Right Denim Sewing Supplies to Piece It Together
Before you dive into the actual stitching, let’s talk about your toolkit. I used to think I could just grab any old needle from my junk drawer and call it a day, but trust me, that’s a recipe for frustration! To really do this right, you’ll want to gather some specific denim sewing supplies that can handle the weight of the fabric. I always recommend heavy-duty needles—think size 90/14 or even 100/16—and a spool of high-quality polyester thread. Cotton thread is great for shirts, but for those tough denim fibers, you need something that has a bit of strength and stretch to keep up with your movements.
If you aren’t feeling particularly “crafty” with a needle and thread just yet, don’t sweat it. You can actually use iron-on patches for clothing as a solid foundation to stabilize a thinning area before you start sewing. It’s like adding a structural support beam to a house! For those tiny, pesky pinholes that aren’t quite large enough for a full patch, I’m a huge fan of darning denim holes using a simple running stitch. It’s much more efficient than trying to patch every single microscopic gap.
Pro-Tips for a Patch That Actually Lasts
- Don’t skip the stabilizer; if you try to sew directly onto thin or worn-out denim without a piece of lightweight interfacing underneath, you’ll likely end up with a puckered mess that looks more like a crumpled napkin than a repair.
- Think about the “stress points” of your movement—if you’re patching the knee, make sure your patch is large enough to cover the area even when you’re bending down, otherwise, the fabric will just tear right next to your new work.
- Match your thread tension to your sewing machine’s personality (or your own hand strength if you’re going old-school) to ensure your stitches are tight enough to hold but loose enough to let the denim move naturally with you.
- Always trim your excess fabric neatly after you’ve finished your stitching; leaving long, frayed edges hanging around can make a beautiful repair look a bit cluttered and accidental.
- Treat your patched jeans with a little extra love by washing them inside out on a gentle cycle, which helps protect those new stitches from getting chewed up by the agitator in your machine.
Quick Wins for Your Denim Revival
Don’t fear the needle; whether you’re going for a seamless repair or a bold, visible mend, the goal is simply to stop the fraying and keep your favorite pair in rotation.
Think of your sewing kit like a well-optimized toolkit—having the right heavy-duty thread and the correct denim needles on hand makes the whole process much smoother and less frustrating.
Embrace the imperfections, because a little bit of DIY character can turn a worn-out pair of jeans into a one-of-a-kind piece that tells your unique story.
## A New Perspective on Wear and Tear
“I like to think of a patch not as a way to hide a mistake, but as a way to upgrade your story; every stitch is just another way to optimize your favorite gear so it stays in your rotation longer.”
Jordan Bennett
Piece by Piece: Your Denim Journey
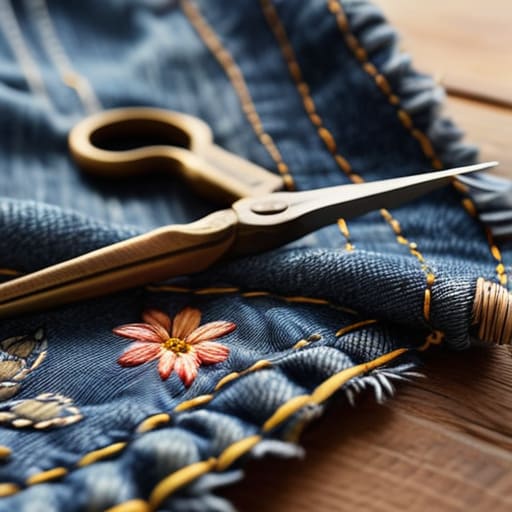
At the end of the day, patching your jeans is about more than just fixing a hole; it’s about choosing to extend the life of something you love. We’ve walked through everything from gathering the right heavy-duty needles and denim-specific thread to the delicate art of visible mending that turns a flaw into a feature. Whether you opted for a discreet, seamless patch to keep things low-key or decided to lean into the “wabi-sabi” aesthetic with bold, colorful embroidery, you’ve successfully applied a bit of creative problem-solving to your wardrobe. By mastering these small, intentional repairs, you’re not just saving money—you’re actively decluttering your mindset by breaking the cycle of fast fashion and embracing a more sustainable way of living.
I like to think of these little repairs as small wins in the larger puzzle of our daily lives. Just like a messy desktop or a disorganized calendar, a tear in your favorite denim can feel like a tiny glitch in your system, but it’s actually an opportunity to pause and recalibrate. Don’t let a frayed hem or a worn-out knee discourage you; instead, see it as a chance to add character to your story. Every stitch you place is a testament to your ability to take something broken and make it even better than it was before. So, grab your notebook, pick up that needle, and go make something beautiful!
Frequently Asked Questions
Is there a way to patch my jeans without using a sewing machine, or am I going to need one for a sturdy finish?
Honestly, don’t let the thought of a sewing machine intimidate you! While a machine is great for speed, you can absolutely achieve a sturdy, reliable patch using just a needle and some high-quality thread. I actually love hand-sewing; it gives you so much more control over the tension, especially when you’re working with thick denim. Think of it like hand-coding a custom script versus using a template—it takes a bit more patience, but the result is uniquely yours.
How do I make sure my patch doesn't look like a giant, awkward blob on my favorite pair of denim?
I totally get it—nobody wants their favorite jeans looking like they’ve been through a heavy-duty construction zone! To avoid that “awkward blob” effect, think of it like fine-tuning a piece of code: precision is everything. Keep your stitching tension consistent so the fabric doesn’t bunch, and try to match your thread color or texture to the original denim. If you’re using a patch, trim it close to the hole to minimize excess bulk.
Can I actually use old fabric from other clothes I don't wear anymore to patch these up, or do I need to buy specific denim scraps?
Oh, absolutely! In fact, I’m a huge fan of that approach. Think of it like upcycling a piece of tech—why buy something new when you have perfectly good components lying around? Using scraps from an old pair of chinos or a worn-out flannel is a brilliant way to add character. Just make sure the fabric weight is somewhat similar to your jeans so the patch doesn’t feel like a heavy brick against your skin!