How to Install a Shelf That Won’t Fall Down
I was standing in my hallway last Tuesday, staring at a pile of heavy oak planks and a handful of screws, feeling that familiar, sinking sensation of total overwhelm. I had this vision of a perfectly organized home, but looking at the empty wall, I realized I didn’t actually know how to install a shelf without it ending up crooked or, even worse, crashing down in the middle of the night. Most people think you need a degree in structural engineering or a massive workshop to get this right, but honestly? That’s just a myth that keeps us from reclaiming our space.
In this guide, I’m stripping away the intimidation and breaking this project down into a few simple, logical steps that even a former software engineer who lives in her head can master. We aren’t going to get bogged down in overly technical jargon; instead, I’ll show you how to prep your tools, find those elusive studs, and execute the process with total confidence. By the time we’re done, you won’t just have a place to put your books—you’ll have the satisfaction of knowing you built a system that actually works.
Table of Contents
Guide Overview
Tools & Supplies
- Drill/Driver for making holes and driving screws
- Level to ensure the shelf is straight
- Pencil for marking placement
- Measuring tape for accurate spacing
- Shelf unit (1)
- Shelf brackets (2-4)
- Wall anchors (if not using studs)
- Screws (matching bracket size)
Step-by-Step Instructions
- 1. First things first, let’s gather our “brain power”—otherwise known as our tools. You’ll want a level, a drill, some sturdy screws, and your wall anchors. If you’re working with drywall, don’t skip the anchors; they are the unsung heroes that keep your shelf from becoming a permanent part of the floor.
- 2. Next, we need to map out the territory. Grab a pencil and mark exactly where you want those brackets to sit. I always recommend using a level here to ensure your line is perfectly straight. There is nothing more frustrating than finishing a project only to realize your favorite books are slowly sliding toward the edge!
- 3. Now, it’s time for the heavy lifting (or at least the heavy drilling). Once you’ve marked your spots, drill your pilot holes. If you’re using anchors, this is where you’ll pop them into the holes. Think of this stage as setting the foundation; if the holes are clean and the anchors are snug, the rest of the process will be a breeze.
- 4. With the anchors in place, go ahead and screw in your brackets. I like to do this in stages—tighten them halfway, check the level one more time, and then give them a final tighten. It’s a little extra step, but it prevents those tiny, annoying misalignments that can drive a perfectionist like me crazy.
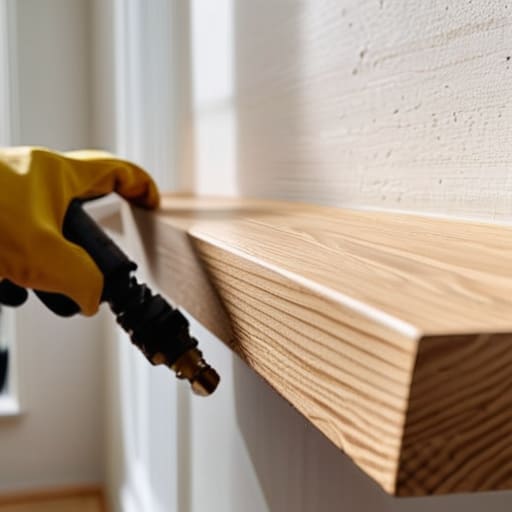
- 5. Now for the satisfying part: placing the shelf! Set your shelf material onto the brackets and make sure it’s seated firmly. If your shelf kit came with small set screws to lock the wood to the bracket, now is the time to secure them tightly. This ensures the shelf feels like a solid, integrated part of your wall rather than just something resting on top of it.
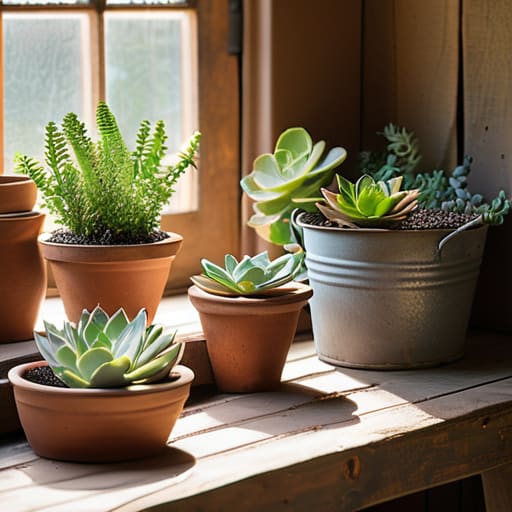
- 6. Finally, let’s do a quick “stress test.” Give the shelf a gentle nudge to make sure everything feels sturdy and secure. Once you’re confident, go ahead and style your space! Whether it’s a collection of succulents or your well-loved paperbacks, seeing your hard work holding up is the best reward.
Gathering Your Tools Needed for Shelf Mounting
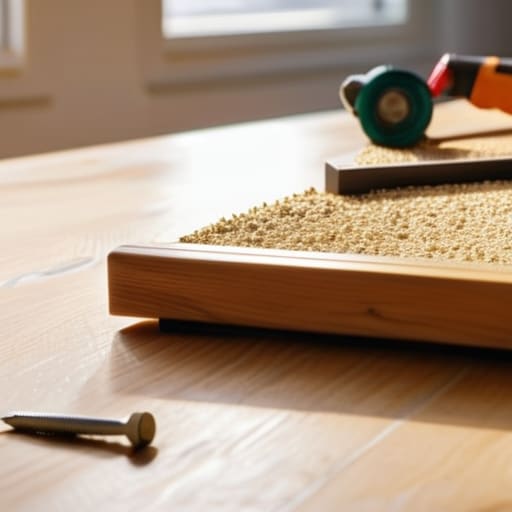
Before you dive into the actual work, let’s talk about the “prep phase.” I always tell my clients that a successful project is 80% preparation and 20% execution. Think of it like setting up a new workspace; if your tools are scattered across the room, you’ll lose your momentum before you even start. When looking at the tools needed for shelf mounting, you’ll definitely want a sturdy drill, a level, a pencil, and a measuring tape. I also highly recommend keeping a small tray nearby to catch any dust or stray screws—it’s those tiny little details that keep your workspace from turning into a chaotic mess!
The real secret sauce, though, lies in understanding your walls. Not all walls are created equal, and knowing your wall mounting hardware types is a total game-changer. If you’re working with drywall, you’ll likely be drilling holes for wall anchors to ensure everything stays put. However, if you can manage finding wall studs for shelving, you’ll have much more stability for heavier items like books or plants. It’s much better to spend five extra minutes checking your wall composition now than to realize later that your beautiful new decor is slowly sliding toward the floor!
Finding Wall Studs for Shelving and Secure Support
Now, here’s where the real magic—and a little bit of detective work—happens. Before you even think about picking up that drill, you need to find the “bones” of your wall. Finding wall studs for shelving is the absolute secret sauce to making sure your beautiful new display doesn’t end up as a pile of debris on the floor. I always tell my clients: treat your studs like the foundation of a house. If you can, use a stud finder to locate those wooden beams behind the drywall. Aiming your screws directly into a stud provides a level of stability that no plastic anchor can ever match.
If your layout doesn’t quite line up with the studs (which happens more often than you’d think!), don’t panic. You can still achieve a professional look by drilling holes for wall anchors in the spaces between. Just make sure you’re choosing the right heavy-duty anchors for the weight of what you’re planning to display. Think of it like choosing the right shoes for a hike—you wouldn’t want to wear flip-flops on a rocky trail, right? Getting this part right ensures your setup stays rock-solid for years to come.
Pro-Tips to Keep Your Shelves (and Your Sanity) Intact
- Double-check your weight limits before you get too attached to that heavy collection of vintage cookbooks. It’s much easier to plan for a lighter load now than it is to fish a fallen shelf out of your living room later!
- Use a level—and I mean a real one, not just your “eyeballing it” intuition. There is nothing more frustrating than finishing a project only to realize your beautiful new shelf is slowly sliding toward the floor.
- Don’t forget the “buffer zone.” If you’re mounting near a doorway or a light switch, take a second to make sure the shelf won’t block your path or make it impossible to flip the lights.
- If you aren’t hitting a stud, don’t sweat it, but do invest in some high-quality drywall anchors. Think of them as the little unsung heroes that do all the heavy lifting behind the scenes.
- Always do a “test load” once you’re done. Place something light on the shelf first to make sure everything feels solid and secure before you commit to displaying your most prized possessions.
Quick Wins for a Sturdy Setup
Prioritize those studs! While anchors are great, anchoring directly into a wall stud is the gold standard for making sure your decor stays exactly where you put it.
Measure twice, drill once (seriously!). A little extra precision during the layout phase saves you from the headache of crooked lines and unnecessary holes later on.
Don’t forget the “wiggle test.” Before you go placing your favorite heavy books or plants on the new shelf, give it a gentle tug to ensure everything is rock solid.
The Secret to a Perfect Setup
“Think of installing a shelf less like a construction project and more like solving a small, satisfying puzzle; once you get the foundation right, everything else just clicks into place.”
Jordan Bennett
The Finishing Touches
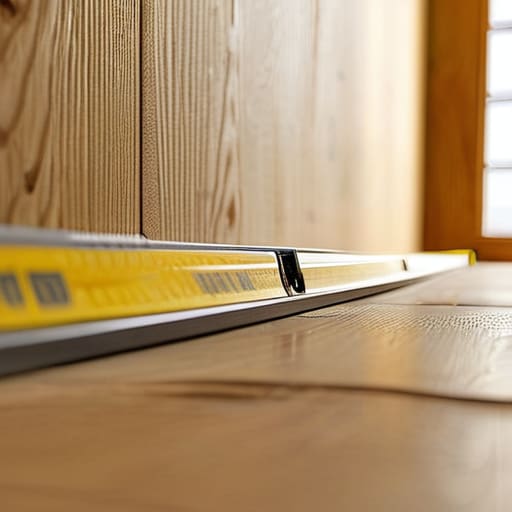
And just like that, you’ve gone from a blank wall to a functional piece of your home! We’ve covered a lot of ground, from hunting down those elusive wall studs to making sure you had every single tool ready to go. Remember, the secret to a shelf that doesn’t end up in a pile on the floor is all in the prep work. By taking that extra moment to measure twice and drill once, you’ve essentially future-proofed your decor. Now that the heavy lifting is done, you can focus on the fun part: leveling everything out and making sure those brackets are snug against the surface.
I know that staring at a pile of hardware and a power drill can feel a little overwhelming at first, but look at what you just accomplished. You didn’t just hang a piece of wood; you optimized your space and took control of your environment. To me, that’s exactly what productivity is all about—taking a chaotic or empty space and turning it into something that serves you. So, go ahead and stack those books or display those plants with total confidence. You’ve mastered the system, and honestly? You’re making this look easy!
Frequently Asked Questions
What if I can't find any studs in the exact spot where I want my shelf to go?
Don’t panic! This is like hitting a glitch in a piece of software—it’s frustrating, but there’s always a workaround. If your dream shelf spot is a “stud-free zone,” you just need to upgrade your hardware. Grab some high-quality drywall anchors, specifically toggle bolts. They act like little mechanical anchors that grip the back of the wall, providing the extra muscle needed to hold your gear without needing a stud in sight.
How much weight can I actually expect these brackets to hold before things get sketchy?
That is the million-dollar question! Honestly, it depends on whether you’ve hit a stud or just used drywall anchors. If you’re screwed directly into a stud, you’re golden—most brackets can handle a decent haul of books. But if you’re relying on anchors alone? Treat it like a delicate balance act. I always tell my clients: if it starts looking “sketchy,” it’s already too heavy. When in doubt, aim for half the rated capacity!
Is there a trick to making sure my shelf stays perfectly level without losing my mind?
Honestly, I used to dread this part! My secret weapon? Don’t just rely on your eyes—they’ll lie to you. Grab a bubble level, but here’s the pro tip: instead of hovering it over the shelf, place it on your marking line first. If you’re working solo, stick a piece of painter’s tape on the wall and mark your points there. It’s like setting a baseline in a code script; once the foundation is level, everything else just clicks!