Diy Cleaning Products That Actually Work
I remember sitting on my kitchen floor during my first year as a software engineer, surrounded by a literal mountain of specialized, neon-colored plastic bottles that promised to “revolutionize” my life. I had a different spray for the glass, a different one for the granite, and another for the baseboards, yet I still felt like I was failing at the basic task of keeping my space functional. It felt like the cleaning industry was a giant, overcomplicated puzzle designed to keep us buying more junk we don’t actually need. Honestly, the hype around expensive, chemical-heavy cleaners is such a drain on your mental bandwidth and your wallet. I realized then that I didn’t need a chemistry degree to maintain a home; I just needed a few smart, streamlined systems for my diy cleaning products.
In this guide, I’m stripping away the marketing fluff and getting straight to the logic. I’m going to share the exact, battle-tested recipes I use in my own home to keep things sparkling without the clutter. My goal isn’t to give you a hundred complicated steps, but to provide simple, effective solutions that actually work. We’re going to build a toolkit of versatile, low-cost essentials that will help you reclaim your time and your peace of mind.
Table of Contents
- The Power Duo Vinegar and Baking Soda Cleaning Hacks
- Eco Friendly Cleaning Solutions for a Faster Simpler Life
- My Little Notebook of Cleaning Shortcuts: 5 Pro-Tips for Success
- Making It Work for You: My Top Lessons
- ## Rethinking Your Cleaning Routine
- Small Changes, Big Impact
- Frequently Asked Questions
The Power Duo Vinegar and Baking Soda Cleaning Hacks
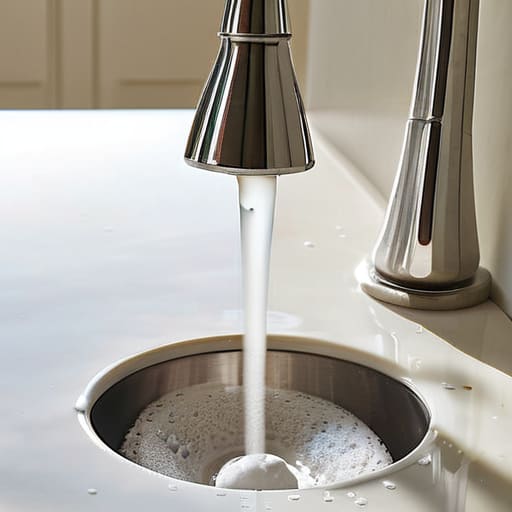
If my time in software engineering taught me anything, it’s that you don’t always need a complex, high-end system to solve a fundamental problem; sometimes, the most elegant solution is the simplest one. When it comes to tackling grime, vinegar and baking soda are essentially the “logic gates” of your cleaning arsenal. I love using them because they are incredibly cost-effective cleaning hacks that turn a daunting scrub session into a quick win. For instance, if you have a stubborn, stained sink, just sprinkle some baking soda over the surface and follow it up with a splash of white vinegar. That fizzy, bubbling reaction isn’t just satisfying to watch—it’s actually doing the heavy lifting to break down buildup for you.
Beyond the chemistry, there’s a huge peace of mind that comes with using these staples. As someone who loves optimizing my environment, I prioritize safe cleaning for pets and kids, and these two ingredients are total game-changers. You don’t have to worry about harsh fumes lingering in your living room after a deep clean. If you want to elevate the experience, I always suggest adding a few drops of essential oils for cleaning, like lemon or eucalyptus, to mask that sharp vinegar scent and give your home a spa-like finish.
Eco Friendly Cleaning Solutions for a Faster Simpler Life
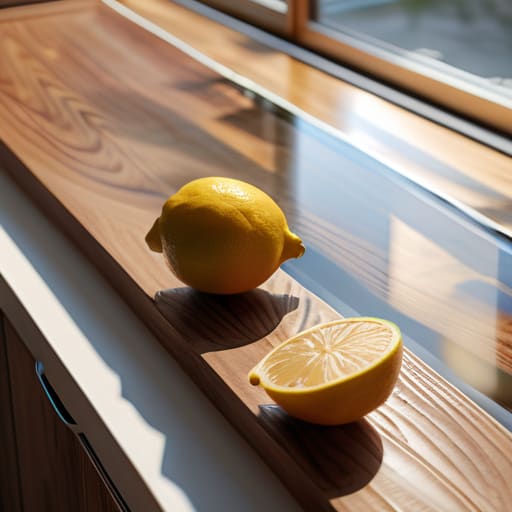
If you’re anything like me, you probably started your career chasing the latest high-tech gadget, thinking more features always equaled more efficiency. But honestly? I’ve learned that true optimization often comes from stripping things back to the basics. Switching to eco-friendly cleaning solutions isn’t just about being kind to the planet; it’s about reducing the mental load of managing a cabinet full of specialized, expensive chemicals. When you simplify your toolkit, you’re essentially debugging your household routine, removing the unnecessary “bloatware” that clutters your cleaning closet.
One of my favorite ways to level up these basic recipes is by adding a few drops of high-quality essential oils for cleaning. Think of it like adding a custom skin to a software interface—it doesn’t change the core function, but it makes the entire experience much more pleasant. A splash of lemon or tea tree oil can transform a standard spray into something that smells like a spa rather than a laboratory. Plus, it’s a total win for peace of mind, as these natural alternatives provide safe cleaning for pets and kids, ensuring your home remains a sanctuary rather than a chemistry experiment.
My Little Notebook of Cleaning Shortcuts: 5 Pro-Tips for Success
- Label everything like your life depends on it. I know, I know, it sounds a bit “software engineer” of me, but trust me—when you’re mixing custom solutions, you don’t want to accidentally grab a spray bottle thinking it’s lemon zest when it’s actually concentrated vinegar!
- Start small with your batches. Think of it like testing a new piece of code; you don’t want to deploy a massive, expensive gallon of a new mixture if it turns out it doesn’t work for your specific countertop. Test a tiny amount in an inconspicuous spot first.
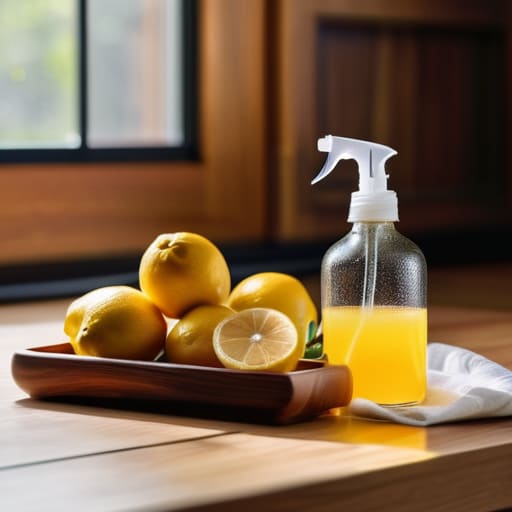
- Invest in some decent glass spray bottles. Since many DIY ingredients don’t have the heavy-duty preservatives that store-bought stuff has, glass is much better for preventing any weird chemical reactions and keeps your “tech kit” looking sleek and organized.
- Keep a “cleaning station” kit ready to go. I like to keep my essential ingredients in one dedicated bin. It turns the chore from a daunting, multi-step project into a quick, automated workflow that fits right into my morning routine.
- Don’t be afraid to lean into the scent. One of the best parts of DIY is that you aren’t stuck with that harsh, clinical smell. Add a few drops of essential oils—lavender for calm or citrus for energy—to turn a boring chore into a little sensory reset.
Making It Work for You: My Top Lessons
Stop overcomplicating the process; you don’t need a chemistry degree or a cabinet full of expensive bottles to get a sparkling home when a few pantry staples do the heavy lifting.
Think of cleaning as a system, not a chore—by prepping your DIY solutions in advance, you’re essentially automating your housework so you can reclaim your weekend.
Don’t be afraid to experiment and tweak your recipes, because the best “productivity hack” is a cleaning routine that actually fits your specific lifestyle and home environment.
## Rethinking Your Cleaning Routine
“Think of DIY cleaning not as another chore on your to-do list, but as a way to debug your home environment—replacing complex, cluttered chemical cabinets with simple, elegant formulas that actually work.”
Jordan Bennett
Small Changes, Big Impact
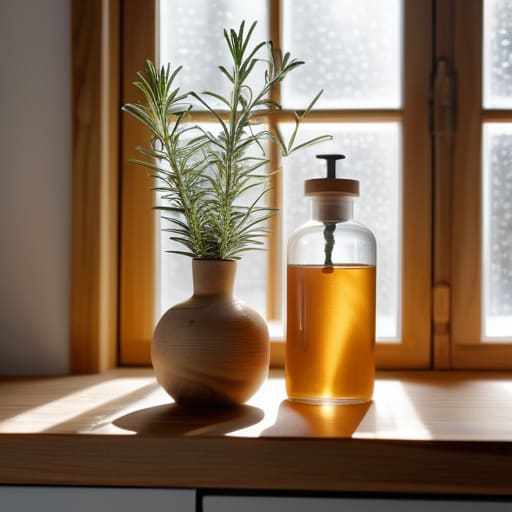
At the end of the day, switching to DIY cleaning products isn’t just about scrubbing floors; it’s about optimizing your environment without the unnecessary overhead of expensive, chemical-heavy brands. We’ve looked at how the classic vinegar and baking soda duo can tackle almost any grime, and how embracing eco-friendly alternatives can streamline your cleaning routine. By treating your cleaning supplies like a well-designed system—simple, effective, and predictable—you remove the mental friction that usually comes with household chores. You aren’t just cleaning; you are building a more efficient home ecosystem that works for you, rather than against you.
I know that when life gets hectic, the last thing you want to do is add “making soap” to your to-do list. But I promise you, once you find your rhythm with these simple recipes, you’ll realize that these small tweaks are like upgrading your life’s operating system. Don’t feel like you have to overhaul your entire pantry overnight; just pick one spray or one solution to start with. Think of it as a miniature automation project for your home. Life is a complex puzzle, but keeping your space clean shouldn’t be one of the pieces that keeps you stuck. You’ve got this!
Frequently Asked Questions
Are there any specific surfaces, like marble or granite, that I should avoid using vinegar on to prevent damage?
That is such a sharp question! You’ve hit on one of those “system errors” in the DIY world. While vinegar is a powerhouse, its acidity is a bit too aggressive for natural stones like marble, granite, or limestone. Think of it like running a heavy script on a delicate OS—it can actually etch and dull the surface permanently. For those high-end counters, stick to a pH-neutral cleaner to keep them shining without the damage.
How long can I actually store these homemade mixtures before they lose their effectiveness or start to smell weird?
That’s such a great question! Think of these mixtures like fresh ingredients in a kitchen—they don’t stay “perfect” forever. Generally, I recommend keeping your DIY sprays in a cool, dark spot and using them within two to four weeks. If you mix something with citrus peels, it might last a bit longer, but once it smells “off” or looks cloudy, it’s time to toss it. Better to start fresh than to clean with something funky!
Can I use these DIY solutions safely around my pets and kids, or are there certain essential oils I should steer clear of?
That is such a crucial question! When we’re optimizing our homes, we have to make sure our “solutions” don’t create new problems for our little ones or furry roommates. While vinegar and baking soda are total superstars for safety, you definitely need to be picky with essential oils. I’d steer clear of tea tree, peppermint, or citrus around pets, as they can be tricky for their systems. Always do a quick patch test and prioritize simplicity!