How to Paint Kitchen Cabinets for a Whole New Look
I was standing in my kitchen last Tuesday, staring at my dated, honey-oak cabinets with a cup of lukewarm coffee, feeling that familiar wave of overwhelm. Most DIY blogs will tell you that learning how to paint kitchen cabinets is a weekend project that anyone can breeze through with a bit of grit, but let’s be real: it’s actually a complex system of variables that can easily go sideways if you don’t have a solid logic behind your steps. If you approach it like a chaotic scramble rather than a structured process, you’ll end up with peeling paint and a massive headache instead of the dream kitchen you envisioned.
I’ve spent my career breaking down intricate tech systems into manageable workflows, and I’m applying that exact same optimization mindset to this home renovation project. In this guide, I’m skipping the fluff and the “Pinterest-perfect” illusions to give you a practical, step-by-step blueprint. We are going to tackle everything from the essential prep work to the final coat, ensuring you achieve a professional finish without losing your mind. Think of this as your personal productivity manual for a total kitchen transformation.
Table of Contents
- Step-by-Step Instructions
- The Essential Cabinet Painting Supplies Checklist
- Mastering How to Prep Cabinets for Painting Success
- Pro-Tips from My Notebook: Avoiding the Common Cabinet Pitfalls
- The Big Picture: My Top Three Golden Rules
- The Secret to a Smooth Finish
- The Final Piece of the Puzzle
- Frequently Asked Questions
Guide Overview
Tools & Supplies
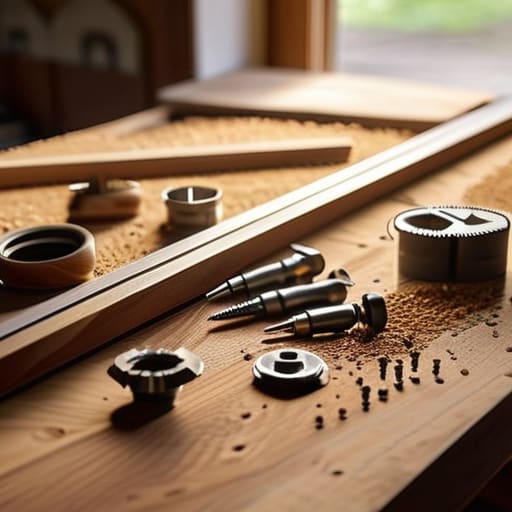
- Screwdriver or drill to remove hardware and doors
- Sandpaper (120-220 grit) for smoothing surfaces
- High-quality angled brush for detail work
- Small microfiber roller for smooth finishes
- Cabinet degreaser or TSP (1 bottle)
- Painter's tape (1-2 rolls)
- Primer (1-2 gallons depending on surface)
- Cabinet-grade paint (2 gallons)
Step-by-Step Instructions
- 1. Before you even touch a paintbrush, you need to clear the deck. I’m talking about removing every single door, drawer, and piece of hardware. It might feel like a massive chore, but think of it as defragmenting your hard drive; you need a clean, unobstructed workspace to avoid any messy errors later on. Pro tip: Use a little piece of painter’s tape to label which hinge goes to which door so you aren’t playing a guessing game when it’s time to reassemble everything.
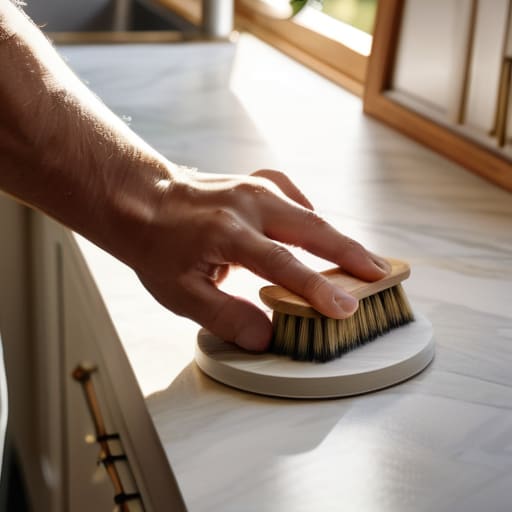
- 2. Now comes the part that most people try to skip, but trust me, it’s the most critical step in the entire process: cleaning. Kitchen cabinets are magnets for grease, dust, and mysterious sticky residues that act like a barrier between your paint and the wood. Grab a heavy-duty degreaser and scrub every inch until the surface is spotless. If you don’t get that grime off, your beautiful new finish will peel off faster than a cheap app update.
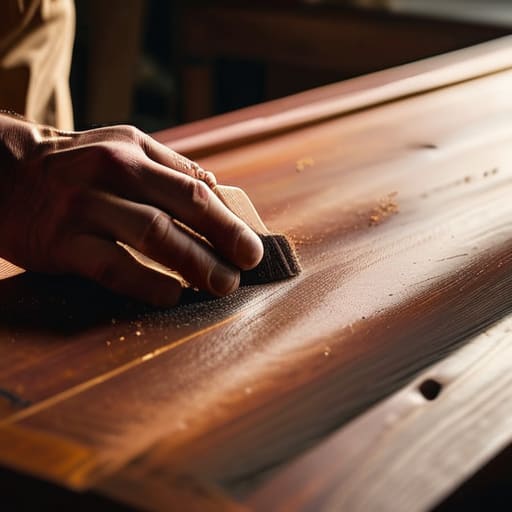
- 3. Once everything is dry, it’s time to sand. You aren’t trying to sand the wood down to nothing; you’re just “scuff sanding” to create a microscopic texture that allows the primer to grab hold. I like to use a fine-grit sandpaper to lightly buff the surfaces until they feel smooth but slightly matte. It’s a bit like prepping a canvas—you’re just setting the stage for the real magic to happen.
- 4. Next up is priming, and please, don’t skimp on the quality here. I’ve seen too many DIY projects fail because someone used a cheap, watery primer that didn’t seal the wood properly. Apply a high-quality, stain-blocking primer in thin, even coats. This acts as your foundation, ensuring that any tannins or old stains don’t bleed through your gorgeous new color and ruin the aesthetic.
- 5. Now for the fun part: the actual painting! I highly recommend using a high-quality microfiber roller for the large flat surfaces to get that ultra-smooth finish without annoying brush strokes. For the intricate corners and trim, a small, high-quality brush is your best friend. Remember the golden rule of productivity: slow and steady wins the race. It is much better to apply three thin, even coats than to try and finish everything in one thick, gloopy layer.
- 6. While you’re waiting for the paint to dry, take a moment to inspect your work. If you spot a tiny drip or a missed spot, don’t panic! Just wait for it to be completely dry before lightly sanding it down and touching it up. Patience is a virtue, especially when you’re trying to achieve a professional-grade result in your own home.
- 7. Finally, once the paint is fully cured (and I mean really cured, so give it a little extra time), it’s time to put the pieces back together. Reinstall your hardware and hang your doors. It’s that incredibly satisfying moment where all the individual pieces of the puzzle finally snap into place, and you realize you’ve completely transformed your kitchen without needing a full renovation.
The Essential Cabinet Painting Supplies Checklist
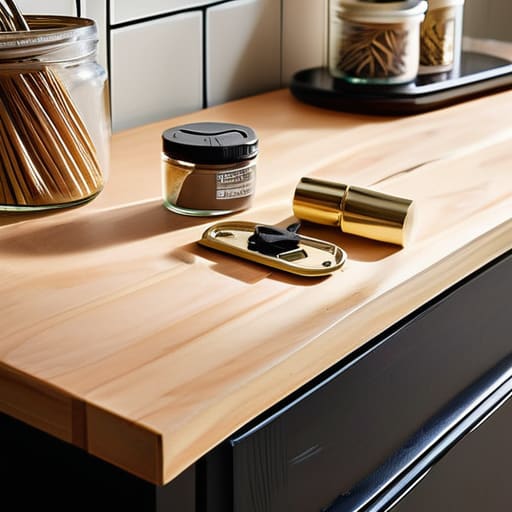
Before you dive into the fun part, let’s talk about the gear. I like to think of your supplies as the specialized tools in a toolkit; if you’re missing even one small piece, the whole system can feel a bit glitchy. First things first: don’t skip the step of removing cabinet hardware for painting. It might feel like an extra chore, but trying to paint around knobs and pulls is like trying to code without a debugger—it’s just going to lead to frustration and messy edges. Grab a small container to keep those screws organized so you aren’t hunting for them later!
Next, let’s talk about the “engine” of your project: the liquid gold. Finding the best paint for kitchen cabinets is a total game-changer. You aren’t just looking for a pretty color; you need something durable enough to withstand the daily chaos of a busy kitchen. I always recommend a high-quality cabinet primer and finish combo to ensure that your hard work doesn’t chip away in six months. Having a solid cabinet painting supplies checklist ready to go means you won’t have to pause mid-flow to run to the hardware store, keeping your momentum high and your stress levels low.
Mastering How to Prep Cabinets for Painting Success
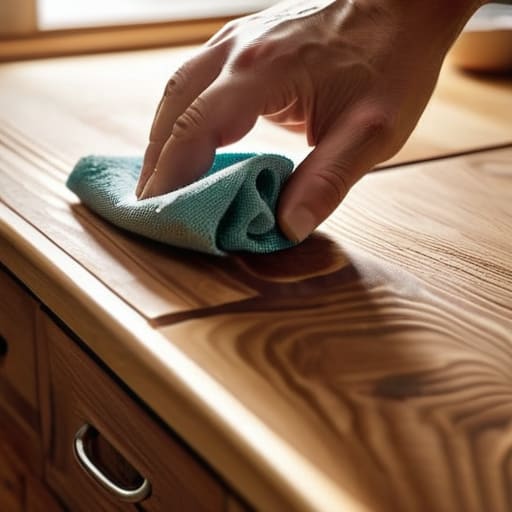
If there’s one thing my years in software engineering taught me, it’s that you can’t build a beautiful interface on top of buggy code. The same logic applies here. If you rush through the cleaning or sanding, you’re essentially building your new kitchen look on a shaky foundation. When learning how to prep cabinets for painting, I always tell my clients to treat it like a deep-clean ritual. You aren’t just wiping away dust; you’re stripping away years of accumulated cooking grease that would otherwise cause your new finish to peel like a bad sunburn.
Once the surfaces are spotless, it’s time for the heavy lifting: removing cabinet hardware for painting. I know, it feels like a tedious chore, but trust me, trying to paint around knobs and hinges is a recipe for a “glitchy” result. It’s much easier to lay everything out in organized bins—think of it as organizing your desktop folders before starting a big project. This step ensures you have a clear, unobstructed canvas, allowing your cabinet primer and finish to bond perfectly with the wood for a professional, factory-smooth look.
Pro-Tips from My Notebook: Avoiding the Common Cabinet Pitfalls
- Don’t rush the drying game. I know, I know—you want to see that gorgeous new color immediately, but if you apply a second coat too soon, you’re basically inviting a sticky disaster. Think of it like debugging code: if you move to the next step before the first one is stable, the whole system crashes. Let those layers cure properly!
- Invest in a high-quality microfiber roller. If you’re still using those cheap foam rollers from the bargain bin, stop right there! A good microfiber roller is the secret sauce to getting that smooth, factory-like finish without those annoying little bubbles that make your hard work look like an orange peel.
- Sanding isn’t just a suggestion; it’s your best friend. Even if your cabinets look smooth as silk right now, a light scuffing with fine-grit sandpaper creates “teeth” for the paint to grab onto. It’s like prepping a surface for a new software installation—you need that solid foundation so nothing peels away later.
- Keep your workspace a “low-traffic zone.” I’ve learned the hard way that even a tiny bit of dust or a stray pet hair landing on wet paint can ruin your mood (and your finish). If you can, seal off the kitchen or run an air purifier while you work to keep the environment as clean as possible.
- Test your colors in your actual kitchen light. A swatch that looks like a dreamy soft sage in the bright light of a hardware store might look like a muddy forest green once it’s under your kitchen’s warm LED lights. Grab a sample pot and paint a small, inconspicuous area first—it’s the ultimate “beta test” before you commit to the full rollout.
The Big Picture: My Top Three Golden Rules
Don’t rush the prep work; think of it as setting the foundation for a skyscraper—if the base is shaky, the whole thing is going to wobble no matter how pretty the paint is.
Invest in quality tools over quantity, because a high-end brush or roller is the difference between a smooth, professional finish and a streaky, frustrating mess.
Patience is your best friend in this process, so embrace the “slow and steady” approach by letting layers dry completely before you even think about adding the next one.
The Secret to a Smooth Finish
“Think of painting your cabinets less like a chore and more like a DIY automation project: if you invest the time to calibrate your prep work perfectly, the actual painting becomes a seamless, satisfying flow rather than a struggle against the grain.”
Jordan Bennett
The Final Piece of the Puzzle
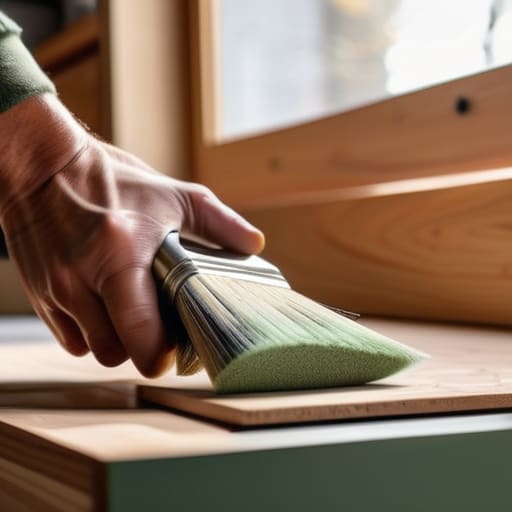
At this point, you’ve done the heavy lifting—literally and figuratively. From gathering your supplies to tackling that intensive prep work, you’ve laid a foundation that most people skip, and that is exactly why your results are going to look professional. Remember, the secret isn’t in some magic spray paint; it’s in the patience you showed during the cleaning and sanding stages. By following these steps, you haven’t just changed the color of some wood; you’ve successfully managed a complex system, turning a daunting home renovation project into a series of small, achievable wins.
I know there were probably moments when you looked at those sandpaper grits and thought, “Maybe I should just call a professional.” But look at how far you’ve come! Transforming your kitchen is a lot like my DIY automation projects: it requires a bit of troubleshooting and a lot of heart, but the payoff is incredibly rewarding. As you step back to admire your fresh, new space, I hope you realize that you are capable of tackling much more than just a cabinet refresh. You’ve mastered this puzzle, and now you’re ready to design a life—and a home—that truly reflects who you are.
Frequently Asked Questions
How long do I actually need to wait before I can start using my kitchen again without ruining the finish?
The “dry to the touch” trap is real! While your cabinets might feel dry after a few hours, they’re still soft underneath. I like to think of it like a new pair of leather boots: they look ready, but if you run a marathon in them immediately, you’re going to cause some damage. For a truly durable finish, try to hold off on heavy use or cleaning for at least 7 to 14 days. Patience is your best tool here!
Is it worth investing in a professional sprayer, or can I get a smooth, factory-like look just using brushes and rollers?
Honestly, it’s a bit of a trade-off between perfection and peace of mind. If you’re chasing that flawless, “straight from the factory” finish, a sprayer is your best friend—it eliminates those tiny brush marks that can be a real headache. But don’t let that intimidate you! With high-quality microfiber rollers and a steady hand, you can get remarkably close to a pro finish without turning your kitchen into a literal spray zone.
What should I do if I notice drips or uneven patches while the paint is still drying?
Don’t panic! I’ve definitely been there—staring at a rogue drip like it’s a glitch in a piece of code I can’t fix. If the paint is still wet, grab a clean brush and gently smooth it out. If it’s already tacky or dry, let it set completely. Once it’s hard, lightly sand that bumpy patch until it’s flush, wipe away the dust, and apply a thin, even coat. It’s just one more puzzle piece to smooth out!