How to Make Your Own Curtains (no Sewing Machine Needed)
I was standing in my living room last Tuesday, staring at a set of mass-produced, beige window coverings that felt more like a functional error in my home’s design than actual decor. I had spent way too much money on “designer” options that lacked personality, and the thought of tackling a sewing machine felt as daunting as debugging a thousand lines of broken code. But here’s the thing: everyone thinks you need a professional studio or a degree in textile design to master diy curtains, when really, it’s just about understanding a few basic systems.
In this guide, I’m stripping away the intimidation factor and breaking this project down into manageable, logical steps. I’m not going to give you any of that over-complicated, high-stress fluff; instead, I’ll share the no-nonsense hacks I’ve picked up from years of tinkering with my own space. We’ll cover everything from choosing the right fabric to the simplest way to hang them without a meltdown. Let’s stop settling for “good enough” and start piecing together a home that actually feels like yours.
Table of Contents
- Step-by-Step Instructions
- Mastering Fabric Selection for Window Treatments
- Measuring Windows for Curtains With Precision
- Pro-Level Finishing Touches: My Secret Sauce for Polished DIY Curtains
- My Top Three Tips for Curtain Success
- ## The Beauty of the Small Win
- Finishing Your Window Project
- Frequently Asked Questions
Guide Overview
Tools & Supplies
- Fabric scissors for clean straight cuts
- Measuring tape for accurate dimensions
- Sewing machine or needle and thread for assembly
- Pins or clips to hold fabric in place
- Iron and ironing board to press seams
- Fabric (2-3 yards depending on window size)
- Thread (1 spool matching fabric color)
- Hem tape (optional for no-sew method)
- Curtain rod or hardware (to hang finished product)
Step-by-Step Instructions
- 1. First things first, we need to gather our “components.” Think of this like setting up a new workspace; if you don’t have your tools ready, the whole system crashes. You’ll need your fabric (measure twice, cut once!), a measuring tape, fabric scissors, pins, and either a sewing machine or some heavy-duty hem tape if you’re opting for the no-sew route. I always keep a little notebook handy to jot down my specific measurements so I don’t have to keep running back to the window.
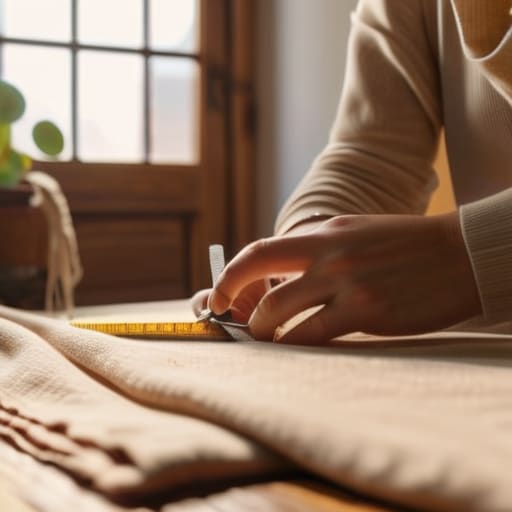
- 2. Now, let’s tackle the math. Grab that measuring tape and measure the width of your window, then multiply that by two—or even two and a half if you want those beautiful, deep folds that make a room look expensive. For the length, measure from your curtain rod down to where you want the fabric to end. Don’t forget to add an extra few inches to your total length to account for the top header and the bottom hem.
- 3. Once you have your numbers, it’s time to lay out your fabric on a flat surface. This is where we translate our plan into reality. Use your fabric scissors to cut your pieces according to the dimensions we just calculated. I like to treat this like debugging code; if the cut is off by even a tiny bit, the whole “program” might look a little wonky once it’s hanging up.
- 4. Next up is the “header” phase, which is essentially the interface of your curtain. If you’re sewing, fold the top edge down to create a pocket for your rod, pin it securely, and stitch along the edge. If you’re going the no-sew way, apply your iron-on hem tape within that fold. This step is absolutely crucial because it determines how smoothly your curtains will glide across the rod.
- 5. Now, let’s work on the sides and the bottom hem to give everything a polished, finished look. Fold the edges inward by about an inch, pin them in place, and either sew or tape them down. I find that doing this in small, manageable increments prevents the fabric from bunching up, which can be a total headache if you’re trying to maintain clean lines.
- 6. Before we go live, we need to do a quick quality assurance check. Hang your new curtains up on the rod and step back to see how they look. Do they hang straight? Is the length hitting the floor just right? This is your chance to make any minor adjustments before you commit to the final look. It’s much easier to tweak a pin now than to realize you’ve made a mistake once they’re fully installed.
- 7. Finally, if everything looks perfect, give them a quick steam or iron to get rid of those stubborn fold lines. There’s nothing quite like the feeling of seeing a project go from a pile of fabric to a functional piece of home decor that you built with your own two hands. It’s a small win, but those are the ones that make life feel a little more organized and a lot more bright!
Mastering Fabric Selection for Window Treatments
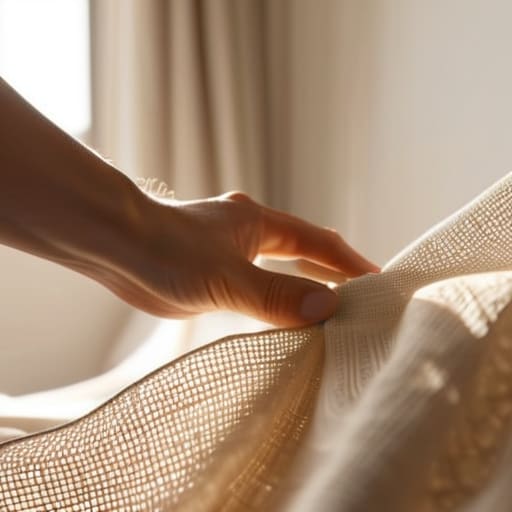
Think of your fabric as the “operating system” of your window; it dictates how the entire room functions. If you pick something too heavy, your windows might feel weighed down; too sheer, and you lose that sense of privacy. When you’re diving into fabric selection for window treatments, I always suggest starting with the light test. Hold your chosen material up to a window and see how it interacts with the sun. A linen blend offers that breezy, effortless vibe that works wonders for a minimalist aesthetic, while a heavier velvet can act like a cozy weighted blanket for your living room, blocking out drafts and noise.
Don’t feel like you need to be a master tailor to get professional results, though. If sewing feels like a daunting bug in your workflow, lean on a little “tech shortcut” like hem tape for curtains. It’s a total lifesaver for achieving those clean, crisp lines without the stress of a sewing machine. Just remember to account for the “drape factor”—some fabrics are more stubborn than others and might need a bit more slack to hang naturally.
Measuring Windows for Curtains With Precision
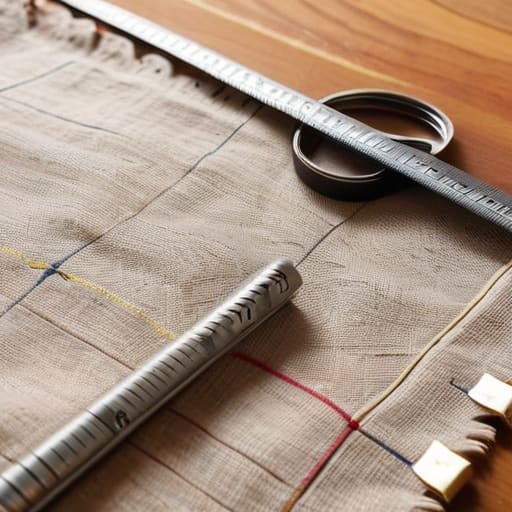
Before we even touch a pair of scissors, we have to tackle the most critical part of the puzzle: the math. I know, I know—measuring sounds like the least “creative” part of this project, but think of it like debugging code. If your initial measurements are off by even half an inch, the whole system crashes! When you’re measuring windows for curtains, don’t just measure the glass itself. You need to account for the “stack back”—that’s the space the fabric takes up when the curtains are pulled open. I always recommend measuring the width of your window and then adding about 6 to 12 inches on each side to ensure your windows don’t look cramped.
Next, let’s talk about height. Are you going for a breezy, floor-length look or something more modern and cropped? To get that high-end, designer feel, I suggest mounting your rod a few inches above the window frame rather than right on it. This creates an illusion of height that makes your ceilings feel much loftier. Grab your metal measuring tape (please, put the sewing tape measure away for this part!) and double-check your vertical drop from the intended rod placement down to the floor. It’s much easier to trim excess fabric later than it is to stretch a short curtain!
Pro-Level Finishing Touches: My Secret Sauce for Polished DIY Curtains
- Don’t skip the steam! Even if your sewing is perfect, a little bit of heat from a handheld steamer will melt away those “I just pulled this out of a bag” wrinkles and make your curtains look like they came straight from a high-end boutique.
- Think about the “hang” before you sew. I always recommend doing a quick test hang with some scrap fabric or even just some heavy tape to see how the weight of your chosen material interacts with your rod; it’s much easier to adjust a seam now than to realize your curtains are too stiff once they’re up.
- Embrace the hem weight. If you’re working with lighter fabrics that feel a bit flighty, try sewing a small drapery weight or even just a heavy cord into the bottom hem—it adds that satisfying, professional “drop” that keeps everything looking intentional.
- Mind your hardware math. It’s easy to get caught up in the fabric, but remember that your curtain rod’s width and the rings you choose will actually change how much fabric is visible; always account for that extra inch or two of “scrunch” so your windows don’t look stretched thin.
- Use the right tools for the job, especially your needles. If you’re moving from a lightweight linen to a heavy velvet, swap out your needle! Using a dull or thin needle on thick fabric is a recipe for frustration and uneven stitches, and we want this puzzle to come together smoothly.
My Top Three Tips for Curtain Success
Don’t skip the measuring stage; even a tiny error in your math can turn a beautiful piece of fabric into a frustrating DIY headache.
Think about light as much as aesthetics—choose your fabric based on how much natural sunshine you actually want flooding your room.
Remember that perfection is the enemy of progress; even if your first set isn’t “Pinterest-perfect,” the sense of accomplishment from making something yourself is a huge win.
## The Beauty of the Small Win
“Think of DIY curtains not as a daunting home renovation project, but as a simple logic puzzle; once you align your measurements with the right fabric, you aren’t just covering a window—you’re optimizing the entire mood of your room.”
Jordan Bennett
Finishing Your Window Project
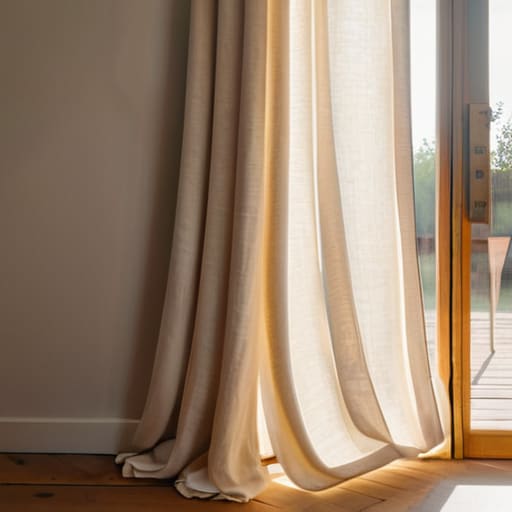
We’ve covered a lot of ground today, from navigating the endless sea of fabric textures to the high-stakes precision of measuring your windows. It’s easy to feel a little overwhelmed when you’re staring at a pile of raw material and a sewing machine, but remember that every expert started with a single, slightly crooked stitch. By focusing on the right materials and getting those measurements exactly right, you’ve already done the heavy lifting. You’ve essentially built the blueprint; now, it’s just about the execution. Once those curtains are hanging, you’ll realize that the effort was just a small investment for a massive boost in your home’s atmosphere.
At the end of the day, DIY isn’t about achieving factory-perfect symmetry; it’s about the satisfaction of looking around your room and knowing you played an active role in shaping it. Think of your home as a living puzzle, and these curtains are a custom piece you designed yourself to make the whole picture feel complete. Don’t be afraid to embrace the imperfections—they are the fingerprints of your creativity. So, grab that fabric, trust your process, and go turn those windows into something truly special. You’ve totally got this!
Frequently Asked Questions
I'm worried about the finish—how do I get those professional-looking hems without a heavy-duty sewing machine?
I totally get that anxiety! You want that polished, boutique look without needing a heavy-duty industrial setup. Honestly, my favorite “cheat code” is using iron-on hem tape. It’s a total game-changer for DIYers. You just fold your fabric, lay the tape in the crease, and press it with an iron. It creates a crisp, clean edge that looks surprisingly professional—and it’s much more forgiving than wrestling with a sewing machine!
Should I be looking at blackout linings, or will that make my DIY project feel too bulky and complicated?
That’s such a great question! It’s easy to worry that adding layers will turn your windows into heavy, awkward blocks, but think of a lining like a software patch—it adds a crucial layer of functionality without breaking the system. If you need sleep or privacy, blackout linings are total game-changers. To keep things from feeling bulky, just opt for a lightweight thermal lining; it adds structure and light control without the “heavy curtain” headache.
How do I figure out the right rod length so my curtains don't look like they're "floating" awkwardly away from the window?
Think of your curtain rod like a frame for a beautiful painting; if the frame is too small, the whole picture feels cramped! To avoid that awkward “floating” look, don’t just measure the window width. Instead, aim to extend your rod about 6 to 10 inches beyond the window frame on each side. This trick makes your windows look wider and allows the fabric to rest beautifully against the wall when open.