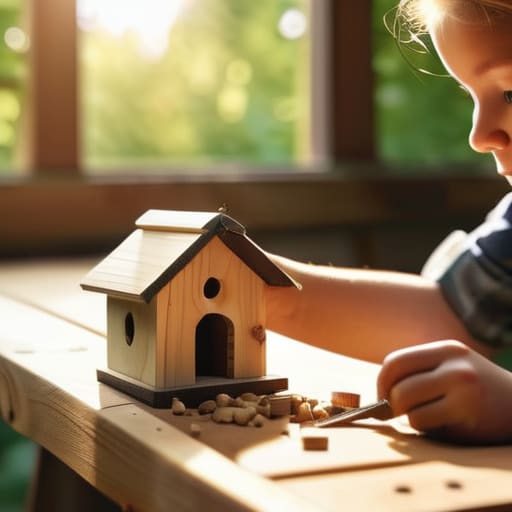
How to Build a Birdhouse With the Kids
I was standing in my garage last Saturday, surrounded by a chaotic mountain of cedar scraps and half-finished automation sensors, staring at a set of instructions that felt more like a complex coding manual than a woodworking guide. It hit me then: most people think learning how to build a birdhouse requires a master craftsman’s workshop or a degree in structural engineering, but that’s a total myth. In reality, building something meaningful for your backyard is much more about systematic simplicity than it is about expensive, high-tech tools.
I’ve spent my career breaking down complex software architectures into manageable steps, and I promise you, a birdhouse is no different. In this guide, I’m stripping away the fluff and the intimidating jargon to give you a straightforward blueprint that actually works. We’re going to focus on the essential mechanics, the right materials, and a few little “hacks” I’ve picked up from my own DIY tinkering to ensure your project is a success. By the time we’re done, you’ll have a functional, beautiful little home for your local feathered friends without the unnecessary headache.
Table of Contents
- Step-by-Step Instructions
- Selecting the Best Wood for Birdhouses and Longevity
- Essential Woodworking Tools for Birdhouses and Success
- Pro-Tips to Keep Your Feathered Friends Happy (and Your Project Stress-Free)
- Quick Wins for Your Backyard Project
- The Big Picture
- Putting the Final Pieces Together
- Frequently Asked Questions
Guide Overview
Tools & Supplies
- Hand saw or miter saw for cutting wood
- Hammer for assembling pieces
- Drill with 1.5-inch spade bit for entrance hole
- Tape measure for accurate dimensions
- Cedar or pine board (approx. 1x6x4 feet)
- Galvanized nails (small box)
- Wood glue (waterproof)
- Sandpaper (medium grit)
Step-by-Step Instructions
- 1. First things first, let’s gather our “hardware.” Think of this like setting up your workspace before a big coding sprint—you don’t want to be hunting for a screwdriver halfway through the build. You’ll need a piece of untreated cedar or pine (cedar is my favorite because it’s naturally weather-resistant), a saw, some galvanized nails, a hammer, and a drill. I always tell my clients that having the right tools is half the battle when it comes to reducing friction in a project.
- 2. Now, it’s time to map out your blueprint. Grab a pencil and mark your wood into six distinct sections: the floor, the roof (you might want two pieces if you’re feeling fancy with a peaked roof), two sides, a front, and a back. I like to think of this as defining your requirements before you start writing any code; if your measurements are off here, the whole system is going to feel a bit glitchy later on.
- 3. Once your lines are drawn, it’s time to get cutting. Use your saw to carefully follow those pencil marks. Don’t worry if your lines aren’t perfectly straight—perfection is the enemy of progress, and a little character makes the birdhouse feel more “handmade.” Just make sure your cuts are relatively square so the pieces actually fit together without leaving huge gaps for the wind to whistle through.
- 4. This is where we add the “user interface”—the entrance hole! Using a drill with a spade bit, create a hole in your front panel. The size of this hole is actually a crucial specification; if it’s too big, predators might get in, but if it’s too small, your feathered friends won’t be able to move in. For most small songbirds, a diameter of about 1.25 to 1.5 inches is usually the sweet spot.
- 5. Time to assemble the structure. Start by nailing the sides to the back panel, then attach the floor. I find it helpful to use a little bit of wood glue along the edges before hammering in the nails; it’s like adding a layer of security to your build, making the whole thing much more durable against the elements. Just take your time and keep your fingers clear of the hammer!
- 6. Finally, attach your front panel and the roof. If you’re building a slanted roof, make sure it has a slight overhang to act as a little porch—this helps keep the rain from splashing directly into the entrance. Once everything is secure, find a sturdy tree or a post to mount it on. You’ve just optimized your backyard ecosystem, and honestly, there’s nothing more satisfying than seeing a project go from a pile of wood to a functional home.
Selecting the Best Wood for Birdhouses and Longevity
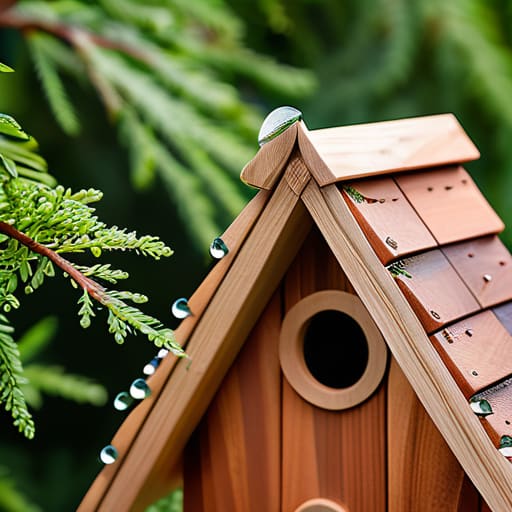
Choosing the right material is a lot like picking the right operating system for a new project—you want something stable, reliable, and capable of handling the environment it’s going into. When it comes to finding the best wood for birdhouses, I always tell my clients to think about weatherproofing. You don’t want to be out there sanding and re-staining every single season! While pine is a budget-friendly option, it tends to rot if it gets too much love from the rain. If you want a “set it and forget it” solution, I highly recommend leaning into cedar birdhouse construction. Cedar is naturally resistant to decay and insects, meaning it can handle the elements while looking beautiful and rustic in your garden.
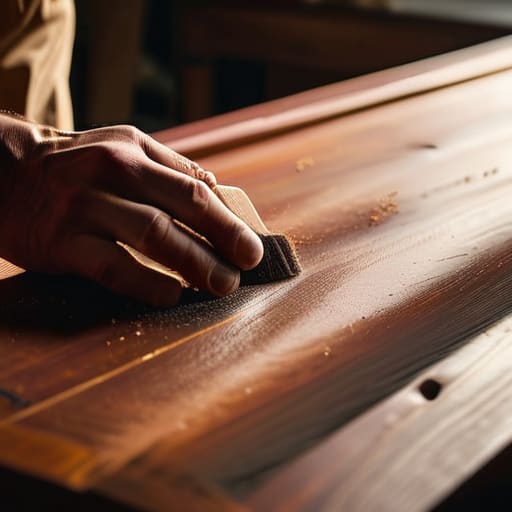
If you decide to go the cedar route, you’ll find that it’s incredibly forgiving to work with, even if you’re just getting your feet wet with basic woodworking tools for birdhouses. Just a quick tip from my notebook: avoid using pressure-treated lumber. The chemicals used to preserve that wood can be a bit too “toxic” for our feathered friends. Stick to natural, untreated woods to ensure your new backyard neighbors have a safe, healthy place to call home.
Essential Woodworking Tools for Birdhouses and Success
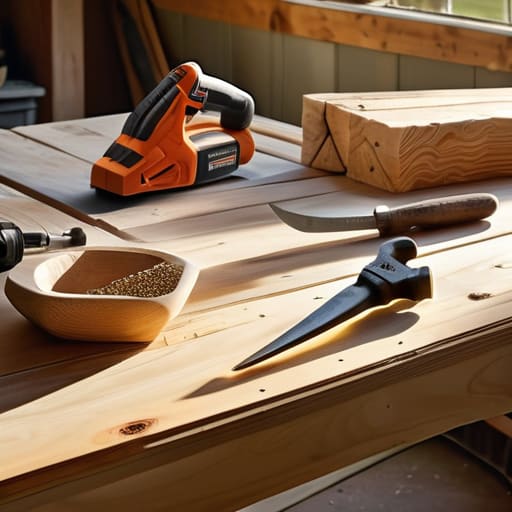
Now, let’s talk gear. I know walking into a hardware store can feel a bit like stepping into a cockpit—there are so many buttons and levers that it’s easy to freeze up. But honestly, you don’t need a professional workshop to get this done. For basic woodworking tools for birdhouses, I always suggest starting with the essentials: a reliable handsaw (or a miter saw if you’re feeling fancy), a hammer, and a drill. If you want to make the process smoother, a drill with a spade bit is your best friend for ensuring you get the perfect birdhouse entrance hole size every single time.
One little tip from my days in software: think of your tools like your tech stack—the right setup prevents bugs later on. If your cuts are jagged or your holes are uneven, it can actually make the house less inviting. I personally love using a speed square to keep everything straight; it’s a tiny tool that saves a massive amount of headache. Getting these basics right isn’t just about the build; it’s about creating a sturdy, safe little sanctuary that will actually last through the seasons.
Pro-Tips to Keep Your Feathered Friends Happy (and Your Project Stress-Free)
- Skip the fancy paint on the inside. While a bright exterior can look cute, you want to keep the interior natural and untreated so it’s safe for the birds and their babies.
- Think about ventilation like you would with your own home office. Drilling a few small holes near the top of the side walls helps prevent the house from becoming a literal oven on hot summer days.
- Don’t forget the drainage! A birdhouse needs a way to stay dry, so I always recommend drilling a few tiny holes in the bottom floor to let any moisture escape.
- Skip the perch if you can. I know, it looks classic, but most backyard birds don’t actually need them, and those little perches often just act as a convenient handle for predators to hang onto.
- Plan for an “easy exit” strategy. Instead of nailing everything shut, use a couple of screws on one side so you can easily pop the panel off to clean out the old nesting material once the season is over.
Quick Wins for Your Backyard Project
Don’t overthink the perfection; focus on choosing weather-resistant wood like cedar and getting those basic measurements right so your feathered friends have a sturdy home.
Keep your toolkit lean and mean—you don’t need a professional workshop, just the essential tools to make clean cuts and secure joints.
Remember that building is a process of trial and error, so treat every little mistake as just another piece of the puzzle in your learning journey.
The Big Picture
“Building a birdhouse isn’t just about hammering nails into cedar; it’s about designing a tiny, functional sanctuary where nature can thrive, one perfectly measured joint at a time.”
Jordan Bennett
Putting the Final Pieces Together
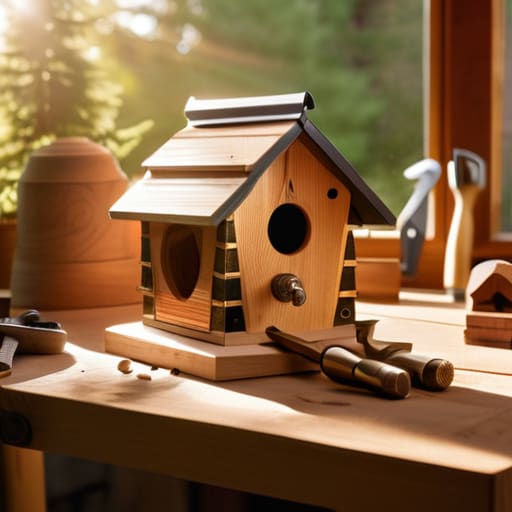
We’ve covered a lot of ground, from picking out the perfect weather-resistant cedar to gathering the right tools to make the job feel less like a chore and more like a hobby. It’s easy to get caught up in the technicalities of measurements and wood grain, but remember that the goal is to create a functional, sturdy sanctuary. By focusing on the right materials and having your toolkit ready, you’ve already bypassed the most common hurdles that stop people from finishing their projects. You’ve moved from the planning phase to the actual execution, and that is where the real magic happens.
At the end of the day, building this birdhouse isn’t just about the wood and the nails; it’s about the satisfaction of seeing a system you built from scratch come to life. Much like my DIY automation projects at home, a successful birdhouse is a tiny, perfect ecosystem that rewards your patience. Don’t worry if your edges aren’t perfectly straight or if your drill slips just a tiny bit—those little imperfections are just part of the human touch. Go ahead, hang it up, and get ready to watch your hard work take flight as your new feathered neighbors move in.
Frequently Asked Questions
How do I know which specific bird species I'm actually building this for?
Think of it like designing an app—you wouldn’t build a complex interface for a user who just needs a single button! To pick your “target user,” start by observing your backyard. What birds are already hanging around? Once you spot a frequent visitor, look up their specific nesting requirements. Different species are picky about entrance hole size and floor dimensions. Knowing your “customer” first ensures your birdhouse isn’t just a pretty decoration, but a functional home.
Should I paint or stain the outside of the birdhouse, or will that scare the birds away?
That’s such a great question! I used to worry about this too when I first started my DIY projects. Here’s the deal: birds aren’t necessarily scared of color, but they are sensitive to smells. I’d recommend sticking to a light, natural stain or even leaving the wood raw. If you do paint, go with water-based, non-toxic options and steer clear of the interior. Think of it like choosing a cozy, scent-free home for your new neighbors!
What’s the best way to mount the birdhouse so it stays secure during a heavy storm?
Think of mounting your birdhouse like setting up a stable workstation—if the foundation is shaky, everything else falls apart! For heavy storms, skip the flimsy nails. I always recommend using heavy-duty galvanized screws or even a metal mounting bracket. If you’re attaching it to a post, a sturdy U-bracket works wonders. It keeps the house from wobbling when the wind picks up, ensuring your feathered guests stay safe and sound.