How to Use a Drill: a Beginner’s Guide
I was standing in my living room last Saturday, staring at a beautiful piece of reclaimed wood and a pile of mounting brackets, feeling completely defeated. I had this vision of a perfectly organized bookshelf, but instead, I was just sweating, staring at a heavy piece of machinery that felt more like a high-stakes physics experiment than a tool. Most people think that learning how to use a drill is all about brute force or having some innate “handyman” gene, but that is a total myth. In reality, it’s much more about understanding the mechanics and finding the right rhythm, much like debugging a stubborn piece of code.
I’ve spent years breaking down complex systems into manageable steps, and I promise you, this isn’t going to be some intimidating manual filled with technical jargon. In this guide, I’m going to strip away the overwhelm and show you the practical, no-nonsense way to master your tools. We’ll cover everything from selecting the right bit to maintaining a steady hand, so you can stop viewing your toolkit as a source of anxiety and start seeing it as the ultimate productivity hack for your home.
Table of Contents
- Step-by-Step Instructions
- Choosing Drill Bit Types and Uses for Every Puzzle Piece
- Adjusting Drill Torque Settings for a Perfect Fit
- Five Pro-Tips to Keep Your Projects (and Yourself) on Track
- Quick Wins for Your Next Project
- ## The Mindset Behind the Machine
- Putting the Pieces Together
- Frequently Asked Questions
Guide Overview
Tools & Supplies
- Power Drill (cordless or corded drill)
- Drill Bits (set of various sizes for drilling and driving)
- Workpiece (wood, metal, or plastic)
- Safety Gear (safety glasses and ear protection)
Step-by-Step Instructions
- 1. First things first, you’ve got to pick your “player.” Depending on whether you’re just hanging a picture or building a bookshelf, you’ll need to select the right bit. Think of it like choosing the right app for a specific task; you wouldn’t use a calculator to check your email, right? Just match the bit to the material—wood bits for wood, masonry bits for brick—and make sure it’s snug in the chuck.
- 2. Once you have your bit, it’s time to secure it. This is where the “chuck” comes in, which is basically the drill’s way of holding onto its tools. Insert the bit into the center of the chuck and then use the chuck key (or your hand, if it’s a keyless model) to tighten it down firmly. You want it to be secure so it doesn’t wobble mid-project, which is a total recipe for frustration.
- 3. Before you even touch the trigger, find your target. I always tell my clients to “measure twice, cut once,” but in this case, it’s “mark twice, drill once.” Use a pencil to make a tiny dot exactly where you want the hole to go. If you’re working with something slippery like metal or smooth plastic, a little piece of painter’s tape over the spot can act as a perfect anchor to keep the bit from skidding.
- 4. Now, get into position. Hold the drill with both hands if you can—one on the main handle and one on the secondary grip if your model has one. This gives you the stability you need to stay in control. Imagine you are stabilizing a camera for a steady shot; you want to be firm but not so tense that you’re fighting the machine.
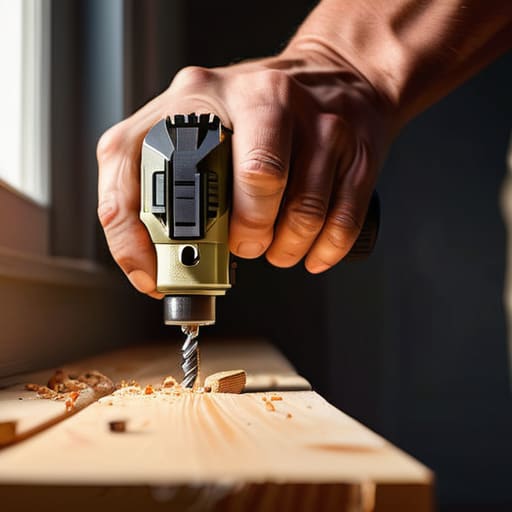
- 5. Here’s the fun part: the actual drilling. Place the tip of the bit on your mark, pull the drill slightly toward you to create some pressure, and then squeeze the trigger slowly. You don’t want to go from zero to sixty instantly! It’s all about gradual momentum. As the bit bites into the material, you can increase the speed, but keep that steady, consistent pressure applied throughout.
- 6. As you’re working, keep an ear out. If you hear a high-pitched squealing or feel the drill struggling, you might be pushing too hard or using a bit that’s a bit dull. It’s like a computer fan spinning too loud because it’s overworked; sometimes you just need to back off and let it breathe. If things feel hot or shaky, stop, take a breath, and adjust your approach.
- 7. Finally, once you’ve reached the desired depth, don’t just yank the drill out! This is a classic mistake that can cause the bit to catch and snap. Instead, slowly release the trigger to let the drill spin down, and then smoothly withdraw the bit from the hole. It’s much cleaner and keeps your workspace (and your project) looking professional.
Choosing Drill Bit Types and Uses for Every Puzzle Piece
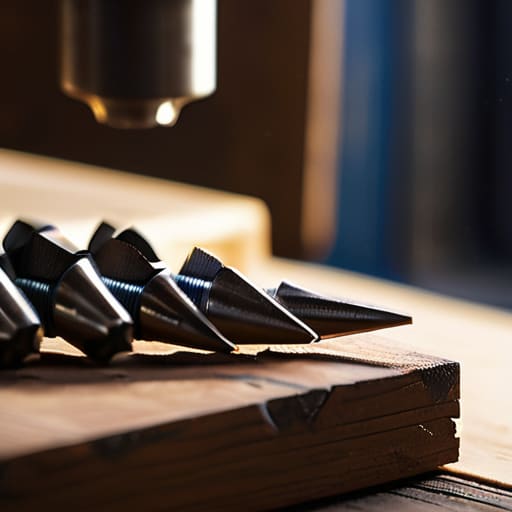
Think of your drill bits like the different pieces in a massive jigsaw puzzle; using the wrong one won’t just slow you down, it might actually ruin the whole picture. If you’re tackling a wooden bookshelf, you’ll want a twist bit designed for clean entry, but if you’re working on a metal bracket, you’ll need something much tougher, like a cobalt bit, to handle the heat. Understanding these drill bit types and uses is the secret sauce to getting a professional finish without the frustration of stripped material or broken bits.
Once you’ve picked your “puzzle piece,” the next step is mastering the interface between you and the tool. I always tell my clients that precision starts with your hands. Before you even pull the trigger, make sure you’ve practiced a proper drill grip technique—holding the tool firmly but with enough flexibility to let it follow the path you’ve set. Also, don’t forget that your drill is smart! If you’re working with delicate materials, spend a second adjusting drill torque settings to ensure you don’t accidentally drive a screw too deep or crack your project.
Adjusting Drill Torque Settings for a Perfect Fit
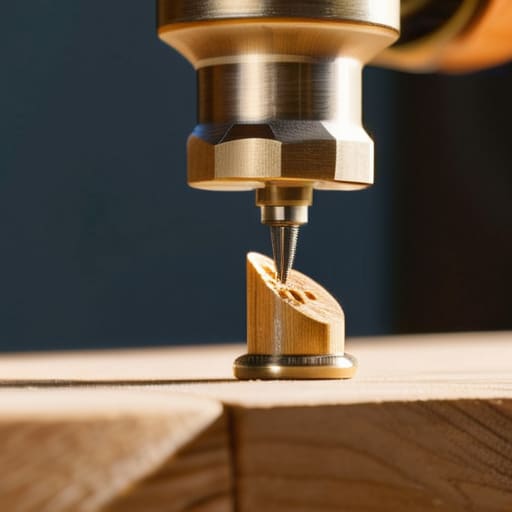
Think of your drill’s torque settings like the volume knob on your favorite playlist; you wouldn’t blast heavy metal while trying to enjoy a quiet morning coffee, right? In the world of DIY, torque is essentially the amount of rotational force your drill applies. When you’re adjusting drill torque settings, you’re essentially deciding how much “muscle” to give the tool. If you’re driving a tiny screw into a delicate piece of furniture, you’ll want a low torque setting to prevent the head from stripping or the wood from cracking. It’s all about finding that sweet spot where the screw goes in smoothly without causing a mess.
On the flip side, if you’re tackling a heavier project, you’ll need to dial that power up. However, always keep an eye on your cordless drill safety precautions during this process. If the torque is set too high for a small fastener, the drill might kick back unexpectedly, which can be a real jolt to your system! I always tell my clients to start with a lower setting and gradually increase it; it’s much easier to add power than it is to fix a ruined project.
Five Pro-Tips to Keep Your Projects (and Yourself) on Track
- Always mark your spot with a tiny pilot hole first; think of it like sketching a rough outline before you start painting—it keeps your drill from wandering off-course and ruining the finish.
- Keep your body weight centered and your free hand well away from the action zone; I’ve learned the hard way that a sudden slip is much easier to handle if you aren’t leaning into the tool like you’re trying to win a wrestling match.
- Let the tool do the heavy lifting by maintaining a steady, moderate pressure; if you find yourself pushing with all your might, you’re likely fighting the bit rather than working with it.
- Listen to the sound of the motor—it’s basically the drill’s way of talking to you—because a high-pitched scream usually means you’re moving too fast or need more lubrication.
- Don’t forget to clear out the debris as you go; just like clearing clutter from your desk helps you focus, pulling the bit out occasionally to whisk away sawdust prevents heat buildup and keeps your holes clean.
Quick Wins for Your Next Project
Think of your drill settings as the “logic” behind your project; getting the torque and bit type right is just like debugging code—it prevents the whole system from crashing (or, you know, stripping a screw).
Don’t rush the process. Just like building a complex automation script, it’s much better to take a second to check your bit and pressure than to have to go back and fix a messy hole later.
Treat every DIY task as a chance to master a new piece of the puzzle. Once you get the hang of these basics, you’ll find that even the most intimidating home projects start to feel like a fun, solvable game.
## The Mindset Behind the Machine
“Think of a drill not just as a power tool, but as a way to bridge the gap between a messy idea and a finished reality; once you master the rhythm of the tool, you’re no longer just making holes, you’re assembling the pieces of your vision.”
Jordan Bennett
Putting the Pieces Together
At the end of the day, mastering your drill is really about understanding how all those little components work in harmony. We’ve walked through selecting the right bits for the job, finding that sweet spot with your torque settings, and keeping a steady hand to ensure every hole is placed with precision. Think of it like debugging a piece of code; once you understand the mechanics and respect the tool’s power, the process becomes much more fluid. It’s not just about making a hole in a piece of wood; it’s about having the confidence to execute your vision without the frustration of a stripped screw or a cracked surface.
I know that picking up a power tool for the first time can feel a bit like staring at a complex system you haven’t quite mapped out yet, but I promise you, it gets easier. Every project you tackle is just another way to practice and refine your skills. Don’t be afraid to make a few mistakes—that’s often where the best learning happens! Treat every DIY task as a small puzzle waiting to be solved, and before you know it, you’ll be building things you never thought possible. Now, grab your gear, stay focused, and go create something amazing!
Frequently Asked Questions
How do I stop the drill from slipping or "wandering" when I'm first trying to make a hole?
Ugh, the “wandering drill” is such a frustrating puzzle piece! It feels like the tool has a mind of its own right when you need it most. My favorite trick? Use a center punch or even a nail to create a tiny divot where you want your hole. That little indentation acts like a guide, locking your bit in place so it can’t slide around. It’s a total game-changer for precision!
Is there a way to tell if I'm applying too much pressure and potentially stripping my screw?
That’s such a great question! Honestly, I used to struggle with this all the time in my DIY days. Think of it like this: you want to be firm, but not aggressive. If you feel the drill bit starting to “jump” or wiggle inside the screw head, stop immediately! That’s the universe’s way of saying you’re pushing too hard. If it feels like it’s slipping rather than biting, ease up on the pressure.
What’s the best way to keep my workspace organized so I don't lose tiny drill bits mid-project?
Oh, I have been there! There is nothing more frustrating than being mid-flow and realizing a tiny bit has vanished into the void. I’ve learned that the secret is “visual accessibility.” I swear by magnetic trays for active projects—it’s like a little docking station for your bits. For long-term storage, clear, labeled organizers are life-changers. If you can see your tools at a glance, you’re not hunting; you’re just building!