Diy Wall Art Ideas That Look Store-bought
I was staring at a blank, beige wall in my first apartment, surrounded by half-empty boxes and a mounting sense of dread, when it hit me: I didn’t need a massive budget or a degree in fine arts to make this place feel like home. Most people think that learning how to make wall art requires expensive canvases or a hidden talent for sketching, but that’s a total myth that keeps so many of us stuck with sterile, uninspiring spaces. In reality, decorating your home is just another system to optimize, much like a piece of software or a messy morning routine; it’s all about finding the right components that click together.
In this guide, I’m stripping away the fluff to show you exactly how to make wall art using simple, DIY methods that actually fit into a busy lifestyle. We aren’t going for perfection here; we’re aiming for meaningful expression through clever hacks and accessible materials. I’ll walk you through a few streamlined workflows to help you transform those empty patches of drywall into something that truly reflects your personality without draining your time or your bank account.
Table of Contents
- Step-by-Step Instructions
- Mastering Easy Home Decor Projects With Mixed Media Art Supplies
- Abstract Canvas Painting Methods for Budget Friendly Room Aesthetics
- Pro-Tips to Keep Your Creative Flow (and Your Sanity) Intact
- Quick Wins for Your Creative Toolkit
- The Soul of Your Space
- Bringing Your Vision Home
- Frequently Asked Questions
Guide Overview
Tools & Supplies
- Paintbrushes of various sizes for application
- Painter's tape for creating clean lines
- Pencil for sketching initial designs
- Canvas or wooden panel (1 piece)
- Acrylic paint set (1 set)
- Palette knife for texture (1 piece)
- Water cup for cleaning brushes (1 piece)
Step-by-Step Instructions
- 1. First things first, we need to audit your space like we’re debugging a piece of messy code. Grab that little notebook of mine and walk around the room you’re looking to decorate. Don’t just look at the empty wall; look at the surrounding textures and colors. Are you working with a minimalist Scandinavian vibe, or is your living room more of a maximalist jungle? Once you’ve identified the “system requirements” of your room, decide whether you want a single, large statement piece or a curated gallery wall.
- 2. Next, let’s gather our raw materials. Think of this as setting up your development environment—if you don’t have the right tools, the whole project will crash. Depending on the style you chose, you might need anything from high-quality cardstock and Washi tape to old vintage maps or even some dried botanicals from your last hike. I always say, don’t overcomplicate the hardware; sometimes the simplest materials yield the most sophisticated results.
- 3. Now, it’s time for the “prototyping” phase, which is my absolute favorite part. Before you commit a single drop of glue or a tiny nail to the wall, lay everything out on the floor. This is your sandbox. Move pieces around, swap colors, and play with spacing until the composition feels just right. If it feels cluttered, simplify the layout—just like optimizing a workflow, sometimes less is actually more.
- 4. Once your layout is perfected, it’s time to create the actual art. If you’re going the graphic route, you can use stencils or even simple geometric shapes to create a modern look. If you’re feeling more tactile, try layering different papers or fabrics to add some depth. The goal here isn’t perfection; it’s about creating something that feels authentic to your personality, not something that looks like it was mass-produced in a factory.
- 5. Now, let’s talk about the mounting process. This is where most people get stuck and start overthinking, but we’re going to treat it like a simple installation script. For renters or those who hate making holes, I highly recommend using command strips or even stylish mounting putty. If you’re going for a more traditional look, ensure your level is handy so your art doesn’t look like it’s slowly sliding off the wall.
- 6. Finally, give your new creation a “system check.” Step back to the entrance of the room and look at the wall from a distance. Does it balance the room? Does it catch the light in a way that feels inviting? If it feels a little lonely, you can always add a small plant or a lamp nearby to complete the ecosystem. You’ve just successfully integrated a new piece of your life’s puzzle!
Mastering Easy Home Decor Projects With Mixed Media Art Supplies
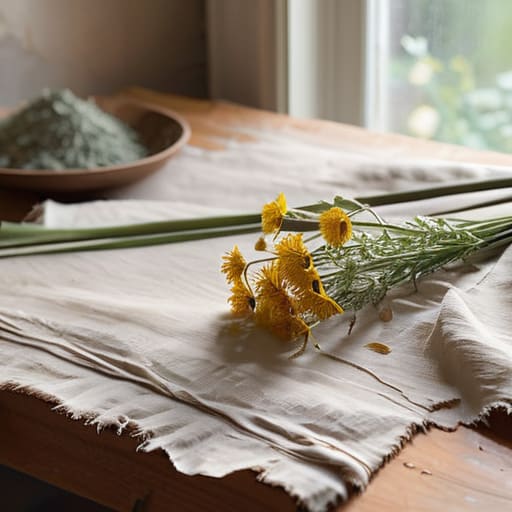
If you’re feeling a bit stuck after the initial steps, don’t worry—that’s usually where the real magic happens. I like to think of mixed media as the “optimization layer” of your creative process. Instead of sticking to just one medium, try layering different mixed media art supplies to add depth. I’m talking about combining acrylics with bits of old newspaper, some dried botanicals, or even scraps of fabric from an old linen shirt. It’s a bit like how I approach my automation projects; it’s all about finding how different components can work together to create something much more efficient and visually interesting than they were on their own.
The best part? This approach is one of those budget friendly room aesthetics hacks that doesn’t require a massive investment. You don’t need a professional studio to achieve a high-end look; you just need a willingness to experiment with textural wall art tutorials and see what sticks—literally! If a layer feels too flat, grab some modeling paste or even some coarse sand to mix into your paint. Adding that physical dimension turns a simple piece into a conversation starter, making your space feel curated rather than just “decorated.”
Abstract Canvas Painting Methods for Budget Friendly Room Aesthetics
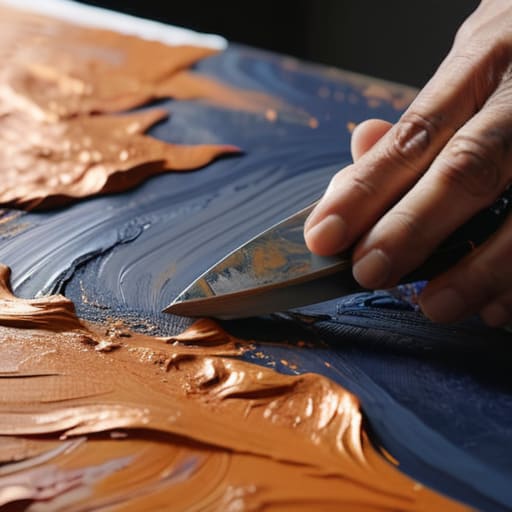
If you’re looking to elevate your space without breaking the bank, abstract canvas painting methods are your best friend. I always tell my clients that you don’t need a degree in fine arts to create something that looks high-end; you just need to embrace the “organized chaos” approach. One of my favorite hacks is using a palette knife—or even just an old credit card—to smear thick layers of acrylic paint across the canvas. This adds a layer of depth that makes your piece look like it cost hundreds of dollars at a boutique gallery, even if it only cost you a few bucks in supplies.
To really nail those budget friendly room aesthetics, try playing with texture rather than just color. You can mix a little bit of baking soda or even fine sand into your paint to create a gritty, stone-like finish. It’s one of those simple, tactile shifts that transforms a flat surface into a professional-looking focal point. When you lean into these wall decor crafting techniques, you aren’t just decorating; you’re building a custom atmosphere that perfectly matches your personality.
Pro-Tips to Keep Your Creative Flow (and Your Sanity) Intact
- Don’t let “perfect” be the enemy of “done.” I used to get so stuck trying to make every brushstroke look like a museum piece, but honestly? The soul of wall art is in the imperfection. If a line goes wonky, lean into it—it’s character, not a mistake!
- Think about your lighting before you hang anything. I’ve seen so many beautiful pieces get totally lost because they were placed in a dark corner or under a harsh glare. Grab a flashlight and see how your art looks at different times of the day before you commit to those hammer nails.
- Curate your color palette like you’re organizing a digital workspace. Instead of grabbing every random color in the bin, pick three or four tones that actually speak to each other. It makes the final result look intentional and cohesive rather than just a chaotic splash of paint.
- Use your environment as a blueprint. Before you start, take a photo of the wall you’re targeting. It’s way easier to “prototype” your art ideas on a screen or by holding up sketches against the photo than it is to tear down a finished piece because it’s too small for the space.
- Build a “supply station” to reduce friction. My DIY automation brain loves this one: if your supplies are scattered in a dozen different drawers, you’ll never actually start. Keep your most-used tools in one easy-to-grab kit so you can jump into a creative session the moment inspiration hits.
Quick Wins for Your Creative Toolkit
Don’t overthink the “perfection” phase; treat your first few pieces like a DIY automation prototype—just get the basic components working and refine as you go.
Mix and match your media to save money and add character, because sometimes a bit of texture from mixed supplies is more impactful than a high-end professional kit.
Focus on pieces that actually fit your personal rhythm and space, turning your walls into a reflection of your own unique puzzle rather than a carbon copy of a showroom.
The Soul of Your Space
“Think of wall art not as a decor task to check off a list, but as a way to debug your environment—it’s about finding those small, creative pieces that finally make your home feel like a cohesive, functional, and beautiful system.”
Jordan Bennett
Bringing Your Vision Home
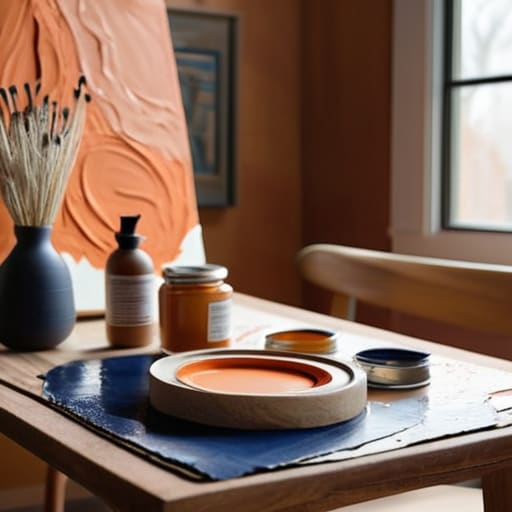
At the end of the day, making your own wall art is really just about experimenting with the tools you already have. Whether you decided to dive into the tactile world of mixed media or kept things streamlined with some budget-friendly abstract canvas painting, you’ve learned that you don’t need a professional studio to create something impactful. We’ve covered how to layer textures to add depth and how to use color theory to set a specific mood in your room. The most important takeaway is that these aren’t just chores on a to-do list; they are systematic ways to inject personality into your living space by using simple, repeatable processes.
I know that starting a new project can sometimes feel like staring at a pile of scattered puzzle pieces, but I promise that the process of putting them together is where the magic happens. Don’t worry about making every single piece “perfect” or museum-ready on your first try. Instead, focus on the joy of the build and the satisfaction of seeing a blank wall transform into something that actually reflects your unique story. Life is far too fast-paced to spend it living in a space that doesn’t feel like yours, so grab your supplies, get a little messy, and start building a home that truly inspires you.
Frequently Asked Questions
I love the idea of mixed media, but how do I stop all those different layers from peeling or falling apart over time?
That is such a great question! I used to have a “craft closet graveyard” of projects that literally started shedding like autumn leaves. The secret is all in the structural integrity. Think of it like building a software stack: you need a solid foundation. Always use a high-quality matte medium or acrylic gel to “lock” your layers in place. It acts like a specialized glue that bonds everything together without making it look messy.
Since I'm working with a tighter budget, are there any common household items I can repurpose as art supplies without them looking "cheap"?
I totally get that—budgeting shouldn’t mean sacrificing your aesthetic! Think of it like a clever software patch: you’re just repurposing existing resources for a better result. Try using old credit cards as palette knives for texture, or grab some coarse sea salt to sprinkle over wet watercolor for a stunning, crystalline effect. Even coffee grounds can create beautiful, earthy washes. The trick is focusing on texture and depth; it makes the piece look intentional, not “cheap.”
I’m a bit of a perfectionist—how do I know when a piece is actually finished and ready to hang, rather than just feeling like a messy experiment?
Oh, I feel this in my soul! As a former engineer, I used to get stuck in “optimization loops,” trying to tweak every tiny detail until nothing was left. Here’s my rule of thumb: if you’re adding elements just to hide a “mistake,” you’ve gone too far. Step back, grab a coffee, and look at it from across the room. If it communicates the vibe you wanted, it’s done. Perfection is a myth; finished is a victory!