How to Tile a Backsplash Without Hiring a Pro
I was standing in my kitchen last Saturday, staring at a pile of expensive subway tiles and a half-empty bag of grout, feeling like I was about to face a giant, disorganized system error. My brain, usually wired for clean code and efficient workflows, was spiraling because I realized I had no idea how to tile a backsplash without making a massive, expensive mess. We often think these DIY home projects require a professional contractor’s expensive toolkit, but the truth is that tiling is really just a logic puzzle—it’s all about the sequence of steps and the preparation you do before the first tile even touches the wall.
If you’ve been staring at your bare kitchen walls feeling overwhelmed, I promise you’re not alone. In this guide, I’m stripping away all the intimidating jargon to give you a straightforward, step-by-step blueprint for success. I’ll show you how to prep your surfaces, manage your layout so everything looks symmetrical, and avoid those tiny, frustrating mistakes that usually drive people crazy. We aren’t aiming for perfectionist-level madness here; we’re aiming for a functional, beautiful result that makes your home feel complete, one piece at a time.
Table of Contents
- Step-by-Step Instructions
- Smart Backsplash Layout Planning for a Seamless Fit
- Essential Kitchen Backsplash Tools List for Every Maker
- Pro-Tips for a Flawless Finish (Without the Headache)
- The Big Picture: My Top 3 Pro-Tips for Success
- The Secret to a Smooth Finish
- The Final Piece of the Puzzle
- Frequently Asked Questions
Guide Overview
Tools & Supplies
- Tile cutter or wet saw for precise cuts
- Notched trowel for spreading adhesive
- Rubber grout float for applying grout
- Spacers to maintain even gaps
- Level to ensure straight lines
- Backsplash tiles (enough for area plus 10% extra)
- Tile adhesive or thin-set mortar
- Grout (color matching the design)
- Tile sealant for finishing
- Caulk for edges and corners
Step-by-Step Instructions
- 1. First things first, we need to tackle the prep work. Think of this like cleaning your code before you run it; if there’s junk in the way, nothing’s going to work right. Scrub those walls down with a degreaser to remove any lingering cooking oils, and make sure the surface is completely dry and level. If you have any uneven spots, a little bit of spackle can go a long way in making sure your tiles don’t end up looking like a wavy mountain range.
- 2. Once the wall is pristine, it’s time to lay out your “logic” by dry-fitting the tiles. Before you even touch the adhesive, grab your tiles and arrange them against the wall to see how they fit around your outlets and under your cabinets. I always like to start from the center and work my way out to the edges so the pattern looks symmetrical and intentional, rather than having a tiny, awkward sliver of tile on one side.
- 3. Now, let’s get messy with the adhesive. Using a notched trowel, spread a thin, even layer of thin-set mortar onto a small section of the wall. You want to create those little ridges—it’s a bit like spreading peanut butter on toast—to ensure there’s enough surface area for the tile to grab onto. Just a pro-tip from my DIY days: don’t spread too much at once, or it’ll start to skin over before you’ve even placed your first piece!
- 4. This is where the real magic happens: placing the tiles. Press each tile into the mortar with a gentle, twisting motion to help eliminate any air pockets underneath. Grab a couple of tile spacers and pop them into the gaps between each piece; these are your little unsung heroes that keep your lines perfectly straight and prevent the whole project from becoming a chaotic mess.
- 5. After you’ve finished tiling, you’ll need to let everything set. This is the hardest part for me because I love seeing immediate results, but you have to let the mortar cure for at least 24 hours. If you rush into grouting while the adhesive is still wet, you’ll end up with a structural headache that’s much harder to fix than just waiting a day.
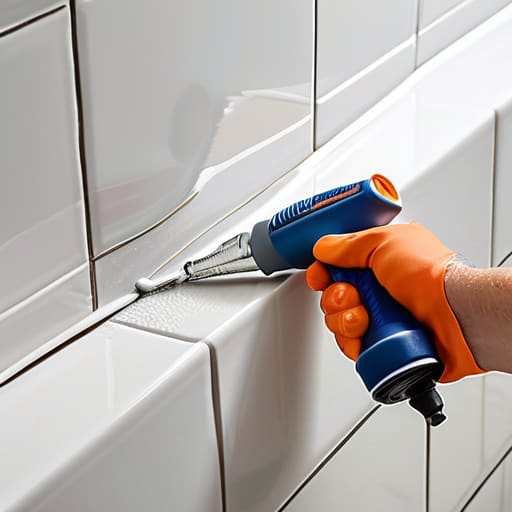
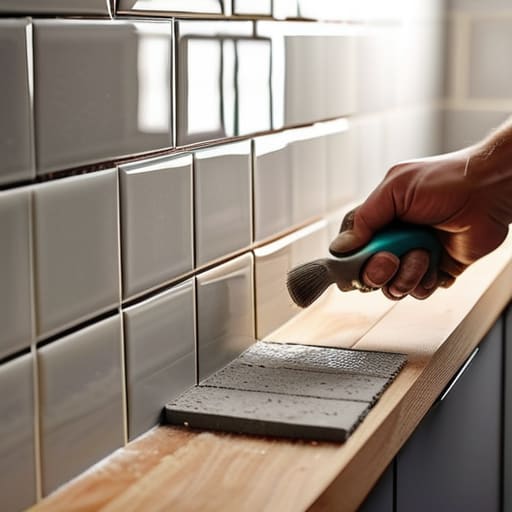
- 6. Once everything is rock solid, it’s time for the grout. Mix your grout to a consistency similar to thick pancake batter and use a rubber grout float to push it into those gaps you worked so hard to create. Sweep the excess off the tile surface with a damp sponge, being careful not to wash the grout right out of the joints—you want to find that perfect balance between clean tiles and full, beautiful seams.
- 7. Finally, we reach the “polishing” phase. Once a thin haze forms on the tiles, buff them clean with a dry, soft microfiber cloth. If you did your prep and spacing right, you’ll be left with a sleek, professional-looking backsplash that makes your kitchen feel like a completely upgraded system. Just grab your notebook, snap a photo of your success, and enjoy the view!
Smart Backsplash Layout Planning for a Seamless Fit
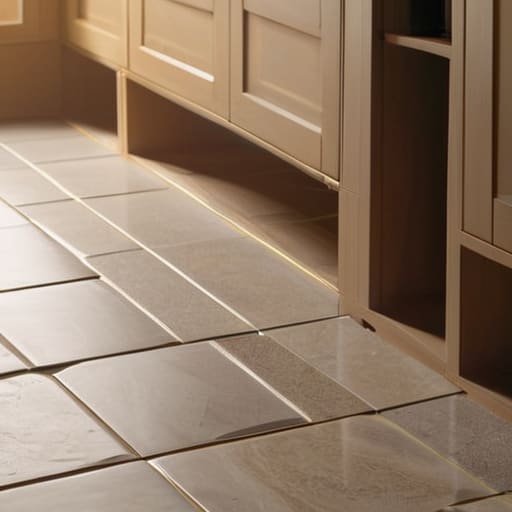
Before you even touch a bag of mortar, I want you to think of your backsplash layout planning like debugging a piece of code. If your logic is flawed at the start, the whole system crashes halfway through. I always suggest grabbing a handful of spacers and doing a “dry run” by laying your tiles out on the counter first. This helps you visualize where those awkward corner pieces will land. My biggest tip for preventing tile misalignment is to start from the center of your most visible wall and work your way out toward the edges. It feels a bit counterintuitive, but it ensures that any tiny, imperfect cuts are tucked away in the corners where they won’t catch your eye.
While you’re in this planning phase, don’t overlook the aesthetics. I’ve seen so many DIYers get caught up in the heavy lifting only to realize their grout choice clashes with their hardware. I highly recommend checking out a grout color selection guide before you commit; a shade that is too high-contrast can make your beautiful pattern look a bit chaotic. Treat this stage like the blueprint of a DIY automation project—get the math right now, and the installation will feel like a breeze later.
Essential Kitchen Backsplash Tools List for Every Maker
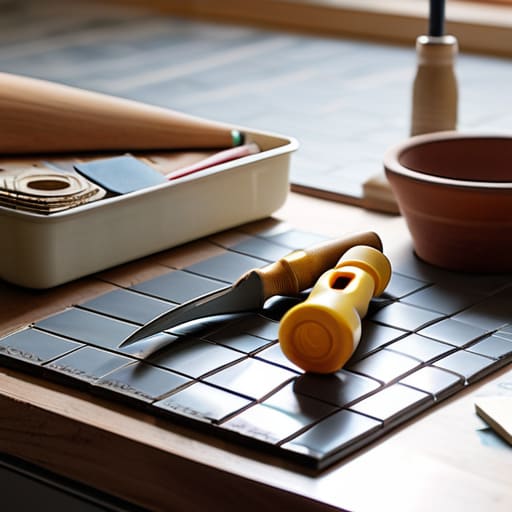
Before you dive into the fun part, let’s talk gear. Think of your kitchen backsplash tools list as your personal toolkit for success; if you’re missing even one small item, it’s like trying to run a complex piece of software with a corrupted driver—everything just starts to glitch. You’ll definitely need a notched trowel, a manual tile cutter (or a wet saw if you’re feeling ambitious), a rubber grout float, and plenty of spacers. I always keep a small notebook handy during these projects to jot down exactly which tool size I’m using for specific corners, which helps immensely when I’m preventing tile misalignment later on.
One thing my old engineering brain always obsesses over is the “prep and apply” phase. Don’t just grab any old bucket; ensure you have high-quality buckets and mixing paddles to get that perfect consistency. I also highly recommend picking up a sponge specifically for cleaning grout lines. While you’re at the hardware store, don’t forget to look into a grout color selection guide—it’s the “UI design” of your kitchen, and getting the shade right can totally change the vibe of the room!
Pro-Tips for a Flawless Finish (Without the Headache)
- Don’t skip the “dry run.” Before you even touch the adhesive, lay your tiles out on the counter exactly how you want them. It’s like debugging a piece of code—it’s much easier to find a logic error in your pattern now than it is once the “program” is running and the glue is drying!
- Mind your grout lines. I know it’s tempting to jam tiles together for that ultra-sleek look, but a little breathing room goes a long way. Consistent spacing keeps the whole visual system balanced, and it gives you a safety net if your walls aren’t as perfectly level as we all wish they were.
- Use spacers like your life depends on them. I’ve seen so many DIYers try to “eyeball it” to save time, but it almost always leads to a crooked mess. Think of spacers as your project’s guardrails; they keep everything aligned so your hard work actually looks professional.
- Clean as you go, seriously. If grout gets on the face of your tiles and dries, it can be a total nightmare to scrub off. Keep a damp sponge handy and wipe the tile surfaces frequently. It’s a small bit of “maintenance overhead” that saves you a massive amount of frustration later.
- Seal it like you mean it. Once the grout is cured, applying a sealer is the ultimate optimization step. It protects your hard work from kitchen grease and splashes, ensuring your beautiful new backsplash stays looking fresh for years instead of becoming a stained mess.
The Big Picture: My Top 3 Pro-Tips for Success
Don’t skip the prep work—think of it like debugging code; if your surface isn’t perfectly clean and level, even the most beautiful tiles will eventually “crash” and look wonky.
Measure twice, cut once, and always keep your layout plan handy; treating your tile placement like a puzzle piece by piece prevents that mid-project panic when you realize you’re a half-tile short.
Embrace the learning curve and stay patient with yourself, because even the most automated, efficient systems require a little human touch and a lot of steady hands to get the finish just right.
The Secret to a Smooth Finish
“Think of tiling your backsplash like debugging a complex piece of code; if you rush the initial setup and skip the prep work, you’re just going to spend the rest of the project trying to fix errors that shouldn’t have been there in the first place.”
Jordan Bennett
The Final Piece of the Puzzle
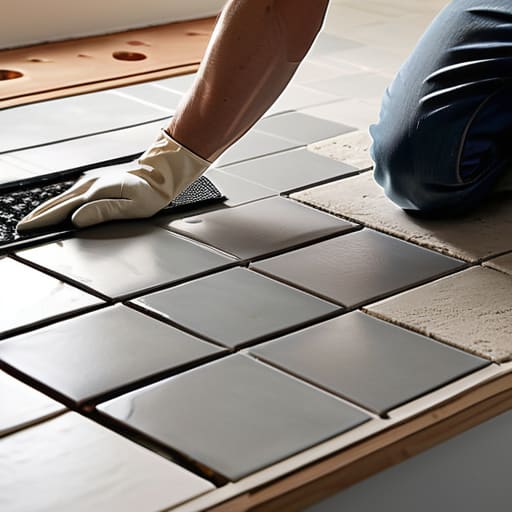
Looking back at everything we’ve covered, it’s clear that a successful backsplash isn’t just about sticking tiles to a wall; it’s about the intentionality behind the process. From gathering your essential tool kit to the meticulous planning of your layout, every small decision you made acts as a crucial component in the larger system. We’ve walked through the prep work, the technical steps, and the smart planning required to ensure your kitchen looks cohesive rather than chaotic. Remember, if you hit a snag during the grouting or find a tile is slightly wonky, don’t sweat it. The goal was to build a solid foundation of knowledge so you could tackle this project with confidence rather than guesswork.
At the end of the day, your kitchen is more than just a place to cook; it’s the heart of your home, and you’ve just leveled it up with your own two hands. There is something incredibly fulfilling about looking at a finished project and knowing you navigated the complexities of the process to create something beautiful. Don’t be afraid to view future DIY challenges as just another exciting puzzle waiting to be solved. You have the tools, the plan, and the mindset to turn any daunting task into a personal victory. Now, go grab a coffee, lean back, and admire your handiwork—you’ve truly earned it!
Frequently Asked Questions
How do I know if my kitchen walls are actually flat enough to start tiling, or am I setting myself up for a headache?
Think of your wall like a canvas; if it’s bumpy, your beautiful tile pattern is going to look wonky. Grab a long straightedge—or even a level—and press it against different spots on the wall. If you see light peeking through the gaps, you’ve got some unevenness. Don’t panic, though! It’s just a little puzzle piece to solve. You might need to skim-coat with some thin-set or joint compound to level things out first.
Should I go with a standard grout color, or is it worth the extra effort to find something that really pops?
Think of grout like the connective tissue in a complex system; it can either blend into the background or become a standout feature. If you want a seamless, “invisible” look, stick with a standard color close to your tile. But, if you’re feeling adventurous, a contrasting color can make your pattern really pop! It’s a bit more effort to clean, but it turns your backsplash into a true design statement.
What’s the best way to handle those tricky little corners and outlets without making everything look messy?
Those tricky corners and outlets are basically the “edge cases” of your tiling puzzle. To keep things from looking messy, I always recommend a “measure twice, cut once” approach with a manual tile cutter or a wet saw for precision. For outlets, use a diamond-grit sanding block to smooth out the edges of your cut tiles. It’s a bit of extra tinkering, but it ensures those gaps look intentional rather than accidental!