How to Make Your Own Candles at Home
I was standing in my kitchen last Tuesday, staring at a melted, blackened puddle of wax that smelled vaguely of burnt disappointment, wondering why my “relaxing hobby” felt more like a high-stakes chemistry experiment gone wrong. If you’ve ever felt like you need a PhD just to figure out how to make candles that actually burn without tunneling or smelling like a campfire, trust me, I’ve been there. Most tutorials online make it seem like you need a laboratory full of expensive gadgets, but that’s just unnecessary friction in your creative process.
I’ve spent my career breaking down complex systems into manageable steps, and I’m applying that same logic to your next DIY project. In this guide, I’m stripping away the fluff to give you a streamlined, no-nonsense roadmap for crafting beautiful, high-quality scents at home. We aren’t going to chase perfection through expensive equipment; instead, we’re going to focus on the core essentials that actually matter. By the time we’re done, you’ll have a repeatable, efficient system to turn simple ingredients into a perfect glow that makes your space feel truly intentional and bright.
Table of Contents
- Step-by-Step Instructions
- Curating Your Toolkit With Essential Soy Wax Candle Making Supplies
- Mastering the Science With a Precise Candle Pouring Temperature Guide
- Pro-Tips for a Flawless Burn: Avoiding the Common Pitfalls
- Quick Wins for Your Next Candle Session
- ## The Art of the Perfect Pour
- The Final Piece of the Puzzle
- Frequently Asked Questions
Guide Overview
Tools & Supplies
- Double boiler or heat-proof bowl and pot for melting wax
- Thermometer to monitor wax temperature
- Pouring pitcher for controlled pouring
- Digital scale for precise measurements
- Soy or paraffin wax (1-2 lbs)
- Candle wicks with metal bases (set of 10)
- Fragrance oils (1 oz)
- Candle jars or tins (2-4 units)
Step-by-Step Instructions
- 1. First things first, let’s gather our “components.” Think of this like setting up a new workspace or prepping a coding environment—if you don’t have your tools ready, you’ll just end up frustrated mid-process. You’ll need soy or paraffin wax, some wicks, fragrance oils, containers (glass jars work great!), and a double boiler. If you don’t have a double boiler, don’t sweat it; just grab a heat-proof bowl and place it over a pot of simmering water. It’s all about creating a smooth workflow from the start.
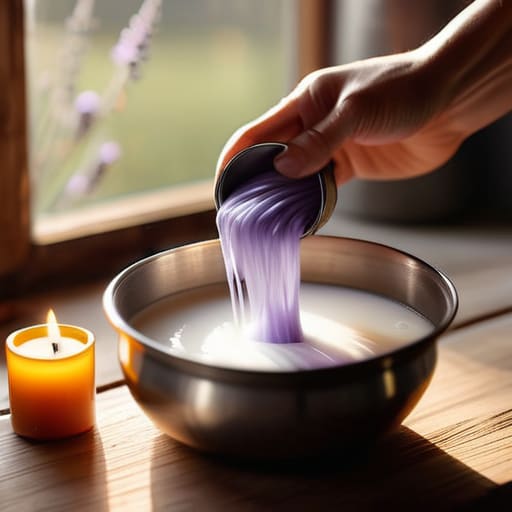
- 2. Once your station is set, it’s time to melt the wax. Pour your wax flakes into your melting container and turn the heat to low. This is the part where you have to be patient—just like waiting for a slow software update to finish, you can’t rush it. Keep a close eye on the temperature using a thermometer, aiming for around 185°F (85°C). You want to avoid overheating, so treat this like managing a delicate system; precision is your best friend here.
- 3. While the wax is melting, let’s prep our containers. This is a tiny bit of “hardware setup” that makes a massive difference. Take your wick and secure it to the bottom center of your jar using a tiny dab of hot glue or a wick sticker. To make sure it stays perfectly upright while the wax sets, use a clothespin or a popsicle stick to hold the wick in place across the top of the jar. If the wick leans, your candle will burn unevenly, and we definitely don’t want that kind of technical debt.
- 4. Now for the fun part: adding the personality! Once your wax hits that 185°F sweet spot, remove it from the heat and pour in your fragrance oils. I usually recommend a ratio of about 1 ounce of oil per pound of wax, but feel free to experiment like a true tinkerer. Stir the mixture slowly and steadily for at least two full minutes. This ensures the oil and wax integrate perfectly rather than just sitting there separately, which is key to getting that amazing scent throw.
- 5. Time to pour. Let the wax cool down just a little bit—ideally to around 135°F to 140°F—before you carefully pour it into your prepared jars. Pouring too hot can cause the wax to shrink or crack, so think of this like optimizing a deployment; timing is everything. Leave a little bit of space at the top of the jar to prevent overflow and to give yourself room for any future aesthetic tweaks.
- 6. The hardest part for any productivity geek: the waiting game. You need to let your candles sit undisturbed at room temperature. Don’t try to peek or move them too early! For soy wax, I recommend letting them cure for at least one to two weeks before lighting them. This “downtime” allows the fragrance to fully bond with the wax molecules, ensuring that when you finally light it, the scent is absolutely incredible.
- 7. Finally, once the wax is completely solid, trim that wick! Snip it down to about a quarter-inch above the wax surface. This is your final “quality assurance” check. A trimmed wick ensures a clean, steady burn without that annoying black soot. Now, grab your notebook, jot down how long it took and what scents you used, and get ready to enjoy the fruits of your labor!
Curating Your Toolkit With Essential Soy Wax Candle Making Supplies
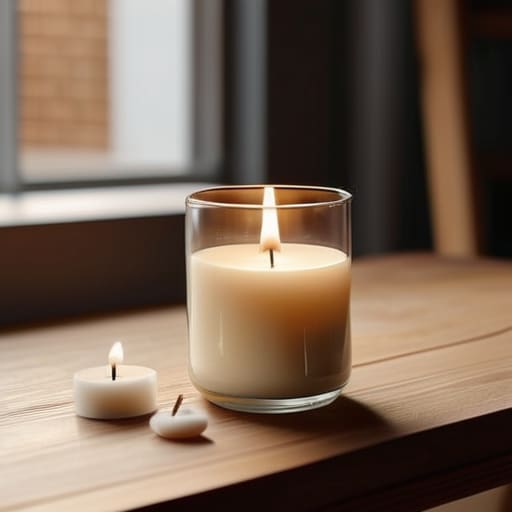
Before you dive into the actual melting process, let’s talk about your setup. Think of this like gathering the right components for a new software build—if your dependencies are off, the whole system crashes! When you’re starting out with candle making for beginners, it’s tempting to just grab whatever is cheapest, but I’ve learned the hard way that quality matters. I always recommend investing in a solid set of soy wax candle making supplies rather than skimping on the basics. A high-quality soy wax provides that clean, smooth burn we all crave, making the whole experience feel much more professional and less like a messy science experiment gone wrong.
I also can’t stress enough how much the little details impact your final result. For instance, don’t just grab any old string; researching the best wick types for candles based on your container size is a total game-changer for preventing tunneling. And if you’re looking to level up the sensory experience, treat yourself to some high-grade essential oils for scented candles. It’s the difference between a room that smells like a generic mall and one that feels like a serene mountain retreat. Grab your notebook, jot down your ratios, and let’s get ready to build!
Mastering the Science With a Precise Candle Pouring Temperature Guide
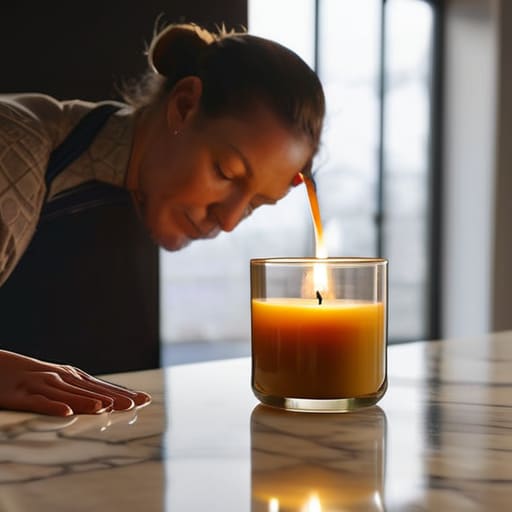
Now, here is where we transition from the “fun craft” stage to the “science experiment” stage. If you’ve ever looked at a finished candle and wondered why the top looks bumpy or why there’s a weird gap around the wick, it usually comes down to one thing: temperature. Think of your wax like a complex piece of code; if you don’t execute it at the right time, the whole system crashes. Using a candle pouring temperature guide isn’t just about being picky; it’s about ensuring the wax cools evenly to create that smooth, professional finish we all crave.
I always tell my clients that patience is your best tool here. If you pour your wax while it’s too hot, you risk “sinkholes” or cracking. If it’s too cool, you might get “wet spots” where the wax pulls away from the glass. When you’re working with soy wax candle making supplies, you’ll find that soy is a bit more temperamental than paraffin. I recommend waiting until the wax reaches that sweet spot—usually around 135°F to 145°F—before you start pouring. It might feel like you’re waiting forever, but precision pays off in the final glow!
Pro-Tips for a Flawless Burn: Avoiding the Common Pitfalls
- Don’t rush the cooling process! It’s tempting to want to see your creation immediately, but if you leave your candles in a drafty spot or a cold room, you might end up with cracks or “frosting.” Let them settle naturally at room temperature for a smooth, professional finish.
- Think of your wick like the engine of a car; if it’s too small, the flame will struggle and drown in wax, but if it’s too big, you’ll get a massive, smoky fire. Always test your wick size against your specific jar diameter to ensure a steady, even burn.
- Give your fragrance a little “soak time.” Instead of pouring and immediately lighting, let your finished candles cure for at least a week (especially with soy wax). This allows the scent molecules to fully bond with the wax, turning a faint aroma into a room-filling experience.
- Watch your centering like a hawk. There’s nothing more frustrating than a candle that leans to one side, causing uneven melting. I always use a simple wooden clothespin or a dedicated wick centering tool to keep everything perfectly upright while the wax sets.
- Cleanliness is your best friend here. Even a tiny bit of dust or a stray piece of wick floating in the wax can ruin the aesthetic and affect how the candle burns. Keep your workspace tidy, and always wipe down your jars before pouring to ensure a pristine look.
Quick Wins for Your Next Candle Session
Precision is your best friend—don’t guess those temperatures! Using a thermometer to nail your pour height ensures your candles look professional and burn smoothly, rather than ending up with craters or uneven tops.
Quality in equals quality out—investing in high-quality soy wax and the right wicks isn’t just about being fancy; it’s about creating a reliable system that works every single time you light it.
Treat your setup like a mini automation project—organizing your supplies and prepping your workspace beforehand takes the friction out of the process, turning a potentially messy task into a relaxing, flow-state ritual.
## The Art of the Perfect Pour
“Think of candle making less like a rigid chemistry experiment and more like fine-tuning a piece of software; it’s all about finding that sweet spot where the variables of temperature and wax meet to create something seamless and beautiful.”
Jordan Bennett
The Final Piece of the Puzzle
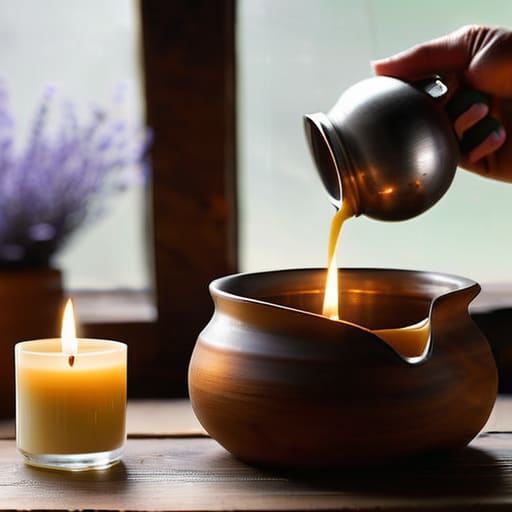
As we wrap up this little project, remember that candle making is really just a beautiful dance between science and creativity. We’ve covered everything from selecting the right soy wax to the absolute necessity of hitting that perfect pouring temperature to ensure a smooth finish. It might feel like there are a lot of moving parts—kind of like debugging a new piece of code—but once you master the basics of your toolkit and the physics of the melt, everything starts to click. Don’t get discouraged if your first batch isn’t a total masterpiece; even the most seasoned pros have had a few “oops” moments with wick placement or scent loads. The goal is to build a repeatable system that works for you.
At the end of the day, I think of candle making as a way to reclaim a bit of slow, intentional time in our otherwise frantic lives. It’s about more than just making a pretty object for your coffee table; it’s about the satisfaction of creating something tangible with your own two hands. Whether you’re crafting these for your own cozy evenings or gifting them to a friend, you’re sharing a piece of your own creativity. So, grab your notebook, keep experimenting, and don’t be afraid to tweak your process until it feels just right. You’ve got this!
Frequently Asked Questions
How do I stop my candles from getting those weird little sinkholes or cracks on the surface as they cool?
Ugh, those little sinkholes—I call them “wax craters”—are such a mood killer when you’ve worked so hard! Think of it like a cooling system in a computer; if things shrink too fast, you get cracks. To fix this, slow down the cooling process. Try pouring your wax in a warm room and avoid any sudden drafts. If you see a dip forming, don’t panic! Just melt a tiny bit more wax and “patch” it like a pro.
Is there a trick to getting the scent to actually fill a room without making the candle smoke like crazy?
Ah, the classic “scent vs. smoke” battle! I used to struggle with this constantly in my DIY lab. The secret isn’t just more fragrance; it’s all about the “hot throw.” To get that room-filling aroma without the soot, make sure you’re using the right wick size for your jar. If the wick is too small, it won’t melt the wax pool fully; if it’s too big, you get that smoky mess. It’s all about finding that perfect equilibrium!
Can I mix different types of wax together, or will that totally mess up the burn time?
That’s a great question! It’s a bit like mixing different coding languages—it can work, but you have to be careful about how they interact. You absolutely can blend waxes, and many pros do it to balance scent throw and burn time. However, if you mix wildly different types, you might end up with an uneven burn or “frosting.” My advice? Start with small, controlled ratios to see how they play together before going all in!