How to Paint a Room Like a Professional
I was standing in the middle of my living room last Saturday, staring at a patchy, uneven streak of “eggshell white” that looked more like a toddler’s finger painting than a professional finish. My back ached, my floor was a disaster zone of plastic sheets, and I was seriously questioning my life choices. I thought I knew how to paint a room, but I quickly realized that I had skipped the most crucial part: the system. Just like a buggy piece of code, if your initial setup is messy, the final output is going to crash and burn, no matter how expensive your brushes are.
In this guide, I’m stripping away the DIY fluff to give you a logical blueprint for success. I’m not here to sell you on fancy gadgets; I want to show you how to optimize your workflow so you aren’t spending your entire weekend scrubbing drips off the baseboards. We’re going to break down the prep, the tools, and the technique into simple, repeatable steps that actually work. Think of it as a productivity hack for your home—let’s turn that chaotic project into a seamless win.
Table of Contents
- Step-by-Step Instructions
- Gathering Your Pieces an Essential Painting Supplies Checklist
- Setting the Foundation How to Prep Walls for Painting
- Pro-Tips to Keep Your Project from Becoming a Chaos Loop
- The Final Pieces: My Top Takeaways for a Flawless Finish
- ## The Secret to a Seamless Finish
- The Final Stroke: Crossing the Finish Line
- Frequently Asked Questions
Guide Overview
Tools & Supplies
- Paintbrush for cutting in edges
- Roller and tray for large surfaces
- Painter's tape for protecting trim
- Drop cloth to protect flooring
- Interior paint (1-2 gallons per room)
- Painter's tape (1-2 rolls)
- Sandpaper (1 pack medium grit)
- Spackle (1 small tub for holes)
Step-by-Step Instructions
- 1. First things first, we need to clear the workspace. Think of this as clearing your browser cache before starting a heavy program; you can’t work efficiently if there’s too much clutter in the way. Move your furniture to the center of the room, cover it with plastic sheeting, and pull up those stubborn outlet covers. I always keep a small notebook nearby during this phase to jot down which screws go where—trust me, you’ll thank yourself later when you’re reassembling everything.
- 2. Now, let’s talk prep, because this is where the real magic happens. Grab some painter’s tape and run it along the baseboards, window frames, and ceiling edges. You want to be meticulous here to ensure those lines stay crisp. If you’re dealing with any small holes or cracks in the drywall, grab a bit of spackle, fill them in, and sand them down until they’re smooth. It’s all about creating a seamless foundation so your paint doesn’t settle into imperfections.
- 3. Before the first drop of color hits the wall, you’ve got to clean the surfaces. Dust, cobwebs, and even a little bit of grease can act like bugs in your code, preventing the paint from adhering properly. Use a damp cloth or a mild detergent to wipe down the walls. If you skip this, you might find your beautiful new finish peeling off in a few months, and nobody wants to reboot a project that was supposed to be finished!
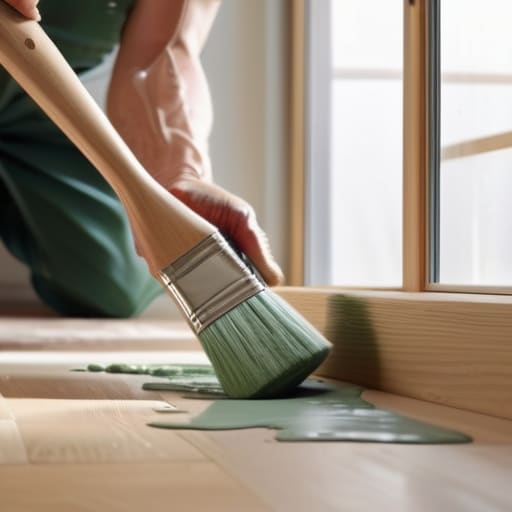
- 4. Once everything is clean and dry, it’s time to “cut in.” This is a fancy term for using a brush to paint the edges and corners where a roller just can’t reach. I like to think of this as addressing the edge cases in a complex system. Work in small sections around the trim and in the corners, applying the paint carefully. Don’t worry if it looks a little uneven at first; the roller will come through to even things out in a moment.
- 5. Now for the main event: rolling the paint! Dip your roller into the tray, making sure it’s evenly coated but not dripping. Start with a large “W” or “M” pattern on the wall to distribute the paint, then fill in the gaps. This technique helps you maximize coverage without leaving those annoying streaks. It’s a bit like optimizing a workflow—once you find your rhythm, the whole process starts to flow effortlessly.
- 6. Patience is your best friend here, so let that first coat dry completely. I know, I know—it’s tempting to dive straight into the second coat, but rushing the process is a recipe for a messy finish. Check the can for the recommended drying time, and maybe use this break to tinker with a DIY project or grab a coffee. Once it’s dry to the touch, go in for that second coat to ensure the color is deep and consistent.
- 7. Finally, once the paint is fully cured, it’s time for the “de-installation” phase. Carefully peel off your painter’s tape while the paint is still slightly tacky—this prevents the tape from pulling up chunks of your fresh work. Clean your brushes and rollers immediately (don’t let them dry out!) and move your furniture back into place. Take a second to step back and admire the result; you’ve just solved the room’s color puzzle!
Gathering Your Pieces an Essential Painting Supplies Checklist
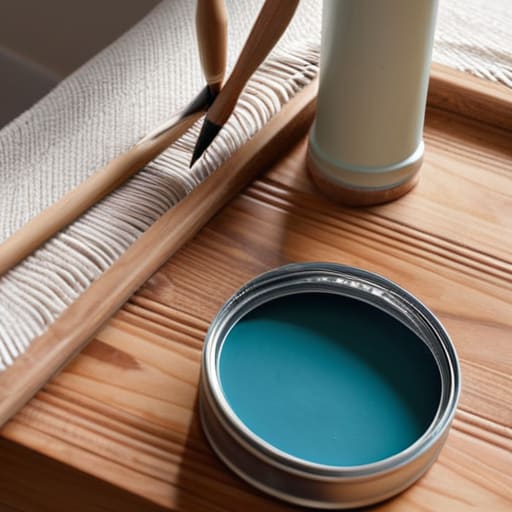
Think of your supply run like gathering the components for a new DIY automation project; if you’re missing even one small sensor, the whole system glitches. I’ve definitely learned this the hard way by starting a project only to realize halfway through that I didn’t have enough painter’s tape. To avoid that mid-project meltdown, I always start with a solid essential painting supplies checklist. Beyond just the cans of color, you’ll want high-quality brushes, drop cloths to protect your floors, and a sturdy tray. It’s much easier to grab everything at once than to make three separate trips to the hardware store.
One area where people often trip up is the hardware itself. If you’re aiming for that professional, streak-free look, investing in the best paint roller for a smooth finish is a total game-changer. It’s one of those small upgrades that makes a massive difference in the final result. Also, don’t overlook the importance of choosing the right paint finish before you even open a can. Whether you need a durable eggshell for a hallway or a matte for a cozy bedroom, the finish dictates how much light reflects and how easy it is to clean later!
Setting the Foundation How to Prep Walls for Painting
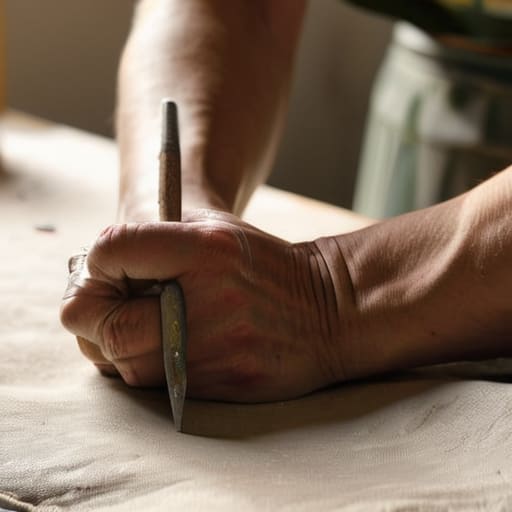
Think of your walls as the canvas for your new space. If you try to build a high-tech automation system on a shaky, unoptimized foundation, the whole thing is going to glitch eventually, right? Painting is exactly the same. Before you even think about opening a can, you need to master how to prep walls for painting to ensure your hard work actually lasts. This means more than just moving the couch; you’re looking for tiny imperfections, dust, or even old nail holes that need a little TLC. I always grab my small notebook to jot down any spots that need extra attention so I don’t forget them mid-flow.
Once you’ve cleared the clutter, it’s time to get tactical. Grab a damp cloth to wipe away any lingering dust—nothing ruins a fresh coat like trapped grit. If you’re dealing with cracks or holes, a quick dab of spackle and a light sanding will make the surface seamlessly smooth. This stage is the unsung hero of the entire process. While it might feel like a chore, taking this time now means you won’t be fighting texture issues later when you’re trying to achieve that perfect, professional look.
Pro-Tips to Keep Your Project from Becoming a Chaos Loop
- Don’t skip the “cutting in” phase—that’s when you use a brush to paint the edges and corners before the roller hits. It’s like writing the code before you build the interface; if your edges are messy, the whole thing feels off.
- Test your colors on a small patch of the wall first. Lighting is a total trickster, and a shade that looks like a calming sage in the store might turn into a moody forest green once it hits your living room’s afternoon sun.
- Keep a damp rag in your back pocket at all times. In my old engineering days, we called it “real-time debugging”—if you drip a bit of paint on the trim, you want to catch it immediately before it sets into a permanent error.
- Work from the top down. It sounds intuitive, but I’ve seen so many people start at the bottom only to realize they’ve created a gravity-fed disaster of drips running down their freshly finished walls.
- Invest in a decent quality roller cover rather than the cheapest one you can find. Think of it like the hardware in a system; a cheap, fuzzy roller will leave texture behind that’s a nightmare to smooth out later.
The Final Pieces: My Top Takeaways for a Flawless Finish
Don’t skip the prep work—it might feel like you’re spending more time cleaning and taping than actually painting, but a solid foundation is what keeps your final result from looking like a messy DIY disaster.
Think of your supplies as your toolkit for success; having the right brushes and rollers on hand ensures the job flows smoothly instead of turning into a frustrating series of mid-project hardware store runs.
Treat the process like a puzzle where every layer matters, focusing on steady, intentional movements rather than rushing to the finish line, so you can actually enjoy the transformation of your space.
## The Secret to a Seamless Finish
“Think of painting a room less like a chore and more like a system upgrade; if you spend the time debugging your prep work today, you won’t be stuck dealing with visual glitches in your finish tomorrow.”
Jordan Bennett
The Final Stroke: Crossing the Finish Line
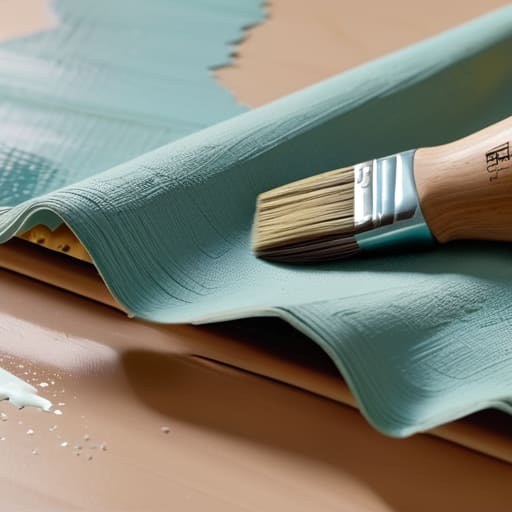
We’ve covered a lot of ground, from hunting down the perfect supplies to doing that sometimes-tedious but absolutely vital prep work. It’s easy to feel like you’re drowning in drop cloths and sandpaper, but remember that every bit of effort you put into the foundation is what prevents a messy, streaky disaster later on. By following these steps—gathering your toolkit, prepping the surfaces, and applying your layers with intention—you aren’t just slapping color on a wall; you are executing a system that ensures a professional-grade finish. Think of it as the final debugging phase of a software launch; once the prep is solid, the actual “execution” becomes a much smoother, more satisfying process.
At the end of the day, a fresh coat of paint is about more than just aesthetics; it’s about reclaiming your space and making it reflect who you are. I know it can feel overwhelming when you’re staring at a pile of supplies and a bare room, but I promise you that the sense of accomplishment when you step back to see the finished product is totally worth the effort. You’ve taken a complex, messy project and broken it down into manageable pieces, and that is a huge win in itself. Now, go grab a coffee, sit in your newly transformed room, and enjoy the view—you’ve officially solved this particular puzzle!
Frequently Asked Questions
How do I figure out exactly how much paint I need so I don't end up with half a gallon left over (or worse, running out mid-wall)?
The Math of the Mix: Calculating Your Paint Without the Guesswork
Should I really be using painter's tape on everything, or is there a trick to making sure it doesn't peel my fresh paint right off the edges?
Honestly, I used to be a “tape everything” kind of person, but that’s a one-way ticket to a headache! The secret isn’t more tape; it’s the technique. Once you apply your tape, run a damp cloth or a putty knife firmly along the edge to seal it. This creates a tight barrier so paint won’t bleed under. Most importantly, peel it back at a 45-degree angle while the paint is still slightly tacky!
Is it actually worth the extra effort to use a primer, or can I just dive straight into the color and hope for the best?
I get it—when you’re staring at a pile of supplies, adding another step feels like a bug in your workflow. But honestly? Skipping primer is like trying to run heavy software on an outdated OS; it might start, but it’s going to crash. Primer creates that essential bridge between your wall and your color. It seals the surface so your paint actually sticks and looks even, saving you from a massive headache (and extra coats) later.