Sewing Basics: Everything a Beginner Needs to Know
I still remember sitting on my bedroom floor at nineteen, surrounded by a chaotic sea of tangled polyester thread and a sewing machine that sounded like it was trying to chew through a brick. I had spent way too much money on a “professional starter kit” that promised instant mastery, but all I really had was a mounting sense of frustration and a pile of ruined fabric. The truth is, most tutorials make learning the sewing basics for beginners feel like you need a PhD in textile engineering just to sew a straight line. They bury you in jargon and expensive gadgets before you’ve even figured out how to thread a needle without getting a headache.
I’m not here to sell you on a lifestyle of complicated patterns or high-end equipment you don’t actually need. Instead, I want to help you treat sewing like the logical puzzle it actually is. My goal is to strip away the fluff and give you a streamlined, systems-based approach to the sewing basics for beginners so you can stop fighting your machine and start actually creating. We’re going to focus on the essential building blocks that actually matter, turning that overwhelming mess of thread into a series of simple, repeatable wins.
Table of Contents
Essential Sewing Machine Tools for Your First Puzzle
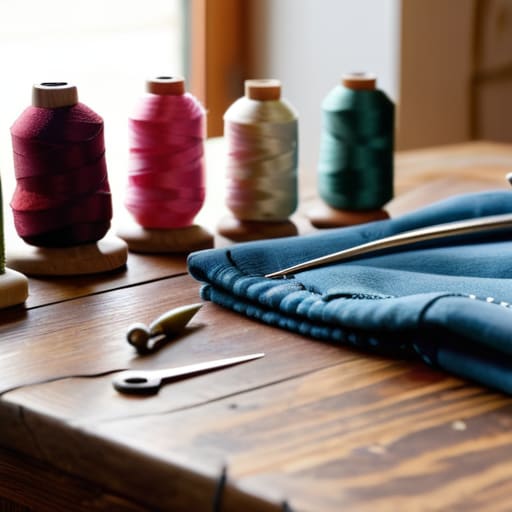
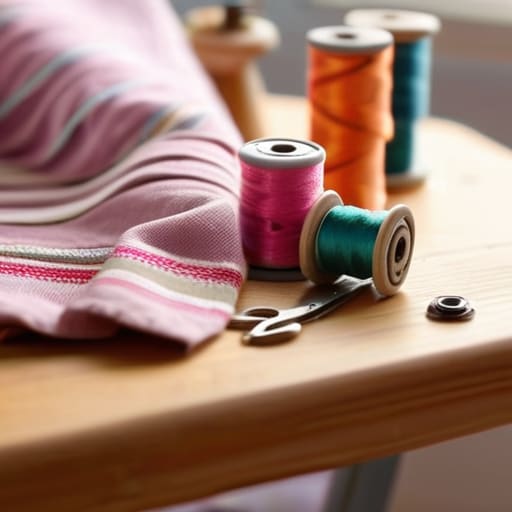
Before you dive into your first project, think of your workspace like a well-optimized workstation; you wouldn’t try to code without a keyboard and a monitor, right? To avoid that mid-project frustration, you’ll need to gather a few essential sewing machine tools that act as the hardware for your creativity. Beyond the machine itself, grab a sharp pair of fabric shears (never use them on paper, trust me!), a seam ripper—which is basically your “undo” button—and a handful of quality pins. Having these small pieces ready to go makes the whole process feel less like a chore and more like a smooth workflow.
I also recommend stocking up on various sewing notions and supplies before you get too deep into the zone. I’m talking about a good variety of thread colors, measuring tapes, and maybe some tailor’s chalk for marking your paths. I used to think I could just wing it with whatever was in my junk drawer, but I quickly learned that having the right tools is what turns a messy tangle into a seamlessly executed design. Once you have your kit organized, you’re ready to start solving the puzzle!
How to Thread a Sewing Machine Without the Stress
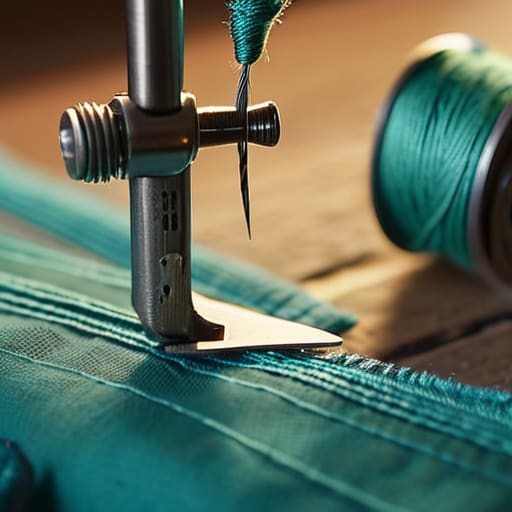
I remember the first time I sat down in front of a machine, feeling like I was staring at a cockpit of a fighter jet rather than a tool for creativity. My heart was racing, and I was convinced I’d somehow break the whole thing just by looking at it! But here’s the secret: learning how to thread a sewing machine is really just a logic puzzle. If you follow the path of the thread like a roadmap, everything clicks into place. Most machines actually have little numbered arrows or grooves etched right into the body to guide you, so treat them like your personal GPS.
The trick to avoiding that “tech meltdown” feeling is to go slow and check your work at every single step. Before you even think about hitting the foot pedal, trace the thread with your finger to ensure it’s tucked securely into the tension discs. It’s just like debugging a line of code; if the thread isn’t routed correctly, the whole system stalls. Once you master this flow, you’ll be ready to tackle those beginner sewing project ideas you’ve been dreaming about without the headache.
Five Tiny Tweaks to Keep Your Sewing Workflow Smooth
- Don’t be afraid to embrace the “seam ripper” lifestyle. I used to think using one meant I was failing, but honestly? It’s just a debugging tool for fabric. Even the pros have to undo a few lines of code—or stitches—to get the final product right.
- Treat your fabric like a delicate system. Always pre-wash your materials before you start cutting; if you don’t account for that initial shrinkage now, your beautiful new creation might end up looking like a shrunken sweater after its first wash.
- Slow down your “processing speed.” It’s tempting to crank that sewing machine pedal to the max to see results faster, but sewing is all about precision. Think of it like writing clean code: if you rush the syntax, you’re going to deal with a lot of errors down the line.
- Iron as you go, not just at the end. I know, it feels like an extra, tedious step, but pressing your seams flat after every stitch is the secret hack that turns a “homemade” project into something that looks professionally manufactured.
- Keep a “logbook” of your wins and wobbles. Just like I jot down ideas in my notebook, keep a little scrap of paper nearby to note which needle size worked best for your fabric or which thread tension felt off. Future-you will thank you immensely when you’re tackling a more complex pattern.
Quick Wins to Keep Your Momentum Going
Don’t let a tangled thread ruin your flow; think of threading your machine as a quick system reset rather than a roadblock.
Treat your toolkit like a well-organized workspace—having the right tools at your fingertips makes solving the “puzzle” of a new pattern so much smoother.
Remember that every mistake is just a bit of data for your next attempt; even the pros have to unpick a few seams before things click!
## Finding Your Rhythm
“Don’t let a tangled bobbin or a wonky seam discourage you; sewing is just a series of small, mechanical puzzles, and every little mistake is just data helping you calibrate your way to a perfect fit.”
Jordan Bennett
Piecing Your First Project Together
We’ve covered a lot of ground today, from gathering your essential toolkit to conquering that intimidating moment when you first try to thread your machine. I know it can feel like you’re staring at a thousand tiny, disconnected pieces, but remember that every expert maker started exactly where you are right now. Once you have your tools organized and your machine running smoothly, you’ve already cleared the biggest hurdles in the process. It’s all about building momentum one stitch at a time, ensuring your foundation is solid before you move on to more complex patterns. Just take it slow, keep your notebook handy for those “aha!” moments, and don’t be afraid to tinker with your settings until things feel just right.
At the end of the day, sewing is much more than just joining two pieces of fabric together; it’s about the joy of creating something tangible with your own two hands. There will be tangled threads and wonky seams—trust me, I’ve had my fair share of “thread disasters” in my DIY workshop—but those are just part of the learning curve. Think of every mistake as a tiny troubleshooting session that makes you a better problem-solver. You have the tools, you have the knowledge, and now you have the permission to just go out there and start creating. I can’t wait to see what you piece together first!
Frequently Asked Questions
I've got my machine and I know how to thread it, but what kind of fabric should I actually start with so I don't get frustrated?
Don’t dive straight into silk or stretchy jersey—that’s like trying to debug a massive codebase before you’ve even learned the syntax! You’ll just end up pulling your hair out. Instead, grab some lightweight cotton quilting fabric. It’s the “Hello World” of sewing; it stays put, doesn’t slip around, and behaves predictably under the needle. Mastering these stable pieces will build your confidence before we tackle the more complex, finicky textures.
Is there a specific way to organize all these tiny needles and thread spools so my workspace doesn't turn into a chaotic mess?
Oh, the dreaded “chaos corner”! I’ve been there—my old desk used to look like a colorful explosion of thread and lost pins. Think of your workspace like a well-oiled system: if everything has a dedicated “home,” your brain can actually focus on the creative part. I love using clear acrylic organizers for spools so I can see my colors at a glance, and a magnetic pin dish is a total lifesaver for those tiny, rogue needles!
How do I know if I'm actually sewing a straight line, or am I just imagining that my stitches look a little wonky?
Honestly? I’ve been there! It’s like looking at a spreadsheet and wondering if the columns actually line up. To stop the guessing game, grab a ruler or a seam guide. If you’re feeling brave, try sewing along a printed line on a piece of paper first—no thread needed! It’s the ultimate “debug” mode for your stitches. If the line on the paper stays straight, you’re golden; if not, it’s just a little puzzle to solve.