How to Fix a Leaky Faucet in Under an Hour
There I was, sitting at my kitchen table at 2:00 AM, staring at a half-assembled wrench and listening to that rhythmic, maddening drip… drip… drip… that felt like it was drilling directly into my brain. I used to think that knowing how to fix a leaky faucet meant you had to be some kind of master plumber with a massive, expensive toolkit and a degree in mechanical engineering. But after a decade of debugging complex software, I realized that home maintenance is just another system to deconstruct. Honestly, the biggest myth is that you need to call a professional the moment things get wet; most of the time, you just need to identify the broken component and swap it out.
I’m not here to give you a complicated manual that reads like a legal document. Instead, I want to show you how to approach this like a simple DIY automation project. In this guide, I’ll break down exactly how to fix a leaky faucet using a step-by-step logic that actually makes sense. We’re going to skip the jargon and focus on the practical, no-nonsense tools and movements you need to stop the chaos and reclaim your peace of mind. Let’s piece this puzzle together!
Table of Contents
Guide Overview
Tools & Supplies
- Adjustable wrench for loosening nuts
- Screwdriver (Phillips or flathead) for removing handles
- Allen wrench for set screws
- Replacement washers or O-rings (1 set)
- Plumber's grease (1 small tube)
Step-by-Step Instructions
- 1. Before we dive into the guts of the faucet, we need to shut down the “system” to avoid a sudden indoor flood. Locate the shut-off valves under your sink and turn them clockwise until they’re tight. I always recommend double-checking that the water is actually off by turning the faucet on for a second; if nothing comes out, you’re officially in the clear to start.
- 2. Now, let’s get organized—think of this like setting up a clean workspace for a coding project. Grab a small towel or a drain plug and cover the sink drain. This is a tiny but crucial step to ensure that if a small screw or washer decides to make a break for it, it doesn’t vanish into the plumbing abyss forever.
- 3. Once your workspace is secure, it’s time to disassemble the handle. Most faucets have a decorative cap on top that you can gently pry off with a flathead screwdriver to reveal the screw underneath. Loosen that screw and lift the handle off; if it feels stuck, don’t force it—sometimes a little gentle wiggling is all it takes to break the seal.
- 4. With the handle out of the way, you’ll see the cartridge or the stem. This is the “brain” of your faucet that controls the water flow. Use a wrench to unscrew the packing nut or the retaining clip holding the cartridge in place. I like to think of this as deconstructing a complex module to find the specific component that’s causing the glitch.
- 5. Now for the detective work: inspect the parts you’ve removed. Look for worn-out rubber washers, torn O-rings, or even a buildup of mineral deposits that look like tiny white rocks. In most cases, the leak is caused by a single, inexpensive washer that has lost its shape. If you see any damage, grab a replacement that matches the old one exactly.
- 6. Once you have your new parts ready, it’s time to rebuild the system. Slide the new cartridge or washer into position, making sure everything is seated perfectly straight. If you’re dealing with mineral buildup, a quick soak in some white vinegar can work wonders to restore that smooth movement before you put everything back together.
- 7. Finally, we reassemble the faucet by reversing the steps we took to take it apart. Tighten the nuts, but please, don’t over-tighten them—we want a snug fit, not a crushed seal. Slowly turn your water valves back on and test your handiwork. If the drip has vanished, congratulations! You just successfully optimized your home’s efficiency.
Identifying Common Causes of Faucet Leaks Fast
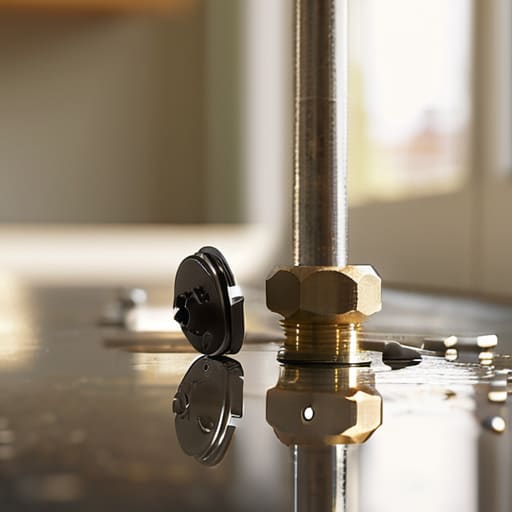
Before you dive into the deep end with your tools, it helps to think like a detective. Most of the time, a leak isn’t just a random glitch in the universe; it’s a symptom of a specific, tiny part reaching its expiration date. One of the most frequent culprits I see is a worn-out seal. If you notice water pooling around the handle, you might just need to replace faucet washer components to get things back in sync. It’s like a tiny gear in a larger machine—once that one piece loses its grip, the whole system starts to wobble.
Sometimes, the mystery is a bit more complex, especially with modern setups. If you’re dealing with a single-handle model, the issue often lies deep within the internal mechanism. In these cases, understanding the specific cartridge faucet replacement steps becomes your roadmap to success. I always tell my clients: don’t rush the diagnostic phase. Taking an extra minute to observe whether the drip is coming from the spout or the base can save you from a massive headache (and a lot of wasted hardware store trips) later on!
The Essential Plumbing Tools for Faucet Repair
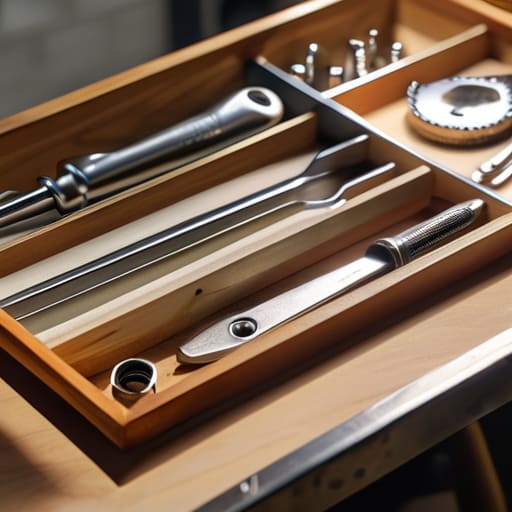
Before you dive into the deep end of the repair, let’s talk about your toolkit. I’ve learned the hard way that nothing kills a productive Saturday like realizing you’re missing one tiny piece of hardware halfway through a project. Think of your tools as the specialized components in a well-oiled system; if one piece is missing, the whole process stalls. To tackle plumbing tools for faucet repair effectively, you’ll want to have an adjustable wrench, a set of screwdrivers, and some needle-nose pliers ready to go. I always keep a small organized bin for these things—it’s much easier than hunting through a messy garage when you’re in the zone.
If you find yourself needing to replace faucet washer components or even moving into more complex cartridge faucet replacement steps, having a bit of plumber’s grease and some replacement O-rings on hand is a total game-changer. It’s like having a backup battery for your tech; you don’t think you’ll need it until you absolutely do. Having these little extras ready ensures that fixing a dripping kitchen sink feels less like a chaotic struggle and more like a smooth, satisfying win for your home’s efficiency.
Pro-Tips to Keep the Chaos at Bay (and Your Sink Dry)
- Don’t forget the “shut-off” dance; before you dive into the guts of the faucet, make sure you’ve turned off the water supply valves under the sink to avoid turning a minor repair into an indoor swimming pool.
- Treat your parts like precious cargo; as you take the faucet apart, lay the pieces out on a towel in the exact order you removed them—it’s like a little logic puzzle that saves you from a massive headache during reassembly.
- Grab a little plumber’s grease; applying a tiny bit of silicone-based grease to new O-rings or washers makes the installation much smoother and helps everything seal up tight, just like a well-oiled machine.
- Listen to the hardware; if you’re replacing a washer or a cartridge, take the old, crusty one with you to the hardware store to ensure you’re getting a perfect match, rather than playing the guessing game in the plumbing aisle.
- Tighten with a gentle touch; it’s tempting to crank everything down as hard as you can, but over-tightening can actually crack the components or ruin the seals—think of it more like a firm handshake than a wrestling match.
Quick Wins for a Leak-Free Life
Don’t let a small drip turn into a major headache; catching the leak early saves you both time and a whole lot of water.
Think of your toolkit like your digital workspace—having the right tools ready before you start makes the whole “debugging” process much smoother.
Once you’ve identified the culprit, whether it’s a worn-out washer or a faulty cartridge, approach the fix like a simple logic puzzle: one component at a time.
## Small Fixes, Big Wins
“Think of a leaky faucet like a tiny bug in a piece of code; it might seem insignificant at first, but if you don’t patch it early, it’ll eventually drain your most precious resources—your time, your peace, and your wallet.”
Jordan Bennett
Putting the Pieces Back Together
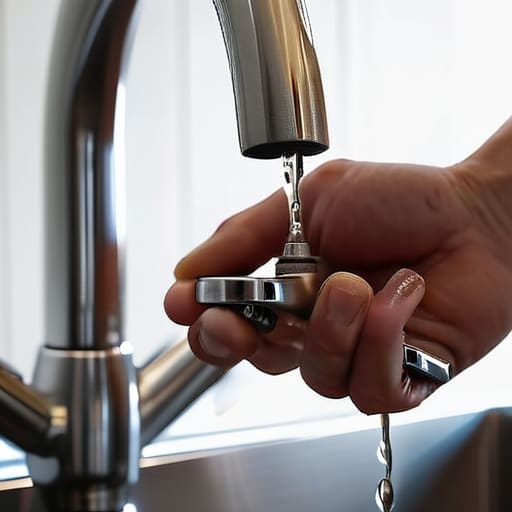
At the end of the day, fixing that leak is about more than just stopping a drip; it’s about reclaiming your environment from those small, nagging distractions. We’ve walked through the process of identifying the culprit, gathering your toolkit, and executing the actual repair, which really boils down to systematic troubleshooting. By following these steps, you haven’t just saved a few bucks on your water bill; you’ve successfully debugged a physical system in your own home. It’s a satisfying feeling to see a problem that felt overwhelming transform into a completed task through a few logical, manageable steps.
I know that sometimes, when you’re staring at a disassembled faucet and a pile of tiny washers, it can feel like you’re trying to solve a puzzle with missing pieces. But remember, every small win like this builds your confidence to tackle even bigger challenges. Life is constantly throwing these little “glitches” our way, but you now have the tools and the mindset to engineer a solution. So, take a moment to appreciate the quiet, drip-free sink and the sense of accomplishment that comes with it. You’ve got this, and I can’t wait to see what you optimize next!
Frequently Asked Questions
Is it actually worth repairing an old faucet, or should I just bite the bullet and replace the whole thing?
Honestly, it’s a bit of a toss-up! If it’s just a worn-out washer or a loose cartridge, it’s a quick, cheap win—think of it like updating an old app instead of buying a new phone. But if the faucet body is corroded or the handle feels like it’s fighting you, don’t waste your precious time. In those cases, biting the bullet and replacing it is the smarter move for long-term peace of mind.
I tried tightening the handle but the drip won't stop—did I miss a hidden part or am I just looking in the wrong place?
Don’t sweat it—you haven’t broken anything! Think of a faucet like a complex piece of software; sometimes, tightening the surface level doesn’t fix the bug deep in the code. If the handle is tight but the drip persists, the issue is likely hidden underneath. You’re probably looking at a worn-out washer or a faulty O-ring inside the cartridge. It’s time to dive a little deeper into the mechanism to find the real culprit!
How do I know if I need a specific type of washer or if the entire cartridge is toast?
Think of it like debugging code: sometimes it’s just a single line that’s broken, and other times the whole script needs a rewrite. If your faucet is just a slow drip, a worn-out washer is usually the culprit—it’s a quick, cheap fix. But if the handle feels “mushy,” gets stuck, or the leak persists after replacing the washer, the cartridge is likely toast. In that case, it’s time for a full replacement.