How to Weatherstrip a Door and Cut Your Energy Bill
I was sitting on my living room floor last Tuesday, wrapped in three different blankets and clutching a steaming mug of tea, wondering why my heating bill looked more like a phone number. Every time the wind picked up outside, I could actually feel the chill creeping in through the cracks of my front entrance. It turns out, I didn’t need a massive, expensive renovation to fix my comfort levels; I just needed to tackle the tiny, overlooked gaps. Most people think that weatherstripping a door is some daunting, weekend-long construction project that requires a contractor and a heavy toolbox, but honestly? It’s more like plugging the leaks in a leaky boat—it’s simple, logical, and incredibly satisfying once you get it right.
In this guide, I’m stripping away all the technical jargon and complex DIY nonsense to give you a streamlined, step-by-step roadmap. I’ll show you exactly how to identify the culprits behind those annoying drafts and how to choose the right materials without breaking the bank. My goal is to help you optimize your home’s efficiency with a few quick, smart tweaks that make your space feel cozy and controlled again. Let’s dive in and solve this little puzzle together!
Table of Contents
- Step-by-Step Instructions
- Choosing Your Pieces Foam vs Rubber Weatherstripping for Success
- Perfecting the Fit Door Jamb Sealing Techniques for Maximum Comfort
- Pro-Tips from My Notebook: The Little Things That Make a Huge Difference
- Quick Wins for a Cozy, Draft-Free Space
- The Little Things Matter
- Reclaiming Your Space
- Frequently Asked Questions
Guide Overview
Tools & Supplies
- Measuring tape to determine door perimeter and gaps
- Utility knife for trimming excess material
- Screwdriver for securing door sweeps or jamb strips
- Microfiber cloth for cleaning surfaces
- Weatherstripping roll (adhesive or tension type)
- Door sweep (if installing at the bottom)
- Rubbing alcohol for surface preparation
Step-by-Step Instructions
- 1. First things first, we need to do a little “detective work” to see where the trouble is actually hiding. Grab a flashlight and a piece of paper, and on a windy day, hold the paper near the edges of your door to see if it flutters. You’re looking for those tiny, invisible gaps where the air is sneaking in like an uninvited guest. Once you’ve identified the culprits—usually the bottom, the sides, or the top corner—you’ll know exactly where to focus your energy.
- 2. Before we even think about sticking anything new to the door, we have to clear the “clutter.” Dust, old adhesive, and grime are the natural enemies of a good seal, and if you try to apply new weatherstripping over a dirty surface, it’s going to peel off faster than a cheap sticker. Grab some isopropyl alcohol and a clean microfiber cloth to thoroughly wipe down the door frame and the door itself. Think of this as prepping your workspace; a clean slate makes everything else work much better.
- 3. Now, it’s time to measure, and I cannot stress this enough: measure twice, cut once. Grab your measuring tape and write down the exact lengths of the door’s sides, top, and bottom in that little notebook of mine. If you’re using a roll of foam or a rubber strip, you’ll want to cut your pieces slightly longer than the actual gap to ensure there’s no “dead space” between the segments. Precision here is the difference between a cozy room and a drafty one.
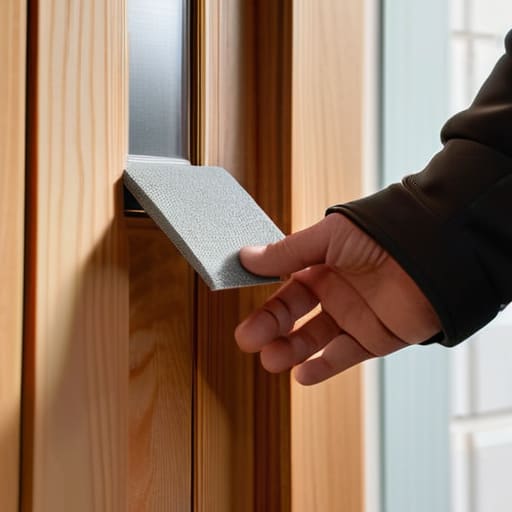
- 4. If you’re using the self-adhesive type (which is my personal favorite for a quick DIY win), peel the backing off just a tiny bit at a time. I like to start at one corner and work my way across, pressing the strip firmly into place as I go. You want to apply consistent pressure along the entire length to make sure the adhesive really bites into the surface. It’s a bit like applying a screen protector to a new phone—take your time, and don’t rush the process.
- 5. For the bottom of the door, you’ll likely be dealing with a door sweep rather than a simple strip. This is a slightly different beast, but don’t let it intimidate you! Most sweeps either screw into the bottom of the door or slide onto the edge. If you’re screwing it in, make sure you’re using a pilot hole so you don’t accidentally crack the wood. You want a snug, seamless fit that touches the threshold without making the door so heavy that it’s a pain to open.
- 6. Once everything is installed, it’s time for the ultimate “system test.” Close the door slowly and feel for any resistance, then open it to make sure the weatherstripping isn’t getting caught or pinched in a way that prevents a clean shut. If it feels smooth and the gaps look sealed, you’ve successfully optimized your entryway. Now, go grab a warm cup of tea and enjoy the fact that your home is finally feeling a little more like a sanctuary.
Choosing Your Pieces Foam vs Rubber Weatherstripping for Success
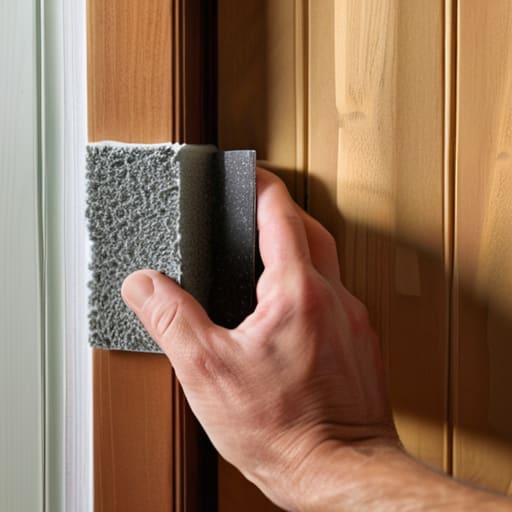
Before you grab your adhesive and get to work, we need to talk about your toolkit. Choosing between the different types of weatherstripping materials is a bit like choosing the right operating system for a new laptop—it might seem trivial at first, but the wrong choice can lead to some serious glitches down the line. If you’re looking for a quick, budget-friendly fix for a door that doesn’t see a ton of heavy traffic, foam is your best friend. It’s incredibly easy to work with, but keep in mind that foam can compress and lose its “bounce” over time, much like an old memory foam pillow that’s seen better days.
If you want something that’s built to last, I always recommend looking into foam vs rubber weatherstripping for high-traffic entryways. Rubber is the heavy hitter here; it’s much more resilient and holds its shape even when the door is slamming shut a dozen times a day. It’s one of those small investments in durability that pays off when you aren’t re-doing the same project six months later. Think of it as upgrading from a basic software patch to a full system overhaul—it takes a tiny bit more effort upfront, but the stability it provides is unmatched.
Perfecting the Fit Door Jamb Sealing Techniques for Maximum Comfort
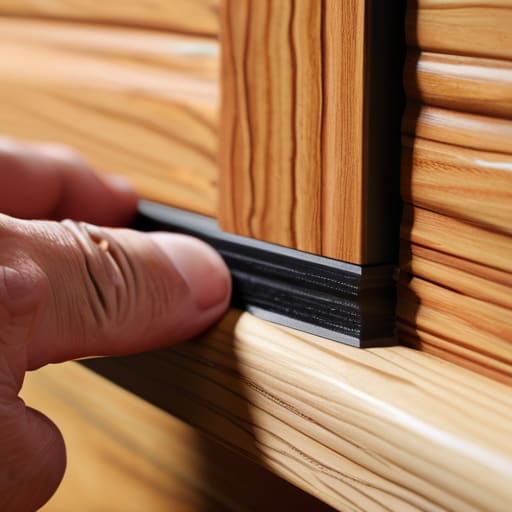
Now that you’ve picked your material, it’s time to get tactical with the application. Think of your door jamb like the frame of a complex piece of software; if the connections aren’t seamless, the whole system glitches. When applying your chosen strip, I always recommend a “press and hold” approach. Don’t just slap it on and walk away! Instead, apply firm, even pressure along the entire length to ensure the adhesive actually bonds with the surface. If you’re working with door jamb sealing techniques that involve tighter corners, take a second to pre-bend the material slightly so it doesn’t pop out of place once the door shuts.
Also, don’t forget about the “missing link” at the very base of your entryway. Even if your sides are airtight, you can still lose a ton of heat if there’s a gap at the floor. I’ve found that a proper door bottom seal installation is often the secret sauce to truly preventing drafts under doors. It’s like closing the final loop in a circuit—once that bottom gap is plugged, you’ll notice the temperature in your room stays much more consistent.
Pro-Tips from My Notebook: The Little Things That Make a Huge Difference
- Clean your surfaces like you’re prepping for a big presentation. If there’s dust or old adhesive gunk on that door frame, your new weatherstripping won’t stick for more than a week. I always grab some rubbing alcohol and a microfiber cloth first—it’s the “system reset” your door needs to ensure everything stays in place.
- Don’t forget the “Light Test.” Once you think you’re finished, turn off the lights in your hallway and have someone stand on the other side with a flashlight. If you see any slivers of light peeking through, you’ve got a leak in your system that needs more sealing.
- Think about the “compression sweet spot.” You want the weatherstripping to squish just a little bit when the door closes to create a seal, but you don’t want to fight the door to shut it. If you have to slam it, you’ve over-engineered the seal and you’re just going to wear out your hinges.
- Mind the gap at the bottom! Even if your jambs are perfect, a drafty door sweep can undo all your hard work. Think of the door sweep as the foundation of your house; if the base isn’t solid, the whole structure feels drafty.
- Plan for the seasons. If you live in a place with wild temperature swings, remember that materials expand and contract. I like to give my seals a quick “health check” once a year when the seasons shift, just to make sure they’re still doing their job effectively.
Quick Wins for a Cozy, Draft-Free Space
Don’t settle for “good enough”—matching the right material (like rubber for durability or foam for ease) to your specific door type is the secret sauce to a long-lasting seal.
Treat your door jamb like a puzzle; even the smallest gap can leak a ton of energy, so take that extra minute to ensure your strips are seated perfectly.
Think of weatherstripping as a low-effort, high-reward DIY project that pays for itself in comfort and lower energy bills almost immediately.
The Little Things Matter
“Think of weatherstripping like a tiny software patch for your home; it’s a small, simple fix that plugs the leaks in your system, making sure all that hard-earned energy stays exactly where it belongs—inside with you.”
Jordan Bennett
Reclaiming Your Space
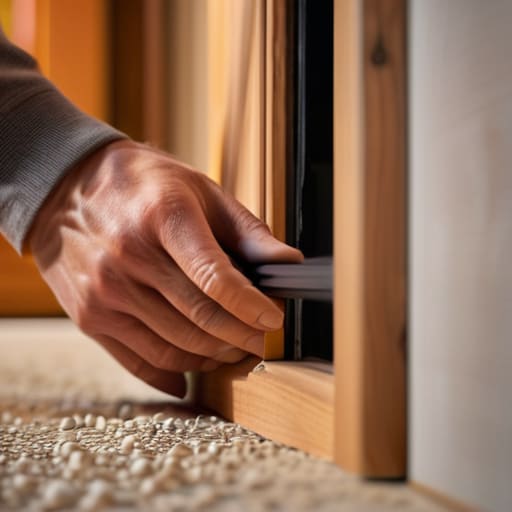
At the end of the day, weatherstripping is really just about closing the gaps that drain your energy—both literally and figuratively. We’ve walked through everything from picking the right material, whether you need the flexibility of rubber or the simplicity of foam, to mastering those tricky door jamb seals. It might feel like a small, technical task, but by taking the time to ensure a precision fit, you’ve effectively upgraded your home’s entire ecosystem. You’ve stopped the drafts, lowered your energy bills, and turned a noisy entryway into a quiet sanctuary. It’s all about those small, intentional adjustments that lead to massive long-term efficiency.
I like to think of home maintenance as a series of small puzzles waiting to be solved. Sometimes, the most profound changes don’t come from a massive renovation, but from the tiny, DIY wins that make our daily lives run just a little bit smoother. Don’t let the complexity of a project intimidate you; just grab your tools, take it one step at a time, and enjoy the satisfaction of a job well done. You aren’t just sealing a door; you are optimizing your environment to better serve you. Now, go grab a coffee, sit by that cozy, draft-free door, and enjoy the peace you just built!
Frequently Asked Questions
How do I know if my door is actually warped or if it just needs better weatherstripping?
Think of it like a puzzle piece that won’t quite click into place. To check, grab a thin sheet of paper and try to slide it through the door gaps while it’s closed. If the paper moves freely everywhere, you’ve likely got a warped frame. But if it catches in certain spots but slides through others, your door is probably straight—it just needs some fresh, squishy weatherstripping to bridge those gaps!
Is it worth it to replace the door sweep at the bottom, or should I just focus on the sides?
Think of your door like a leaky bucket: you can patch the sides all day, but if there’s a massive hole at the bottom, you’re still losing water. I always say, don’t leave the biggest gap for last! While the sides are crucial, the door sweep is often where the most significant drafts sneak in. If your sweep is cracked or worn, replace it. It’s the “final piece” that truly seals the puzzle.
How often should I be checking my seals to make sure they haven't worn down?
Think of your weatherstripping like the tread on your favorite pair of running shoes—it’s meant to take a beating, but eventually, it’s going to wear thin. I usually recommend a quick “finger test” every season. Just run your hand along the seal to check for cracks or compression. If you notice any light peeking through or feel a sudden draft, it’s time for a quick refresh to keep your home’s ecosystem running smoothly!