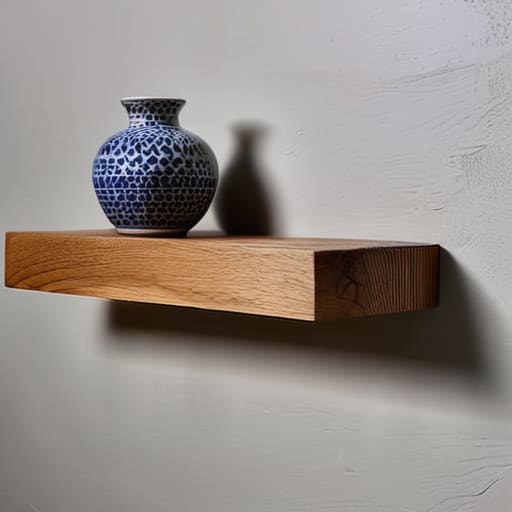
How to Build Floating Shelves That Hold Real Weight
I was standing in my living room last Tuesday, staring at a stack of half-read books and a collection of ceramic mugs that seemed to have developed their own gravitational pull on my coffee table, when it hit me: my space wasn’t just messy, it was unoptimized. I had this nagging feeling that if I could just get my belongings off the flat surfaces, my brain would finally stop feeling so cluttered. I’d always assumed that a successful floating shelves diy project required a workshop full of expensive power tools and a degree in carpentry, but I quickly learned that’s a total myth. In reality, it’s less about heavy machinery and more about understanding the logic of your space.
In this guide, I’m stripping away the intimidation factor and giving you the exact, no-nonsense blueprint I use for my own home automation and organization projects. We aren’t going to get bogged down in complex engineering; instead, I’ll walk you through the simple steps to build sturdy, beautiful shelves that actually hold weight. You’ll get my personal tips on choosing the right materials and, most importantly, how to avoid those frustrating leveling mistakes that drive most beginners crazy. Let’s get to work and start piecing your perfect room together!
Table of Contents
Guide Overview
Tools & Supplies
- Drill/Driver for securing brackets
- Level to ensure even placement
- Stud finder to locate wall supports
- Saw for cutting wood to size
- Measuring tape for precision
- Wood boards (shelves) 1-2 pieces
- Floating shelf brackets/hardware 1 set
- Wood screws 1 pack
- Sandpaper for smoothing edges
Step-by-Step Instructions
- 1. First things first, we need to gather our “ingredients.” Think of this like setting up your workspace before a coding sprint—you don’t want to be hunting for a screwdriver halfway through a task. You’ll need some sturdy wood (I love a good piece of reclaimed pine for that rustic vibe), some heavy-duty floating shelf brackets, a level, a drill, and a stud finder. Trust me, don’t skip the stud finder; trying to hang weight on just drywall is a recipe for a very messy, very broken afternoon.
- 2. Once you’ve got your gear, it’s time to map out the logic. Use your stud finder to locate the wooden studs behind your wall and mark them lightly with a pencil. This is essentially your system architecture—if the foundation isn’t solid, the whole project won’t hold up. If your studs don’t line up perfectly where you want the shelf, don’t panic; that’s when you’ll rely on high-quality drywall anchors, but hitting those studs is always the gold standard for stability.
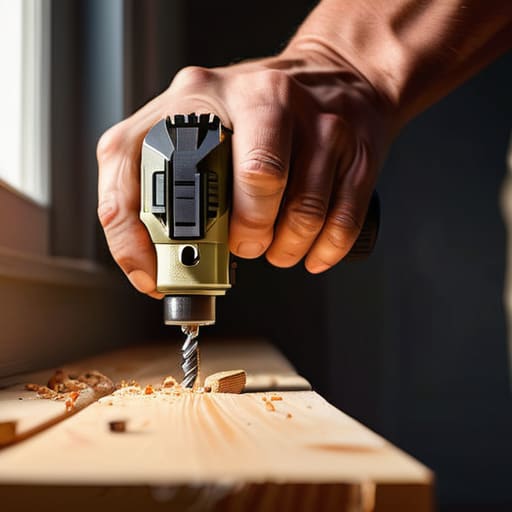
- 3. Now, let’s get precise. Hold your bracket up to your marks and use your level to ensure it’s perfectly straight. I know, I know, it’s tempting to just “eye it,” but in the world of DIY, a tilted shelf is just a slanted headache. Once it’s level, grab your drill and screw the brackets firmly into the wall. You want them to feel rock-solid; give them a little tug to make sure they aren’t budging before you move on.
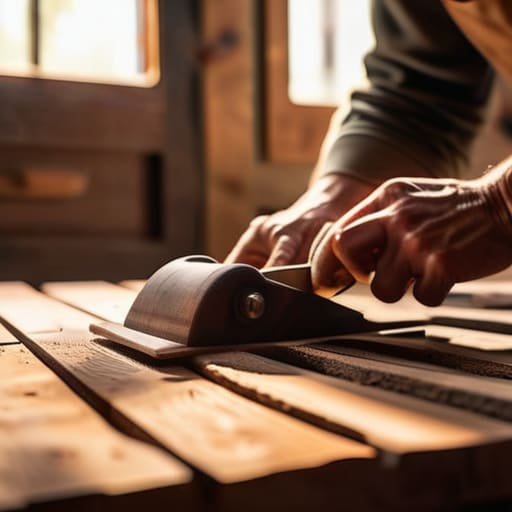
- 4. Next, we prepare the “shell”—the wooden plank itself. Depending on the style of bracket you bought, you might need to carve out a groove in the back of the wood so it can slide snugly over the metal supports. If you’re using a hollow-back style, you can skip this, but if you’re going for that seamless, premium look, precision is your best friend here. Sand the edges down until they feel smooth as silk; it makes a world of difference when you’re finally running your hands over them.
- 5. This is the most satisfying part: the integration. Slide your wooden plank onto the brackets. It might be a bit of a tight squeeze, which is actually a good sign—it means there’s minimal wiggle room. If it feels a little loose, you can tuck a small shim in the gap, but ideally, it should sit there like the final piece of a puzzle clicking perfectly into place.
- 6. Finally, it’s time for the “user testing” phase—aka, decorating! Start by placing your heaviest items, like a stack of favorite hardcovers or a ceramic planter, toward the center or near the brackets. This helps distribute the weight evenly. As you add smaller trinkets and maybe a trailing pothos plant, you’ll see the whole vision come to life. It’s not just about storage; it’s about creating a space that actually feels like you.
Mastering Custom Wood Shelf Design for Your Home
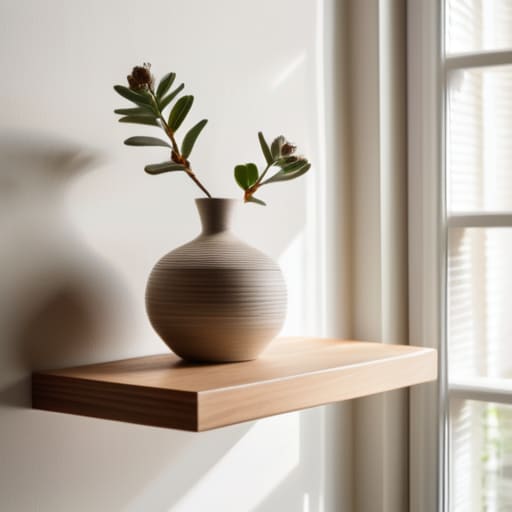
When you move beyond the basic assembly and start thinking about custom wood shelf design, you’re essentially moving from “building a thing” to “curating an experience.” I always tell my clients to think of their shelves as an extension of their home’s personality rather than just extra storage. If you’re leaning toward modern minimalist shelving ideas, consider using thinner, lighter woods like pine or poplar to keep that airy, effortless vibe. However, don’t let the aesthetic fool you—the “science” of the shelf is just as important as the style.
Before you start drilling, you need to get real about your floating shelf weight capacity. It’s easy to get carried away with a beautiful vision of a library, but if you’re planning to display heavy ceramic vases or thick hardcover books, your structural integrity is everything. I always recommend double-checking your mounting shelves to wall studs to ensure they won’t budge under pressure. It might feel a little tedious in the moment, but there is nothing more satisfying than seeing a perfectly level, sturdy shelf that looks like it’s magically hovering in mid-air.
The Secret to Seamless Hidden Bracket Installation
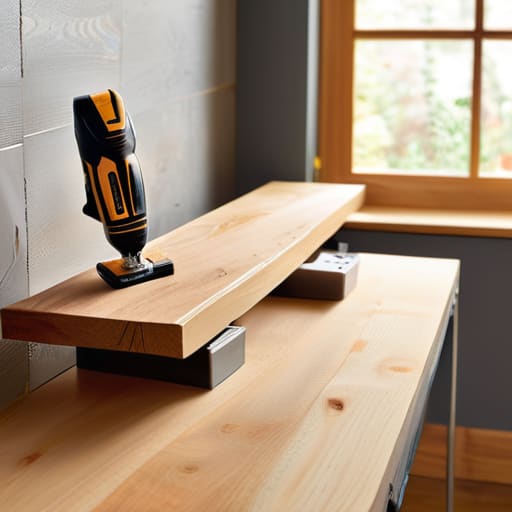
Now, let’s talk about the part that usually makes people a little nervous: the “magic” trick of making that shelf look like it’s levitating. The secret to a truly seamless hidden bracket installation isn’t just about the hardware; it’s all about the precision of your prep work. I always tell my clients to think of this like debugging a piece of code—if your initial setup is off by even a millimeter, the whole system feels clunky. Before you even touch a drill, grab a stud finder. You absolutely cannot skip the step of mounting shelves to wall studs if you want them to stay put. If you try to rely on drywall anchors alone, you’re essentially building your productivity system on a shaky foundation, and trust me, that’s a recipe for a mid-shelf meltdown.
Once you’ve located those studs, use a level to mark your bracket positions with a fine-tipped pencil. Even a tiny error here can make your beautiful custom wood look crooked, which totally kills that sleek, high-end vibe we’re going for. I like to use a bit of painter’s tape to mark my lines; it’s a simple, low-tech hack that prevents accidental slips. Remember, precision is your best friend when you’re aiming for that polished, professional finish!
Pro-Tips to Level Up Your Shelf Game
- Don’t let the weight fool you—always double-check your wall studs before you even think about drilling. I’ve learned the hard way that relying solely on drywall anchors is like building a house on sand; if you want to display your heavy ceramic collection without a disaster, you need to anchor those brackets directly into the wood.
- Think of your shelf depth like a personal space bubble. If you’re working with a tight nook, a shallower shelf prevents the room from feeling “heavy,” whereas a deeper shelf is your best friend for chunky cookbooks or larger decor pieces.
- Leveling isn’t just a suggestion; it’s the difference between a Pinterest-worthy display and a slow-motion landslide. I always keep my bubble level handy—it’s basically the “sanity check” of the DIY world—to ensure your books don’t decide to go on a slide toward the floor.
- Play with texture to avoid that “big box store” look. Instead of just grabbing any old piece of lumber, try looking for reclaimed wood or something with a unique grain. It adds a layer of soul to your room that makes the whole space feel more intentional and less like a catalog page.
- Leave some “white space” in your design. It’s tempting to pack every inch with knick-knacks, but your eyes need a place to rest. Think of it like a well-coded script—sometimes the most important part is the breathing room between the commands.
Quick Wins for Your Shelf-Building Journey
Don’t let the technical stuff intimidate you—think of your project as a modular system where getting the foundation (your brackets) right is the secret to a seamless finish.
Precision is your best friend; just like a well-written line of code, a tiny error in your measurements can throw off the whole system, so always double-check before you drill.
Personalize your design to fit your unique “puzzle”—use custom wood types and finishes to make sure your shelves aren’t just storage, but a reflection of your personal style.
## The Beauty of a Simple Build
“Building your own floating shelves isn’t just about adding storage; it’s about reclaiming your space from the chaos. It’s that satisfying moment when you realize you can take a blank wall and turn it into a functional piece of art that actually works for your life.”
Jordan Bennett
The Final Piece of the Puzzle
Building your own floating shelves is about so much more than just adding some storage to a wall; it’s about taking control of your environment. We’ve walked through everything from selecting the perfect wood grain to the technical wizardry of hidden bracket installation and custom design. By following these steps, you’ve essentially engineered a way to turn empty, wasted space into a functional, beautiful part of your home. Remember, the magic really happens in the details—whether it’s that seamless finish or the way the wood catches the light. Once you’ve mastered the technical setup, you’re no longer just a person with a cluttered room, but a creator with a customized system that works for you.
As I sit here with my notebook, jotting down ideas for my next home automation project, I’m reminded that life is rarely about perfection and always about continuous improvement. Don’t sweat it if your first shelf isn’t a museum-quality masterpiece; the goal is to create a space that feels like you. Every DIY project is a small victory in the grander scheme of optimizing your life. So, grab your drill, trust your instincts, and go turn that blank wall into something meaningful. You have all the tools you need to piece this part of your world together beautifully!
Frequently Asked Questions
How much weight can these DIY floating shelves actually hold before they start to sag or pull away from the wall?
That’s the million-dollar question! Honestly, it’s like trying to figure out how much gear your backpack can handle before the straps start to strain. It really depends on two things: your hardware and your studs. If you’re anchored directly into wooden studs with heavy-duty brackets, you can usually support a decent collection of books. But if you’re relying on drywall anchors, play it safe—keep it light, like a few small plants or decor pieces.
I’m working with drywall instead of studs—is there a way to make this work without the whole thing crashing down?
Oh, the classic drywall dilemma! Don’t panic—we’ve all been there. Think of drywall like a thin crust on a pizza; it’s great for flavor, but it can’t hold the heavy toppings alone. If you can’t hit a stud, skip the standard screws and grab some heavy-duty toggle bolts. They act like little anchors that spread the weight behind the wall, keeping your shelves (and your sanity) perfectly intact!
What kind of finish or stain should I use to make sure my handmade shelves look professional rather than just "crafty"?
Think of your finish as the final coat of logic that makes your entire system run smoothly. To dodge that “school project” look, skip the heavy, shiny hardware-store varnishes. Instead, opt for a matte or satin polyurethane. It gives you that high-end, professional sheen without looking like you’re coating them in plastic. If you want warmth, a semi-transparent stain lets the natural grain shine through, making your shelves feel like intentional design pieces rather than just DIY experiments.