How to Build a Garden Trellis for Climbing Plants
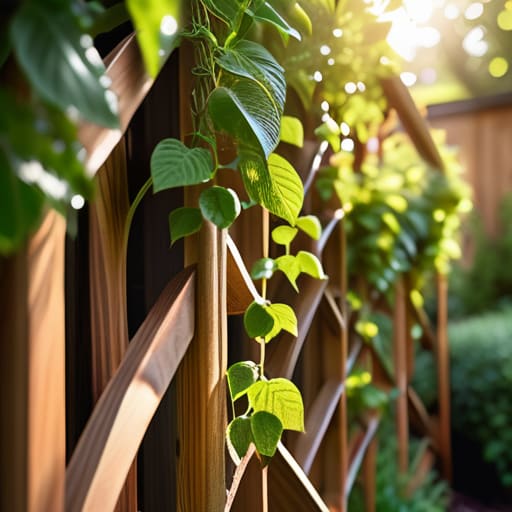
I was standing in my backyard last Saturday, staring at a tangled, weeping mess of jasmine that looked more like a green explosion than a curated garden, when it finally clicked. I had spent so much time trying to “organize” my plants by just tucking them into the soil, but I was missing the most vital component of a vertical ecosystem. Most people think that learning how to build a garden trellis requires a degree in carpentry or a garage full of heavy-duty power tools, but that’s just a myth that keeps beautiful gardens from reaching their full potential. In reality, it’s just about understanding how to create a simple, sturdy framework that lets your plants do what they were meant to do: climb.
I’ve spent my career breaking down complex systems into manageable pieces, and I’m approaching this project with that same mindset. In this guide, I’m stripping away the fluff to show you exactly how to construct a custom support system using basic materials you probably already have in your shed. We aren’t going for complicated architectural marvels here; we are aiming for functional, beautiful solutions that won’t collapse under the weight of a heavy summer bloom. Let’s dive in and piece this together so your garden can finally start reaching for the sky.
Table of Contents
- Step-by-Step Instructions
- Selecting Your Wooden Trellis Design Ideas
- Essential Garden Trellis Materials List for Success
- Pro-Tips to Keep Your Trellis Standing Tall (and Looking Great!)
- Quick Wins for Your Trellis Project
- The Beauty of the Build
- Bringing Your Garden Vision to Life
- Frequently Asked Questions
Guide Overview
Tools & Supplies
- Measuring tape for accurate cuts
- Handsaw or miter saw for wood processing
- Drill with bits for pilot holes and screw placement
- Screwdriver or drill driver for assembly
- Cedar or pressure-treated wood stakes (4-5)
- Wooden lattice panels or thin bamboo poles (1-2)
- Exterior grade wood screws (1 box)
- Wood glue (1 small bottle)
Step-by-Step Instructions
- 1. Before we start hammering anything, we need to gather our “components.” Think of this like setting up your workspace before a coding sprint; if you have everything laid out, the actual execution feels much smoother. You’ll want some sturdy wooden stakes or 2×2 lumber for the frame, some thinner lattice strips or even old garden twine, a drill, some outdoor-rated screws, and a pair of heavy-duty shears. I always keep my small notebook handy during this stage just to double-check my measurements before I make the first cut.
- 2. Next, let’s map out the architecture by measuring and cutting your main support posts. Depending on how tall your climbing plants are—whether it’s a rambunctious jasmine or a heavy tomato vine—you’ll want your vertical stakes to be at least a foot taller than the plant itself. I like to cut my main posts to a uniform height so the whole structure looks clean and intentional rather than a haphazard collection of sticks.
- 3. Now, it’s time to establish the foundation. If you’re building a free-standing trellis, you’ll want to create a sturdy base or secure your vertical posts into the ground. I usually find that driving the stakes at least six inches into the soil makes a massive difference in stability, especially once the wind starts picking up or your plants get heavy enough to act like a sail.
- 4. This is where the “grid” comes to life. You can either screw horizontal slats across your vertical posts to create a ladder effect, or if you’re feeling a bit more low-tech and DIY, you can use your garden twine to weave a web between the stakes. I personally love the twine method for smaller projects because it feels a bit more organic and gives the plants multiple entry points to grab onto as they grow.
- 5. Once your frame is secure, let’s add the “climbing lanes.” If you went the wooden route, make sure there are no sharp edges or splinters that might snag a delicate leaf. If you’re using wire or twine, ensure the gaps aren’t so wide that a small vine might slip through and get stuck. It’s all about creating a seamless interface between your structure and your greenery.
- 6. The final step is the “deployment” phase: getting your plants into the system. Gently guide the main stems of your climbing plants toward the trellis and use a little bit of soft garden tie to secure them to the frame. Don’t tie them too tightly—you want to give them enough room to breathe and expand as they find their footing.
- 7. Now, just sit back with a coffee and watch the magic happen. Like any good system, a trellis requires a little bit of ongoing maintenance; keep an eye on the growth every week or so to make sure the vines are following the path you’ve laid out for them.
Selecting Your Wooden Trellis Design Ideas
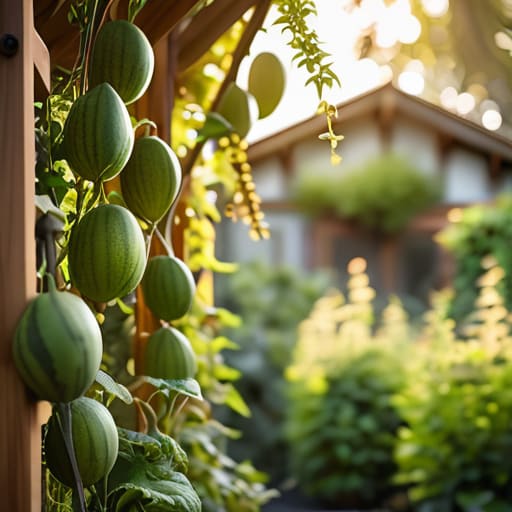
Before you grab your saw and hammer, I always tell my clients to pause and think about the “why” behind their project. Are you looking to create a dramatic focal point in your yard, or do you just need some functional climbing plant support systems to keep your cucumbers from sprawling all over the patio? If you’re working with a tiny balcony, you might lean toward sleek, minimalist frames, whereas a sprawling backyard allows for more whimsical, arched shapes. I love browsing through different wooden trellis design ideas in my little notebook—sometimes a simple lattice pattern works wonders, while a heavy-duty A-frame is much better if you’re planning on heavy loads like squash or melons.
Think of your trellis as the skeleton of your garden; it needs to be sturdy enough to hold the weight but stylish enough to complement your home’s vibe. If you’re a beginner, I highly recommend starting with easy diy garden structures that use standard lumber sizes. It keeps the math simple and prevents that overwhelming feeling of staring at a pile of mismatched wood. Just remember, the best design is one that balances your aesthetic vision with the actual physical needs of your plants!
Essential Garden Trellis Materials List for Success
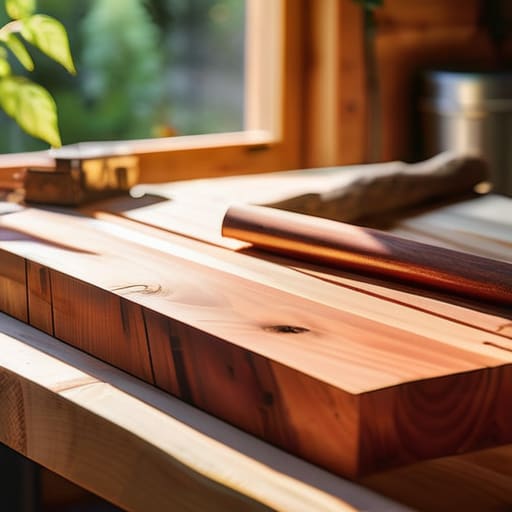
Before you head to the local hardware store, let’s talk about the “ingredients” for your project. Think of this like setting up a new software stack—if you use low-quality components, the whole system is going to crash when things get heavy. For your garden trellis materials list, I always recommend prioritizing durability. If you’re leaning toward cedar or redwood, you’re already winning; these woods are naturally resistant to rot and insects, meaning your climbing plant support systems won’t fall apart after a single rainy season.
If you’re on a tighter budget, pressure-treated lumber is a solid fallback, but just make sure it’s rated for ground contact. Don’t forget the “connectors” that hold your logic together—I’m talking about high-quality galvanized screws and heavy-duty brackets. Using standard nails is a bit like writing code without error handling; eventually, the shifting soil and wind will cause things to buckle. Investing a few extra dollars in weather-resistant fasteners ensures your vertical gardening structures stay upright and beautiful, giving your vines the stable foundation they need to truly thrive.
Pro-Tips to Keep Your Trellis Standing Tall (and Looking Great!)
- Don’t forget the “foundation factor”—I’ve seen so many beautiful trellises tip over after the first heavy rain because they weren’t anchored properly. Whether you’re using stakes or burying posts a few inches deep, make sure that base is solid so your climbing plants have a steady home.
- Think about your plant’s “personality” before you start building. A heavy, woody vine like wisteria needs a beefy, structural trellis that won’t buckle under pressure, whereas delicate sweet peas are perfectly happy with a lighter, more airy lattice design.
- Treat your wood like you’d treat your favorite tech gadget—protect it! Since this trellis is going to live outside in the elements, using weather-resistant wood or applying a good quality sealant will prevent rot and keep your project looking fresh for seasons to come.
- Leave a little breathing room for airflow. It’s tempting to make a super dense, tight lattice, but plants actually love a bit of a breeze moving through their leaves to prevent mold and keep them healthy. Think of it as giving your garden a little ventilation system.
- Plan for the “growth spurt.” It’s easy to get caught up in the aesthetics of the build, but remember that those tiny sprouts will eventually become a massive green curtain. Build your trellis slightly larger than you think you’ll need so you aren’t constantly playing catch-up with your climbing vines.
Quick Wins for Your Trellis Project
Don’t overthink the design; pick a style that matches your garden’s “vibe” and your plants’ specific climbing needs so you aren’t fighting against your own creation later.
Invest in quality materials upfront—using the right wood and sturdy fasteners now prevents the heartbreak of a collapsed trellis halfway through the growing season.
Think of your trellis as a living system, not just a piece of furniture; ensure it’s anchored securely so it can grow right along with your plants.
The Beauty of the Build
“Think of a trellis not just as a wooden structure, but as the scaffolding for your garden’s potential; you’re simply building the support system that lets your wildest green dreams reach for the sky.”
Jordan Bennett
Bringing Your Garden Vision to Life
We’ve covered a lot of ground today, from picking out the perfect design that fits your garden’s aesthetic to gathering the essential materials to make it all a reality. Building a trellis is really just about combining a few sturdy components—like your chosen wood and some reliable fasteners—into a system that supports something even greater. Remember, the goal isn’t to create a museum-quality masterpiece on your first try, but to build a functional framework that allows your plants to do what they do best. Once you’ve secured those posts and aligned your lattice, you’ve essentially created the backbone of your garden’s ecosystem.
As I sit here with my notebook, thinking about all the different ways a simple structure can transform a space, I’m reminded that productivity isn’t just about apps or calendars; it’s about creating the right environment for growth. Your trellis is a perfect metaphor for that. It’s a small, intentional investment of your time that provides the structure necessary for something beautiful to flourish over the coming months. So, grab your tools, head out to the backyard, and start piecing your vision together. I can’t wait to see how your garden climbs toward its full potential!
Frequently Asked Questions
How do I make sure my trellis is sturdy enough to hold up heavy climbers like wisteria or even some of my bigger tomato plants?
Think of your trellis like a backbone; if it’s too flimsy, the whole system collapses under the weight! For heavy hitters like wisteria, you can’t just rely on thin twine. I always recommend using thicker, pressure-treated lumber for the main frame and anchoring your posts deep into the ground with concrete or heavy-duty stakes. It’s like building a sturdy foundation for a house—the more “muscle” you build into the structure now, the less you’ll be patching it up later!
Should I be treating my wood with something specific to prevent it from rotting away after a few rainy seasons in the garden?
Oh, I am so glad you asked! This is where a little bit of “preventative maintenance” saves you a massive headache later. Think of it like updating your software to prevent a crash; you definitely want to protect that wood. I’d highly recommend applying a high-quality, non-toxic exterior sealant or a wood preservative. It creates a barrier against moisture, so your trellis doesn’t turn into a soggy mess after the first big storm!
What's the best way to anchor the trellis into the ground so it doesn't just tip over the first time we get a gusty wind?
Oh, the dreaded wind gust! I’ve definitely had a DIY project take an unannounced tumble before, and trust me, it’s not fun. To keep your trellis standing tall, think of it like setting a foundation for a house. The best way is to use heavy-duty wooden or metal stakes driven deep into the soil at the base. For extra security, you can even use guy wires—think of them like tiny, stabilizing anchors—to tie the top corners to nearby sturdy posts.