How to Spray Paint Anything for a Flawless Finish
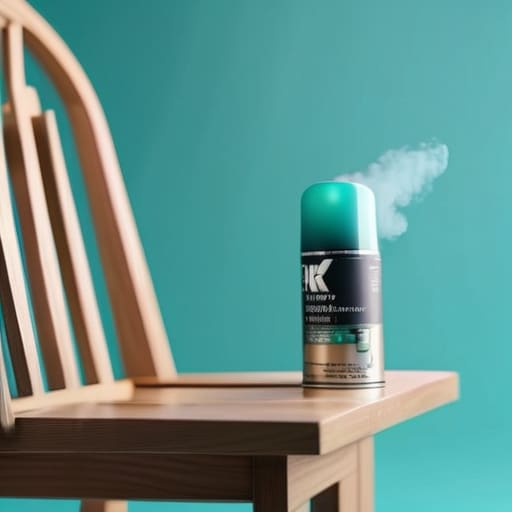
I was standing in my garage last Saturday, staring at a half-finished wooden chair that looked more like a melted crayon drawing than a piece of furniture. I had followed every “expert” video online, yet I was left with those dreaded, heavy drips and a surface that felt like sandpaper. It’s a common frustration: most people think mastering how to spray paint is all about having a steady hand, but the truth is actually much more about the system you build before you even touch the trigger. If your preparation is messy, your finish will be too—it’s just like trying to run complex code on a broken operating system.
I’m not here to give you a generic list of instructions that leave you covered in overspray and regret. Instead, I want to help you deconstruct this process into manageable, repeatable steps that actually work. In this guide, I’m sharing my personal, no-nonsense framework for achieving a professional-grade finish without the headache. We’ll dive into the essential prep work, the secret to consistent movement, and those tiny technical tweaks that make all the difference. Let’s stop guessing and start optimizing your DIY projects so you can finally see the results you actually envisioned.
Table of Contents
- Step-by-Step Instructions
- Mastering Surface Preparation for a Seamless Result
- Choosing the Best Spray Paint for Beginners
- Avoiding the "Drip and Drags": My Pro-Tips for a Flawless Finish
- The Quick-Start Cheat Sheet: My Top 3 Tips
- The Secret to a Flawless Finish
- Bringing Your Vision to Life
- Frequently Asked Questions
Guide Overview
Tools & Supplies
- Spray paint cans (various colors)
- Protective mask (to prevent inhaling fumes)
- Drop cloths (to protect surfaces)
- Sandpaper (for surface preparation)
- Cleaning agent (to remove dust/grease)
- Painter's tape (to mask off edges)
- Primer (to ensure adhesion)
Step-by-Step Instructions
- 1. First things first, we need to tackle the prep work. Think of this like cleaning your workspace before diving into a complex coding project; if the environment is messy, the output will be too. Grab some mild soap, water, and a soft cloth to wipe down your item, making sure to remove every bit of dust, grease, or old wax. If you’re working on something wooden or metal that has imperfections, a quick pass with some fine-grit sandpaper will ensure the paint has a smooth surface to grab onto.
- 2. Once your item is clean and bone-dry, it’s time to create your “safety zone.” I always tell my clients that boundaries are essential for productivity, and that applies to spray painting, too! Lay down some drop cloths or old newspapers to protect your floors, and use painter’s tape to mask off any areas you don’t want color to touch. If you’re painting a chair, don’t forget to tape off the undersides or any intricate carvings that might be a nightmare to clean later.
- 3. Before you even think about pulling that trigger, you have to perform a “test run.” Grab a piece of scrap cardboard—something similar in material to your project—and give it a few quick sprays. This is your chance to calibrate your technique and see how the paint actually flows. You’re looking for a consistent mist rather than big, gloppy droplets, and it helps you figure out exactly how far back you need to hold the can to get that perfect coverage.
- 4. Now we get to the fun part, but remember: patience is your best friend here. Start by holding the can about 8 to 12 inches away from the object and move in steady, even strokes. A pro tip from my automation days: don’t just spray the object; start your stroke just outside the edges and end it on the other side. This prevents those awkward “puddles” of paint that happen when you start and stop the spray directly on the surface.
- 5. This is where most people trip up—they try to do too much at once. Instead of trying to achieve full color in one heavy coat, aim for several thin, light layers. It’s much better to apply three whisper-thin coats than one thick, dripping mess. Give each layer about 5 to 10 minutes to dry before moving to the next. Think of it like iterative development; you’re building the final product piece by piece to ensure total stability.
- 6. Once you’ve finished your final coat, the hardest part begins: waiting. I know, I know, it’s tempting to touch it immediately to see if it’s dry, but that is a recipe for fingerprints and ruined finishes. Check the can for specific drying times, but generally, you want to let it sit undisturbed for at least an hour before handling, and ideally 24 hours before you put any heavy use back into it.
- 7. Finally, once everything is completely cured, take a moment to admire your work! If you notice any tiny dust nibs or imperfections, don’t panic. You can lightly sand those spots down with very fine sandpaper and apply one last “glaze” coat to smooth everything out. It’s all about that final polish that turns a DIY project into something that looks professionally manufactured.
Mastering Surface Preparation for a Seamless Result
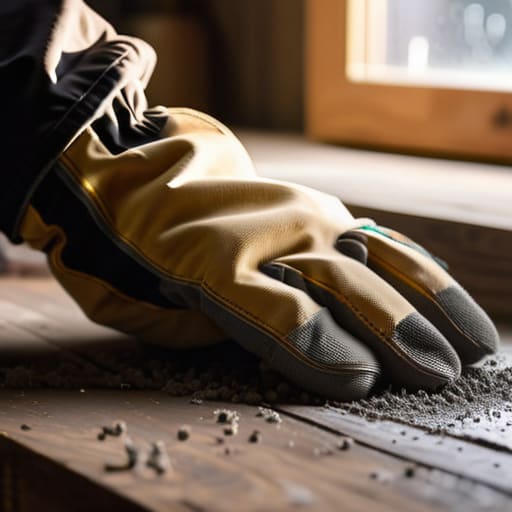
Think of surface prep like setting the foundation for a puzzle; if the pieces don’t fit right from the start, the whole picture falls apart. I’ve learned the hard way that skipping the cleaning phase is a recipe for frustration. Even if a surface looks clean, a thin layer of dust or oil can cause your finish to bead up or peel. A quick wipe with a tack cloth or a mild degreaser makes a world of difference. If you’re working with something particularly stubborn, like old wood or metal, don’t skip the sanding step. It creates the “tooth” needed for the paint to grab onto, which is a massive part of effective spray paint surface preparation.
Once you’ve got a clean, smooth base, your next best friend is a high-quality spray paint primer and sealer. I like to view primer as the bridge between your object and your beautiful new color. It fills in those tiny microscopic imperfections and ensures the color looks even rather than patchy. Without it, you might find yourself struggling with preventing spray paint drips because the paint isn’t adhering uniformly. Take that extra ten minutes now; your future, more relaxed self will definitely thank you!
Choosing the Best Spray Paint for Beginners
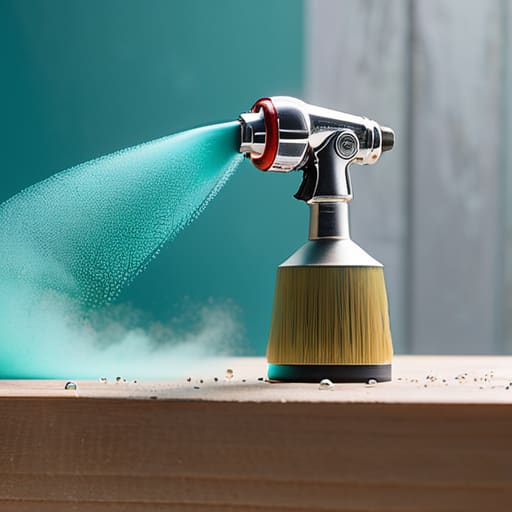
Picking up a spray can for the first time can feel a bit like staring at a massive, unorganized codebase—it looks overwhelming until you realize it’s just a series of small, logical steps. When you’re hunting for the best spray paint for beginners, I always suggest looking for brands that offer a “high-flow” or “all-surface” formula. These are much more forgiving if your technique isn’t perfect right out of the gate. You want something that atomizes smoothly rather than coming out in heavy, uneven clumps.
One thing I’ve learned from my years of tinkering with DIY projects is that the paint itself is only half the battle; the chemistry matters too. If you’re working on something tricky like plastic or metal, don’t skip the spray paint primer and sealer. Think of the primer as the “middleware” of your project—it creates that essential bridge between your surface and your final color, ensuring everything sticks without a hitch. Using a dedicated primer is one of the most effective ways of preventing spray paint drips and ensuring your finish looks professional rather than amateur.
Avoiding the "Drip and Drags": My Pro-Tips for a Flawless Finish
- Think of your spray can like a garden hose, not a power washer. If you hold it too close or squeeze too much paint onto one spot, you’re going to end up with those dreaded “runs” that look like melted wax. Keep a consistent distance—about 8 to 12 inches—to let the mist settle naturally.
- Never start or end your spray stroke directly on the object. It’s a bit like drawing a line on a piece of paper; if you start right at the edge, you’ll get a heavy blob. Instead, start your sweep in the air to the side, pass over your project, and continue the motion into the air on the other side.
- Patience is your best friend here. It is so tempting to try and get full coverage in one go, but that’s a recipe for a sticky mess. I always tell my clients to think in “whisper-thin” layers. Three light, translucent coats are infinitely better than one heavy, gloppy one.
- Don’t forget to check the wind—even if you’re working in a garage! I once spent an entire afternoon painting a small planter only to realize a slight breeze had carried half my pigment into the neighbor’s yard. If you’re outdoors, find a dead-calm pocket or stick to a well-ventilated indoor space.
- Keep a “safety net” ready by masking off everything you don’t want painted. I treat masking like setting the boundaries of a puzzle; if you don’t define the edges clearly with painter’s tape, the colors are going to bleed into places they definitely don’t belong.
The Quick-Start Cheat Sheet: My Top 3 Tips
Treat your prep work like the code for a new app; if your foundation is buggy (or dusty and uneven), no amount of high-quality paint is going to fix the final output.
Think in thin layers rather than one heavy coat—it’s much better to build your “puzzle” piece by piece with light mists than to flood the surface and end up with a messy, dripping disaster.
Don’t forget the environment; just like you wouldn’t try to debug a complex system in a chaotic room, don’t try to spray paint in high wind or extreme humidity if you want a smooth, professional finish.
The Secret to a Flawless Finish
“Think of spray painting less like a chore and more like fine-tuning a piece of code; it’s not about how fast you can hit ‘run,’ but about the precision of your prep and the steady rhythm of your strokes that keeps the whole system from crashing into drips and runs.”
Jordan Bennett
Bringing Your Vision to Life
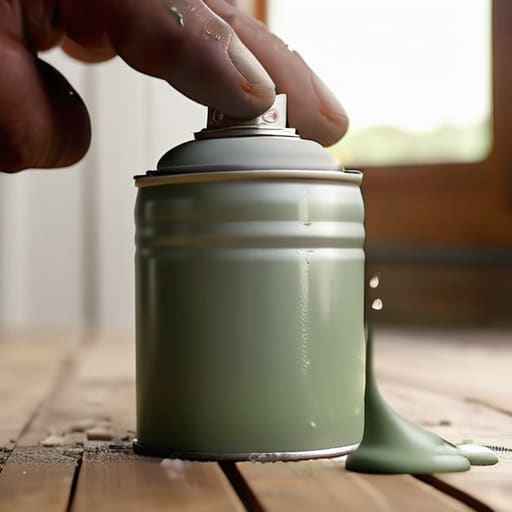
We’ve covered a lot of ground, from the meticulous prep work that prevents those annoying drips to selecting the perfect can of paint that actually plays nice with your surface. Remember, the secret isn’t just in the spray itself, but in the layers of patience you build along the way. If you focus on steady, even strokes and don’t rush the drying process, you’ll avoid the most common pitfalls that trip up even the most seasoned DIYers. Think of it as debugging a piece of code; once you get the foundational setup right, the actual execution becomes a much smoother, more predictable process.
At the end of the day, don’t let the fear of a little overspray keep you from picking up that can. Every imperfect finish is just a data point—a way to learn how your specific environment and technique interact. I truly believe that mastering these small, tactile skills is one of the best ways to reclaim a sense of agency in our digital, high-speed lives. So, grab your mask, find a well-ventilated spot, and go ahead and transform your space. You’ve got the blueprint, you’ve got the tools, and I know you’re going to create something absolutely stunning.
Frequently Asked Questions
How do I stop those annoying drips and runs from ruining my hard work?
Ugh, the dreaded drip! It’s like finding a piece of the puzzle that just won’t fit, right? To stop those runs, the secret is all in your “sweep.” Think of your spray can like a paintbrush, but instead of touching the surface, you’re hovering. Keep a consistent 8-12 inch distance and always start your spray off to the side of the object, sweeping across, and ending off the other side. Less is more—multiple thin coats beat one heavy one every time!
Is it actually safe to spray paint inside my garage, or do I absolutely need to head outdoors?
Honestly? Please, please, please head outdoors. I know it’s tempting to just roll through the garage door to save time, but think of it like running a heavy software update without enough RAM—it’s just going to crash your system. The fumes are no joke, and without professional-grade ventilation, you’re basically breathing in a chemical cocktail. Grab a chair, set up in the driveway, and let the breeze do the heavy lifting for you!
How long do I really need to wait between coats before I start seeing a patchy mess?
I’ve definitely been there—standing over a project, staring at it, and thinking, “I can probably squeeze in another coat now.” Don’t do it! Think of it like letting glue dry; if you touch it too soon, you’ll just create a sticky, textured disaster. Generally, you want to wait at least 15 to 30 minutes between light misting coats. If you rush, you’ll end up with those dreaded drips and a patchy mess. Patience is your best tool!