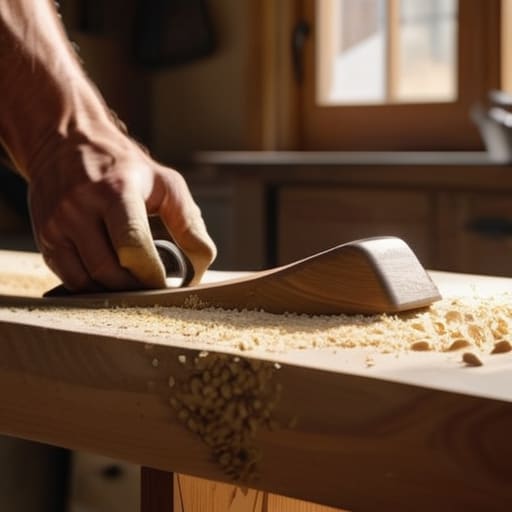
How to Build a Simple Bookshelf From Scratch
I was standing in the middle of my living room last Saturday, surrounded by a chaotic sea of sawdust, half-empty wood glue bottles, and a pile of timber that looked nothing like the organized sanctuary I had envisioned. My old software engineering brain kept trying to debug the project like a faulty line of code, but let’s be real: wood doesn’t follow a predictable algorithm. I realized then that most people approach DIY projects with way too much intimidation, thinking they need a master carpenter’s toolkit to succeed. But honestly? Learning how to build a bookshelf isn’t about having a professional workshop; it’s just about breaking a complex system down into manageable, tiny wins.
In this guide, I’m stripping away the fluff and the overwhelming jargon to give you a streamlined, logical roadmap. I’ll walk you through everything from selecting the right materials to the final assembly, focusing on smart shortcuts that save both time and sanity. Whether you’re a total beginner or just someone looking to optimize your home office, I promise to show you how to piece this project together without the usual DIY headache. Let’s get your library organized, one shelf at a time.
Table of Contents
- Step-by-Step Instructions
- Mastering the Essentials Woodworking Tools for Beginners
- Blueprint for Success Calculating Custom Bookcase Dimensions
- Pro-Tips to Keep Your Project from Becoming a DIY Disaster
- The Big Picture: Wrapping Up Your Build
- ## The Heart of the Project
- The Final Piece of the Puzzle
- Frequently Asked Questions
Guide Overview
Tools & Supplies
- Circular Saw or Hand Saw for cutting wood to size
- Power Drill for driving screws and pilot holes
- Measuring Tape for accurate dimensions
- Sandpaper for smoothing surfaces
- Level to ensure stability
- 1×4 or 1×6 Pine Boards (approx. 4-5 boards)
- Wood Screws (1.5 inch, 1 box)
- Wood Glue (1 bottle)
- Sandpaper (various grits)
- Wood Stain or Paint (1 small can)
Step-by-Step Instructions
- 1. Before you even touch a saw, you need to gather your “ingredients.” Think of this like setting up a new workspace on your laptop—if your desktop is cluttered, your workflow will be a mess. Grab your wood (pine is a great, forgiving starter), a measuring tape, a level, some wood glue, and your screws. I always keep a small notebook handy during this phase to jot down my exact dimensions so I don’t have to keep running back to the workbench.
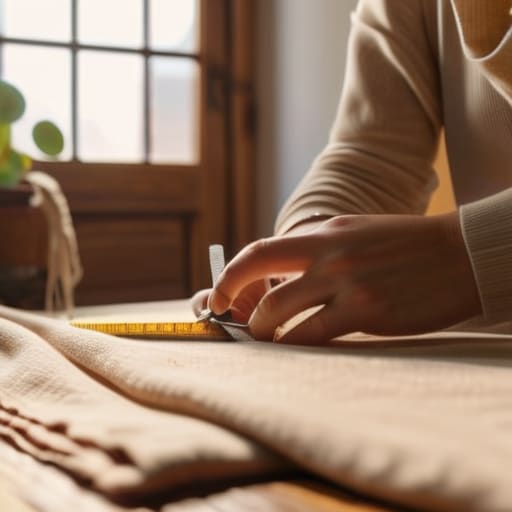
- 2. Now, let’s get into the precision work: measuring and marking. This is where my old software engineer brain kicks in; if your initial code is buggy, the whole program crashes. Use a pencil to mark exactly where your shelves will sit on the side panels. I like to use a level to ensure my lines are perfectly straight, because there is nothing more frustrating than a bookshelf that makes your favorite novels look like they’re sliding off into the abyss.
- 3. Time to make the cuts. If you’re using a circular saw or a hand saw, take it slow. I used to think speed was everything when I was coding, but in DIY, slow is smooth and smooth is fast. Aim for clean, straight lines. If you’re feeling a bit nervous about the saw, just remember: you can always sand down a little extra wood, but you can’t magically add it back once it’s gone!
- 4. Once you have your pieces, it’s time to start the assembly. Apply a thin bead of wood glue along the edges before you screw them together. Think of glue as the background process of your project; you might not notice it immediately, but it’s what provides the long-term stability that keeps everything running smoothly. Align your side panels with your shelves and use your screws to secure them, making sure everything stays square.
- 5. This is the part where we “debug” the structure. Check your work with that level again. If one side feels a little wonky, don’t panic—just loosen the screws slightly, nudge the shelf into place, and tighten them back up. It’s all about incremental adjustments until the whole system feels solid and balanced.
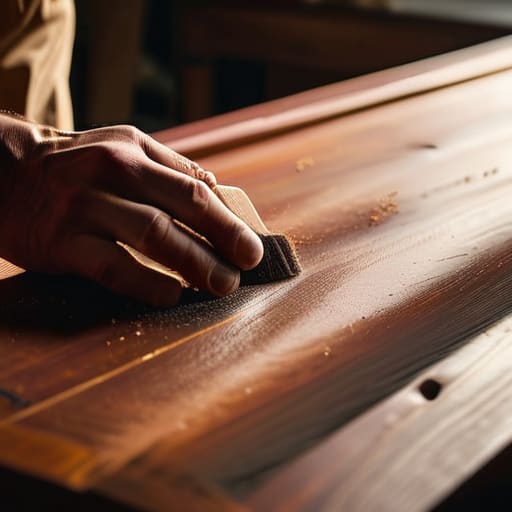
- 6. Finally, let’s talk aesthetics and protection. Sand down any rough edges until the wood feels as smooth as a high-end smartphone screen. Once the dust has settled, you can apply a stain or a coat of paint to match your vibe. I personally love a natural finish that shows off the wood grain, but the real magic happens when you finally place your first book on the shelf and realize you actually built something functional from scratch.
Mastering the Essentials Woodworking Tools for Beginners
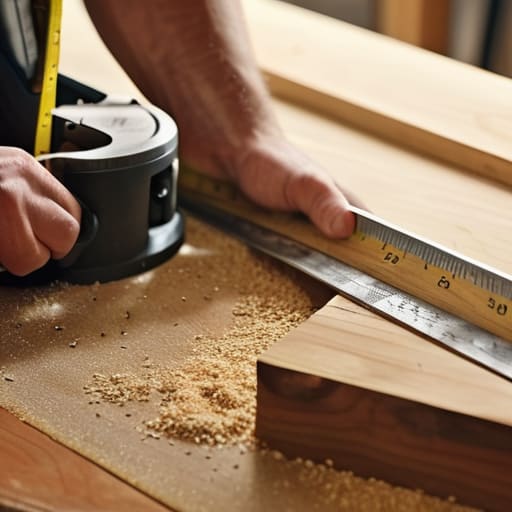
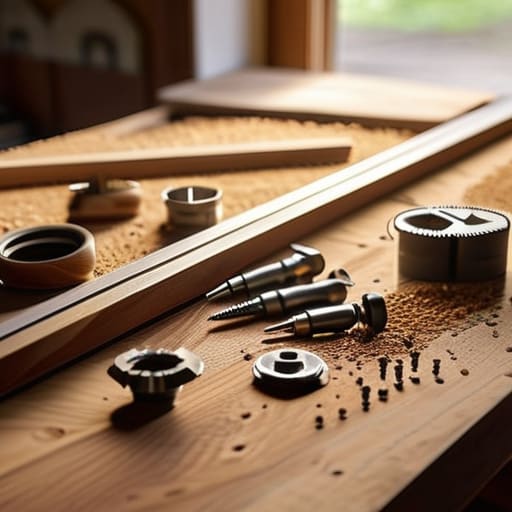
Before you dive into the sawdust, let’s talk about your toolkit. I used to think you needed a massive, professional-grade workshop to get anything done, but that’s a total myth. When you’re just starting out, the goal is to find a balance between precision and simplicity. For me, the real secret to a successful project lies in measuring and cutting lumber with a steady hand and a reliable tape measure. You don’t need every gadget under the sun, but having a solid saw and a decent drill will make the difference between a project that feels like a breeze and one that feels like a chore.
Think of your tools as the extensions of your own hands; the better they fit your workflow, the more fun you’ll have. While you’re gathering your gear, don’t forget to scout out some quality shelf mounting hardware to ensure everything stays level once it’s on your wall. I always tell my clients: invest in the basics that you’ll actually use. It’s much more satisfying to work with a tool that feels right than to struggle with cheap equipment that makes your job twice as hard.
Blueprint for Success Calculating Custom Bookcase Dimensions
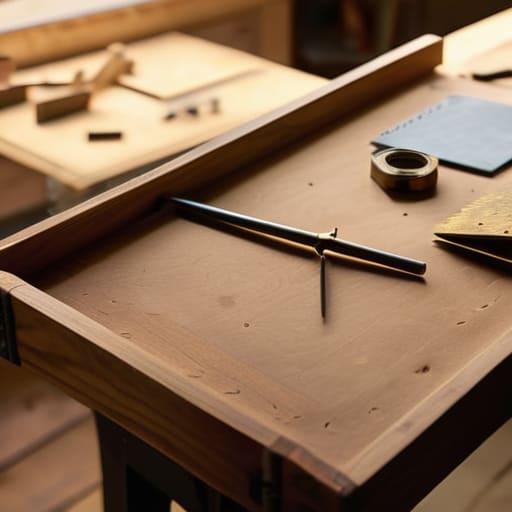
Before you even touch a saw, we need to talk about the math. I know, I know—most of us would rather jump straight to the fun part, but getting your custom bookcase dimensions right is the difference between a masterpiece and a wobbly mess. Think of this stage like writing the code for a new app; if your logic is flawed at the start, the whole system crashes later. Grab that little notebook of mine and start by measuring your intended space. Don’t just measure the width; account for baseboards and any crown molding. You want a snug, intentional fit that looks like it grew right out of your wall rather than something just shoved into a corner.
Next, let’s consider the weight. If you’re planning to house a collection of heavy hardcover encyclopedias, your shelf spacing needs to reflect that. A sturdy bookshelf design relies on calculating the “sag” factor. I usually recommend spacing shelves no more than 30 to 36 inches apart for standard lumber to prevent that dreaded bowing effect. It’s all about anticipating the load before you start measuring and cutting lumber. Take your time here; a few extra minutes of math saves hours of frustration later!
Pro-Tips to Keep Your Project from Becoming a DIY Disaster
- Measure twice, cut once, and then maybe measure a third time just for peace of mind. I used to think I could eyeball a measurement when I was coding, but in woodworking, being off by even a hair can make your shelves wobble like a loose tooth.
- Don’t skip the sanding phase. It might feel like a tedious chore, but running a sander over your wood is like debugging your code—it’s the extra bit of work that turns a glitchy, rough experience into something smooth and professional.
- Think about weight distribution before you commit to your shelf spacing. If you’re a fan of heavy hardcover encyclopedias rather than lightweight paperbacks, you’ll want to add a center support or use thicker wood to prevent that dreaded “sad shelf sag.”
- Use a bit of wood glue in conjunction with your screws or nails. Think of glue as the “backend” of your bookshelf; the screws are the visible interface, but the glue is the hidden strength that actually holds the whole system together over time.
- Embrace the imperfections. If a grain pattern looks a little wonky or a screw head isn’t perfectly flush, don’t sweat it! That’s just the “human element” of your build, and it’s what makes a handmade piece so much more special than something mass-produced from a big-box store.
The Big Picture: Wrapping Up Your Build
Don’t let the math intimidate you; as long as you’ve nailed down your dimensions and have your basic tools ready, you’ve already conquered the hardest part of the puzzle.
Remember that perfection is the enemy of progress—your first bookshelf might have a few quirks, but those little imperfections are what make it uniquely yours.
Treat this project as a prototype for your future DIY wins; once you see those books sitting on shelves you built with your own two hands, you’ll be ready to tackle even bigger systems.
## The Heart of the Project
“Building a bookshelf isn’t just about stacking wood and driving screws; it’s about designing a little corner of the world that holds your stories, one perfectly measured shelf at a time.”
Jordan Bennett
The Final Piece of the Puzzle
We’ve covered a lot of ground, from sketching out those initial dimensions to getting your hands dirty with the right woodworking tools. Building a bookshelf might feel like a massive undertaking when you’re staring at a pile of raw lumber, but remember that it’s really just a series of small, logical steps. By focusing on precise measurements and choosing the right gear, you’ve already bypassed the biggest hurdles that trip up most beginners. You’ve moved from a vague idea to a concrete plan, and that transition from “what if” to “how to” is where the real magic happens. Now, all that’s left is to follow your blueprint and let the assembly begin.
At the end of the day, this project is about much more than just finding a place to store your paperbacks. It’s about the incredible satisfaction of looking at something in your home and saying, “I made that.” Life can often feel chaotic and overwhelming, but projects like this remind us that we have the power to build order out of chaos. Whether your finished shelf ends up perfectly level or has a few charming imperfections, it represents a victory in your personal journey of growth. So, grab your screwdriver, trust your process, and enjoy the beautiful process of putting your life together, one shelf at a time.
Frequently Asked Questions
How do I make sure my shelves don't sag under the weight of all those heavy hardcover books?
Oh, the dreaded “bookcase bow”—I’ve seen it happen to the best of us! Think of your shelves like a bridge; if the span is too wide without enough support, gravity wins. To prevent that sad sag, try using thicker wood (at least 3/4 inch) or adding a solid “cleat” along the back edge for extra backbone. If you’re going for long spans, adding a middle vertical divider is a total game-changer!
What's the best way to hide those pesky screw heads so the whole thing looks professionally finished?
Ah, the “professional polish” stage! Nothing ruins a clean aesthetic like a bunch of silver screw heads staring back at you. My favorite trick? Use wood filler or even a bit of wood putty to fill those little divots. Once it’s dry, give it a light sand so it’s flush with the wood. If you’re feeling fancy, a dab of matching wood stain on top makes them virtually invisible. It’s like magic for your DIY!
I'm a total newbie—should I stick to a simple pine wood, or is it worth the extra effort to try something more fancy like oak?
Honestly, if this is your first time picking up a saw, stick with pine! Think of it like your first time coding: you want to master the logic before you start trying to optimize for high-level performance. Pine is forgiving, easy to cut, and won’t break your heart (or your budget) if you make a little mistake. Save the oak for your “version 2.0” project once you’ve found your rhythm!