How to Sharpen Your Tools and Keep Them Working
I was halfway through a weekend DIY project, trying to notch a piece of cedar, when my chisel gave a pathetic, dull thud instead of a clean slice. I stared at it, feeling that familiar spike of frustration, and realized I was working twice as hard for half the results. Most people think you need a massive, expensive workshop setup to fix this, but that’s a total myth; learning how to sharpen tools isn’t about buying every gadget on the market, it’s about understanding the rhythm of the edge.
I’ve spent years obsessing over how to optimize workflows, whether it’s a digital system or a physical one, and I promise you that a sharp tool is the ultimate productivity hack. In this guide, I’m stripping away the jargon to show you the exact, low-tech methods I use to get a professional edge right at my kitchen table. We’re going to skip the fluff and dive straight into the practical steps for restoring your gear so you can stop fighting your equipment and start actually enjoying the process again.
Table of Contents
- Step-by-Step Instructions
- Mastering Whetstone Sharpening Techniques for a Perfect Edge
- Choosing the Right Sharpening Angle for Different Tools
- Pro-Tips to Keep Your Workflow (and Your Edges) Sharp
- The Quick Cheat Sheet for a Sharper Life
- The Philosophy of the Edge
- Putting the Pieces Together
- Frequently Asked Questions
Guide Overview
Tools & Supplies
- Handheld garden shears (for pruning)
- Utility knife (for general cutting)
- Dual-grit whetstone (1 unit)
- Honing oil or water (1 bottle)
- Microfiber cloth (1 unit)
Step-by-Step Instructions
- 1. First things first, you need to assess the damage. Grab your tool and run your finger—very carefully!—along the edge to feel for nicks or unevenness. Think of this like debugging a piece of code; you can’t fix the glitch until you actually locate where the logic is breaking down.
- 2. Next, pick your weapon of choice: the whetstone. If you’re a beginner, I highly recommend a dual-grit stone because it gives you the best of both worlds. You’ll use the coarse side to reshape the edge and the fine side to polish it, much like how we refine a rough draft into a finished masterpiece.
- 3. Now, it’s time to prep your workspace. Submerge your stone in water for about ten minutes or apply a bit of honing oil, depending on what your specific stone requires. You want a consistent lubricant to prevent friction from overheating the metal, which is just a fancy way of saying we don’t want to ruin our hard work halfway through.
- 4. This is where the real magic happens: the angle. Hold your tool at a consistent angle—usually about 15 to 20 degrees—and begin making long, sweeping strokes across the stone. It’s all about rhythm and repetition; try to find a steady pace that feels natural rather than rushing through it like a frantic deadline.
- 5. As you work, keep an eye out for the “burr.” This is a tiny, microscopic lip of metal that forms on the opposite side of the edge as you sharpen. If you feel that slight ridge with your thumb, you’ll know you’ve successfully moved the metal to where it needs to be.
- 6. Once the edge feels smooth, flip the tool over and repeat the process on the other side to even everything out. It’s a bit like balancing a budget; you have to make sure both sides are perfectly aligned to achieve true stability and performance.
- 7. Finally, finish it off with the fine-grit side of your stone to smooth out any remaining imperfections. This final polish is what turns a “working” tool into a precision instrument that feels almost weightless when you actually use it.
Mastering Whetstone Sharpening Techniques for a Perfect Edge
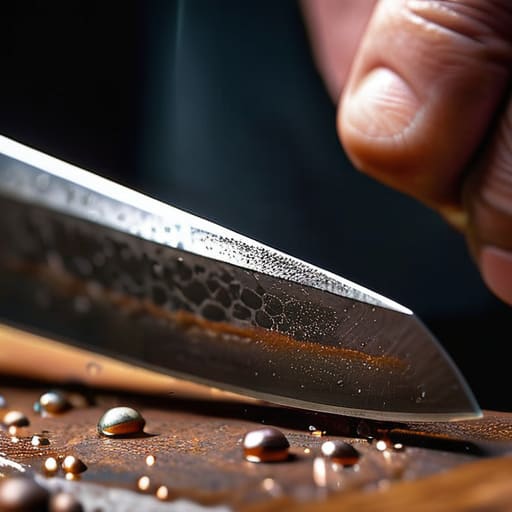
Now, if you’re looking to move beyond the basics and really dial in that professional finish, we need to talk about the art of the stone. Think of a whetstone like a fine-tuned algorithm; it requires precision and a bit of rhythm to get the output just right. When you’re diving into various whetstone sharpening techniques, the most common stumbling block is the angle. It’s easy to get caught up in the motion, but if you aren’t consistent, you’ll end up with a jagged edge rather than a clean one. I always tell my clients that consistency is your best friend here—whether you’re working on a kitchen knife or a garden trowel, finding that sweet spot and sticking to it is what separates a DIY job from a masterpiece.
One thing I’ve learned from my years of tinkering is that the medium matters just as much as the movement. You might wonder about honing steel vs sharpening stone, and honestly, they serve totally different purposes in your workflow. A honing steel is great for a quick touch-up to keep things straight, but the stone is where the real magic happens—it actually removes metal to reshape the edge. To keep things smooth, don’t forget to experiment with the best sharpening oils and lubricants for your specific stone type; it reduces friction and prevents the grit from clogging up, making the whole process feel much more intuitive.
Choosing the Right Sharpening Angle for Different Tools
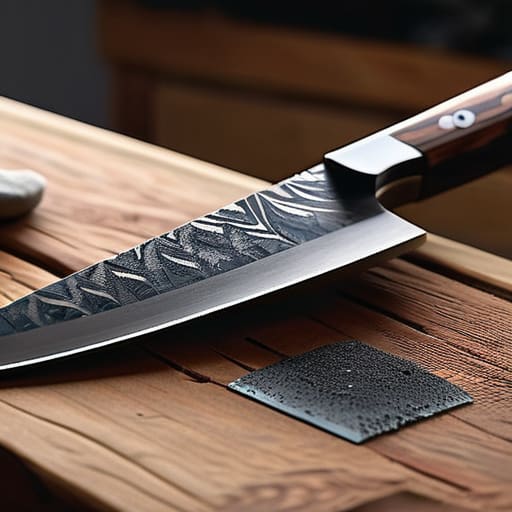
Think of the sharpening angle like the settings on a piece of software; if you use the wrong configuration, the whole system just doesn’t run smoothly. When you’re figuring out the sharpening angle for different tools, you have to match the geometry to the intended job. For instance, a heavy-duty kitchen knife or a garden tool needs a wider, more obtuse angle—think around 25 to 30 degrees—to handle impact without chipping. On the flip side, if you’re working with a delicate Japanese chef’s knife, you’ll want to lean into a much finer, acute angle of about 15 degrees. It’s all about finding that sweet spot between durability and precision.
Getting this angle right is actually one of the biggest secrets to maintaining blade edge longevity. If your angle is too shallow, the edge will roll the moment it hits something tough; if it’s too steep, you’re essentially creating a blunt wedge that requires way too much force to use. I always tell my clients to treat this like fine-tuning a DIY automation script: it takes a little bit of trial and error to get the parameters perfect, but once you nail it, the efficiency gains are massive.
Pro-Tips to Keep Your Workflow (and Your Edges) Sharp
- Don’t overthink the angle; consistency is your best friend. It’s much better to hold a steady, slightly imperfect angle than to constantly hunt for the “perfect” one, which usually just leads to a rounded, useless edge.
- Think of your whetstone like a fine-tuned piece of hardware. Always soak it properly before you start—there’s nothing more frustrating than a dry stone that drags against your tool like a glitchy piece of software.
- Listen to the metal. As you sharpen, you’ll start to feel a change in the vibration and hear a shift in the sound. It’s like finding the right rhythm in a coding sequence; once you hit that sweet spot, you know you’re doing it right.
- Less is often more. It’s tempting to go overboard with the heavy grinding, but I’ve learned that a few gentle, precise strokes are far more effective than trying to force a sharp edge through brute strength.
- Always finish with a honing strop or a piece of leather. It’s the “final polish” of the tool world—it removes those microscopic burrs and makes the transition from “functional” to “effortlessly sharp” feel like magic.
The Quick Cheat Sheet for a Sharper Life
Don’t treat every tool the same; matching your sharpening angle to the specific job at hand is the difference between a precision instrument and a frustratingly dull blade.
Think of your whetstone as your most important partner in this process—mastering those consistent, rhythmic strokes is what actually builds that effortless, professional edge.
Maintenance is much easier than a total overhaul, so treat sharpening like a quick system update for your tools rather than a massive, daunting project.
The Philosophy of the Edge
“Think of sharpening your tools like debugging a complex piece of code; it’s not just about fixing what’s dull, it’s about refining the system so that every single movement you make feels intentional, effortless, and completely seamless.”
Jordan Bennett
Putting the Pieces Together
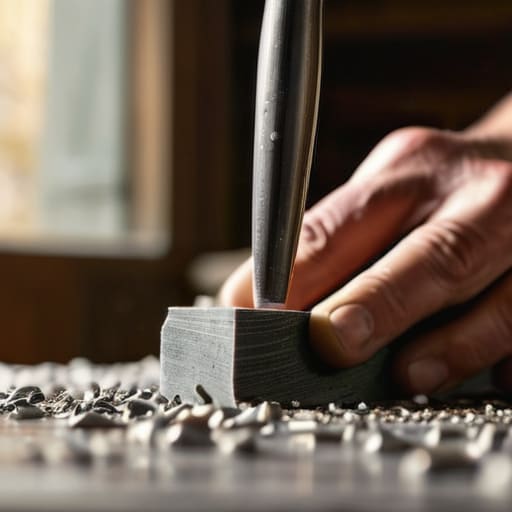
At the end of the day, sharpening your tools is about much more than just maintaining metal; it’s about refining your entire workflow. We’ve covered a lot of ground—from selecting the perfect whetstone and mastering those precise angles to understanding how the right technique can turn a frustrating chore into a seamless experience. Remember, whether you are working with a kitchen knife or a woodworking chisel, the goal is to eliminate the friction that comes with a dull edge. By investing just a little bit of time into consistent maintenance, you aren’t just saving your tools from premature wear; you are ensuring that every task you tackle feels effortless and precise.
I like to think of tool maintenance as a small, meditative ritual in an otherwise chaotic world. It’s one of those rare moments where you can slow down, focus on a single physical sensation, and see an immediate, tangible result from your efforts. Think of it as a micro-optimization for your life. When your tools are ready to perform, you stop fighting against your equipment and start flowing with your creativity. So, grab your stones, find your rhythm, and remember that mastering the small details is exactly how we build a life that runs a little smoother and feels a whole lot more rewarding.
Frequently Asked Questions
Is it possible to accidentally ruin my tools if I mess up the angle while using a whetstone?
Oh, I get that anxiety! It’s like trying to code a new feature without testing it first—one wrong move and everything feels broken. The short answer? Yes, it is possible. If your angle wanders too much, you might grind away too much metal or create a “hollow” edge that’s structurally weak. But don’t panic! Think of it as a learning curve. Just take it slow; precision is a muscle you build over time.
How often should I actually be sharpening my gear versus just doing a quick hone?
Think of honing like brushing your teeth and sharpening like a deep dental cleaning. I use a honing rod almost every time I prep a meal—it’s just a quick way to realign the edge and keep things smooth. But if your blade starts feeling “draggy” or can’t bite into a tomato skin, that’s your signal for a real sharpening session. Usually, for my daily drivers, that’s every few months.
Can I use these same sharpening techniques for my kitchen knives, or do I need a completely different setup for my workshop tools?
That’s a fantastic question! Think of it like trying to use a heavy-duty power drill to fix a delicate piece of jewelry—the core principle of precision is the same, but the “settings” need a serious tweak. While the physics of an edge remains constant, your kitchen knives are much more sensitive. I’d recommend a finer grit whetstone for your cutlery to keep those blades smooth and food-safe, rather than using the rugged stones meant for your workshop chisels.