How to Build a Sturdy Desk for Under $100
I was sitting on my living room floor, surrounded by a chaotic sea of Allen wrenches, half-finished instruction manuals, and a pile of wood that looked more like a jigsaw puzzle gone wrong, wondering why I couldn’t just buy something pre-made. We’ve been told that learning how to build a desk requires a master carpenter’s toolkit or a degree in engineering, but that’s a total myth. In reality, building your own workspace is less about complex math and more about understanding the flow of how you actually work. I spent years in software engineering where everything had to be perfectly optimized, and I realized that the same logic applies to your physical environment; if your desk is built poorly, your productivity will suffer right along with it.
In this guide, I’m stripping away all the unnecessary fluff and technical jargon to give you a straightforward blueprint for success. I’ll walk you through selecting the right materials, organizing your workflow, and avoiding those tiny, frustrating mistakes that usually lead to a wobbly surface. My goal is to help you piece together a workspace that isn’t just a piece of furniture, but a custom-tailored tool designed to help you thrive.
Table of Contents
Guide Overview
Tools & Supplies
- Drill/Driver for fastening screws
- Tape Measure for precise marking
- Sandpaper for smoothing surfaces
- Level to ensure a flat workspace
- Wood Desktop (1 piece)
- Wooden Legs or Sawhorses (4 pieces)
- Wood Screws (1 box)
- Wood Glue (1 bottle)
- Wood Stain or Paint (1 can)
Step-by-Step Instructions
- 1. First things first, let’s talk inventory. Before you even pick up a screwdriver, clear a wide space on your floor and lay out every single piece of hardware and wood. I like to think of this as debugging your code before you start writing; you don’t want to realize halfway through that you’re missing a crucial screw. Group your screws, dowels, and brackets into small bowls or even an old egg carton to keep them from rolling away into the abyss.
- 2. Once you’ve confirmed you have everything, it’s time to prep your surfaces. If you’re working with raw wood, give it a quick sand with a fine-grit sandpaper to ensure everything is smooth to the touch. This prevents those annoying splinters later on and makes the whole assembly process feel much more professional and polished.
- 3. Now, let’s start the actual assembly by connecting the side frames to the support rails. This is where most people get a bit nervous, but just take it slow. I find that using a manual screwdriver for this part—rather than a high-powered drill—helps you feel the resistance of the screw, ensuring you don’t accidentally strip the wood or crack the frame.
- 4. With the skeleton of your desk standing, it’s time to attach the tabletop. This is the “big reveal” moment! Carefully flip the tabletop upside down on a soft surface, like a rug or the cardboard box the desk came in, to prevent any scratches. Align your assembled frame with the pre-drilled holes on the underside of the top and secure them firmly but gently.
- 5. Next, we need to tackle cable management. Since my whole life revolves around tech integration, I can’t let a messy nest of wires ruin your beautiful new setup. Use some adhesive cable clips or even just a few zip ties to route your power strips and charger cables along the underside of the desk. It’s a small step that makes a massive difference in how much your brain can focus once you actually sit down to work.
- 6. Finally, it’s time for the heavy lifting: the flip. This is the part where you transition from “builder” to “user.” Get a friend to help you if the desk is heavy; you don’t want to put unnecessary strain on the joints by trying to manhandle it alone. Once it’s upright, give it a little wiggle to make sure everything is sturdy and level before you start unboxing your monitor and keyboard.
Selecting the Best Wood for Office Desks and Longevity
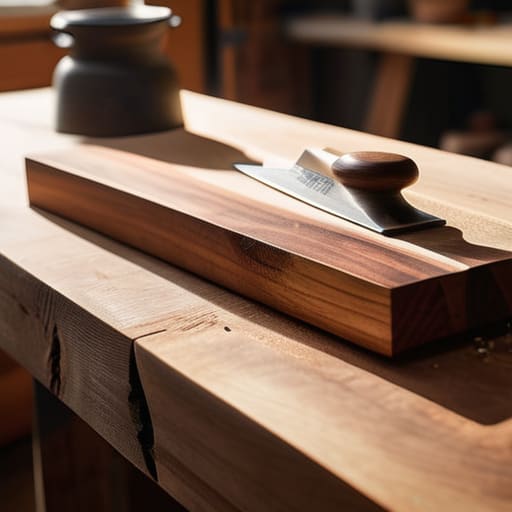
Picking the right material is where your project really starts to take shape—it’s essentially the foundation of your entire productivity hub. If you’re aiming for something that can withstand years of heavy laptop use and the occasional spilled coffee, you’ll want to look into the best wood for office desks based on density and grain. Hardwoods like oak, walnut, or maple are the gold standard; they are incredibly durable and develop a beautiful patina over time. If you’re on a tighter budget or just starting out with your first DIY project, pine is a much more forgiving and affordable option, though it is softer and prone to dents.
Think of your choice as a long-term investment in your workspace’s soul. While I love the sleek, clean lines of minimalist desk design ideas, the type of wood you choose dictates how much maintenance you’ll need to do later. A dense hardwood will hold up beautifully against the constant sliding of a keyboard or monitor arms, making it the ultimate choice for building a computer workstation that lasts a lifetime. Just remember: the wood you pick isn’t just a surface; it’s the stage where all your best work happens.
A Custom Desk Dimensions Guide for Your Daily Flow

Before you grab your tools, let’s talk about the “Goldilocks zone” of ergonomics. I’ve learned through years of tinkering that a desk isn’t just a flat surface; it’s the foundation of your entire workflow. If it’s too high, your shoulders will be up by your ears by noon; too low, and you’re fighting a losing battle with your lower back. When you’re building a computer workstation, I always recommend measuring your chair height first. A standard desktop height usually sits around 28 to 30 inches, but if you’re taller or shorter, you’ll want to deviate from the norm to find your personal sweet spot.
Don’t forget about depth, either! A common mistake I see is making a desk too shallow. If you’re using large monitors, you need enough real estate so your eyes aren’t straining. I like to aim for at least 30 inches of depth to allow for proper focal distance. This custom desk dimensions guide isn’t about following rigid rules, but about optimizing your physical environment so your brain can focus on the work, not the discomfort.
Pro-Tips from My Workbench to Yours
- Don’t skip the “dry run.” Before you even touch a screwdriver, lay every single piece out on the floor exactly how you think they should go. It’s like debugging code—it’s way easier to spot a logic error before you actually hit “run” and start drilling holes.
- Invest in a decent sander. I know, I know, it sounds like a chore, but a smooth finish is what separates a “DIY project” from a piece of furniture you’re actually proud to show off. Your forearms will thank me later, and so will your skin when you’re leaning on it all day.
- Mind your cable management from the start. I learned this the hard way during my software engineer days: if you don’t plan for where those power bricks and monitor cables are going to live, you’ll end up with a “spaghetti monster” under your feet within a week.
- Use a pilot hole for everything. It feels like an extra step, but drilling small starter holes prevents your beautiful wood from splitting. Think of it as creating a roadmap for your screws so they don’t go rogue and ruin the grain.
- Level your legs, even if your floor feels flat. Houses are rarely as perfect as our blueprints suggest. Adding some adjustable leveling feet is a tiny, low-tech hack that prevents that annoying, soul-crushing wobble every time you type.
The Blueprint for Your Success
Don’t just build for today; pick a wood species that can handle your hustle and stay beautiful for years to come.
Your desk shouldn’t be a compromise—measure twice to ensure the dimensions actually support your natural body flow and focus.
Treat the assembly process like a DIY automation project: break it down into manageable steps so you can enjoy the win without the headache.
## More Than Just Four Legs and a Surface
“Building a desk isn’t just about assembling furniture; it’s about designing the foundation where your best ideas come to life. When you craft a workspace that actually fits your rhythm, you’re not just building a table—you’re building a launchpad for your productivity.”
Jordan Bennett
The Final Piece of the Puzzle
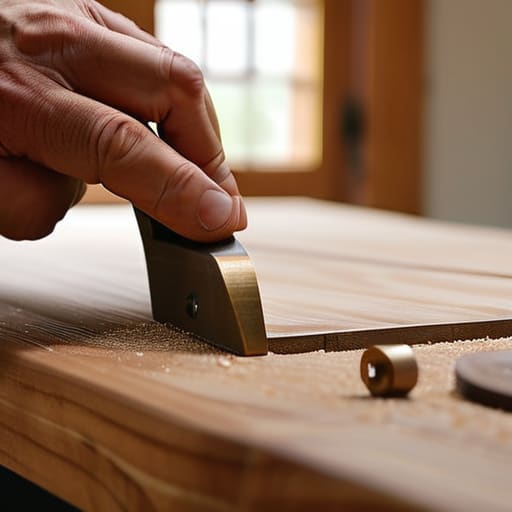
Building your own desk is more than just a weekend DIY project; it’s about creating a foundation for your best work. We’ve walked through everything from choosing the perfect wood species that can withstand years of coffee spills to nailing down those custom dimensions that actually support your body during a long coding session or a deep-focus sprint. Remember, the goal isn’t to create a showroom piece that looks like it came out of a high-end catalog, but to build a functional, sturdy tool that fits your unique workflow. When you get the materials right and the measurements precise, you aren’t just assembling furniture—you are engineering your environment for success.
As you put that final screw into place and clear off the sawdust, take a second to appreciate what you’ve actually accomplished. There is something incredibly grounding about sitting down at a surface that you shaped with your own hands. It transforms your workspace from a mere collection of objects into a personal sanctuary designed specifically for your growth. Life can feel chaotic and unpredictable, but having a reliable, custom-built space to anchor yourself makes all the difference. Now, clear those tools away, grab your notebook, and get ready to do some incredible things at your new station!
Frequently Asked Questions
I’ve got the wood and the plan, but what kind of tools do I actually need to buy so I don't end up with a half-finished project?
Don’t let a mid-project hardware store run kill your momentum! Think of your tools as the essential components of your personal operating system. At a minimum, grab a power drill with a bit set, a circular saw (or a local shop to make your cuts), a sander, and a high-quality tape measure. I always keep a level and some clamps handy too—they’re like the “debuggers” of woodworking, ensuring everything stays perfectly aligned.
How do I make sure my desk doesn't wobble or feel flimsy once I've actually put my heavy monitors on it?
Nothing kills my productivity flow faster than a desk that shakes every time I type! To avoid that “flimsy” feeling, focus on the foundation. First, ensure you’re using heavy-duty steel legs rather than thin wooden ones. If you’re building it yourself, use structural fasteners—like hex bolts instead of just screws—to lock everything tight. Finally, if you’re on carpet, grab some felt pads; they stabilize the feet and stop that annoying micro-wobble.
Is it worth spending the extra time and money on a professional finish, or can I just go with something simple like a wipe-on oil?
Honestly, it’s a bit of a “choose your own adventure” moment. If you’re looking for that sleek, showroom shine, a professional spray finish is unbeatable. But, if you’re like me and love the tactile, cozy feel of real wood, a wipe-on oil is a total game-changer. It’s much more forgiving for DIYers, super easy to touch up later, and honestly? It makes the desk feel more “lived-in” and soulful.