How to Hang a Picture Perfectly Every Time
I was standing in my first apartment, staring at a pile of beautiful, framed memories and a single, lonely hammer, feeling completely defeated. I had this vision of a perfectly curated gallery wall, but instead, I was surrounded by tiny holes in the drywall and a growing sense of total chaos. Most people think that learning how to hang a picture is just about driving a nail into a wall and hoping for the best, but let me tell you, that’s a recipe for a stressful afternoon and a lot of wasted hardware. It’s actually a small logic puzzle involving weight, balance, and a little bit of spatial geometry.
I’ve spent years breaking down complex systems—whether it’s software code or home automation—and I promise you that decorating your space shouldn’t feel like a high-stakes engineering project. In this guide, I’m going to strip away the intimidation and show you the no-nonsense way to get your art up safely and straight. We’ll cover everything from choosing the right anchors to the secret trick for avoiding those dreaded crooked frames, so you can finally stop staring at blank walls and start enjoying your home.
Table of Contents
- Step-by-Step Instructions
- Choosing Your Pieces a Picture Hanging Hardware Guide
- Finding Perfect Balance How to Use a Level for Art
- Pro-Tips to Keep Your Gallery From Feeling Like a Glitch
- Quick Wins for a Perfectly Hung Gallery
- The Soul of the Room
- The Final Piece of the Puzzle
- Frequently Asked Questions
Guide Overview
Tools & Supplies
- Hammer for driving nails or hooks
- Pencil for marking placement
- Tape measure for spacing and height
- Level to ensure the frame is straight
- Picture hanging hardware (nails, hooks, or wire) 1 pack
- Picture frame 1 unit
Step-by-Step Instructions
- 1. First things first, grab that little notebook of mine and a pencil to map out your vision. Before you even touch a hammer, hold the frame up against the wall where you think it looks best. I always find that moving a piece around physically helps me realize if it’s sitting too high or if it’s going to look cluttered next to your lamp. Once you find that “sweet spot,” use your pencil to make a tiny, light mark on the wall right where the top of the frame will sit.
- 2. Now, let’s talk hardware—this is where most people get stuck, but think of it like picking the right tool for a coding project. If you’re dealing with drywall, a simple nail or a screw with an anchor is your best friend. If you’re working with brick or plaster, you’ll definitely need a drill and some masonry anchors. Don’t just wing it; matching your hardware to your wall type is the secret sauce to making sure your art doesn’t end up on the floor.
- 3. Time for some “measure twice, cut once” energy. Take a measuring tape and find the distance from the top of the frame down to the hanging hardware (the wire or the sawtooth bracket) on the back. Subtract that number from your original pencil mark on the wall. This gives you the exact spot where your nail or screw needs to go so the frame hangs perfectly level. It’s a bit of mental math, but it’s way easier than re-drilling holes all afternoon.
- 4. Grab your hammer (or drill) and go ahead and secure your anchor. If you’re using a nail, just a gentle tap is all it takes to drive it into that calculated spot. If you’re using an anchor, make sure it’s snug against the wall before you try to hang anything. I like to think of this as setting the foundation; if this step is rock solid, everything else will fall into place effortlessly.
- 5. Gently lift your frame and guide the hanging hardware onto the nail or screw. I usually hold the frame with both hands and lower it slowly to avoid any accidental scuffs. Once it’s seated, give it a tiny nudge to make sure it feels secure and isn’t wobbling like a loose connection in a buggy piece of software.
- 6. The final touch is all about the “fine-tuning” phase. Use a small bubble level (or a leveling app on your phone, since we’re all about that tech integration!) to ensure your masterpiece isn’t tilting. If it’s slightly off, just give it a little nudge. Once it’s straight, step back and admire your work. You’ve officially turned a blank wall into a curated space, one piece of the puzzle at a time!
Choosing Your Pieces a Picture Hanging Hardware Guide
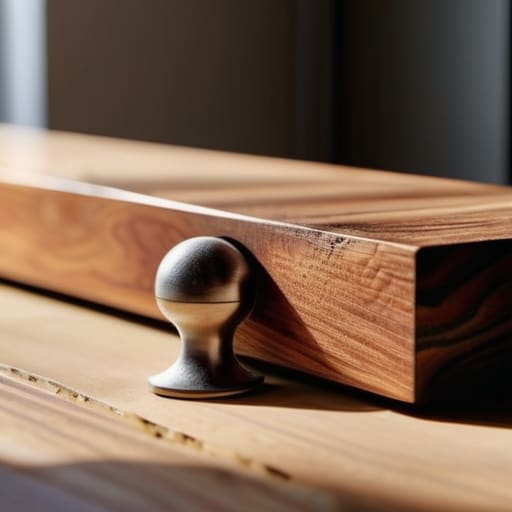
Before you grab that hammer, let’s talk about the “brain” of your project: the hardware. I like to think of it as choosing the right engine for a car; if you pick the wrong one, the whole thing just won’t run smoothly. If you’re working with lightweight prints or small canvases, command strips vs nails is the classic debate. Command strips are a lifesaver for renters who want to avoid those tiny, annoying holes, but for anything with a bit of heft, you’ll want to lean toward traditional hardware.
When you move into the territory of hanging heavy frames on drywall, you can’t just rely on a standard nail. That’s when you’ll want to break out the anchors or specialized picture hooks that actually grip the wall. I always keep a little variety kit in my workshop for these exact moments. It’s all about matching the weight of the piece to the strength of the support. Once you’ve got the right gear, the actual physical work feels less like a chore and more like solving a fun little puzzle.
Finding Perfect Balance How to Use a Level for Art
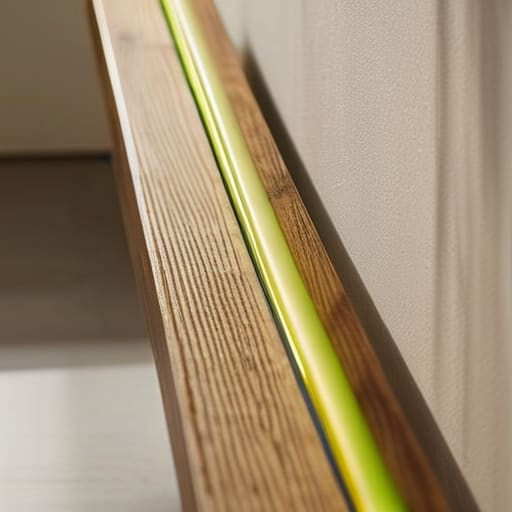
We’ve all been there: you step back, admire your handiwork, and then realize—with a sinking feeling—that your beautiful landscape is tilted at a five-degree angle. It’s the ultimate productivity killer! Even if you’ve followed my previous picture hanging hardware guide to the letter, the physical act of alignment is where the magic (or the headache) happens. To avoid that “crooked eye” sensation, you really need to master how to use a level for art effectively. I always keep a small torpedo level in my toolkit; it’s a total game-changer for ensuring your lines are crisp and professional.
When you’re working on a larger project, like a complex set of gallery wall layout ideas, don’t just eyeball it. Even if you’re opting for the lighter touch of command strips vs nails, gravity is a sneaky little thing. I like to place the level directly on top of the frame, but if your frame is too small, try resting it on the wire or the hanging bracket. Precision is the key to peace of mind, and taking that extra thirty seconds to double-check your bubble ensures you won’t be reaching for your screwdriver again in ten minutes.
Pro-Tips to Keep Your Gallery From Feeling Like a Glitch
- Don’t trust your eyes alone; use painter’s tape to outline the frame on the wall first. It’s like a low-stakes beta test for your decor—you can move the “virtual” frame around until it feels just right before you ever touch a hammer.
- Treat your eye level like a UI design standard. A common mistake is hanging art way too high, making the room feel disconnected. Aim for the center of the piece to be about 57 to 60 inches from the floor to keep everything feeling grounded and intentional.
- If you’re working with a heavy hitter, skip the tiny nails and go for a wall anchor. Think of it like adding a robust backend to your system; you want to make sure the foundation can actually support the weight so nothing crashes unexpectedly in the middle of the night.
- Grouping smaller pieces is like organizing a messy desktop—it’s all about the grid. Instead of scattering them randomly, try to maintain a consistent distance between frames to create a cohesive “cluster” that draws the eye without causing visual clutter.
- Keep a “mistake kit” handy, consisting of a small tub of spackle and a damp cloth. Even the best engineers have bugs in their code, and even the best decorators might leave a tiny hole. Having the fix ready immediately makes the cleanup feel like a breeze rather than a disaster.
Quick Wins for a Perfectly Hung Gallery
Match your hardware to your wall type—don’t let a heavy frame meet a flimsy nail, or you’ll be chasing it across the floor!
Use a level to take the guesswork out of it; even a tiny tilt can make a beautiful piece of art feel “off.”
Trust your gut on placement, but use your tools to ensure the final result is as steady and intentional as you imagined.
The Soul of the Room
Hanging a picture isn’t just about finding the right nail or getting the level perfectly straight; it’s about placing a piece of your story exactly where it belongs so your home finally feels complete.
Jordan Bennett
The Final Piece of the Puzzle
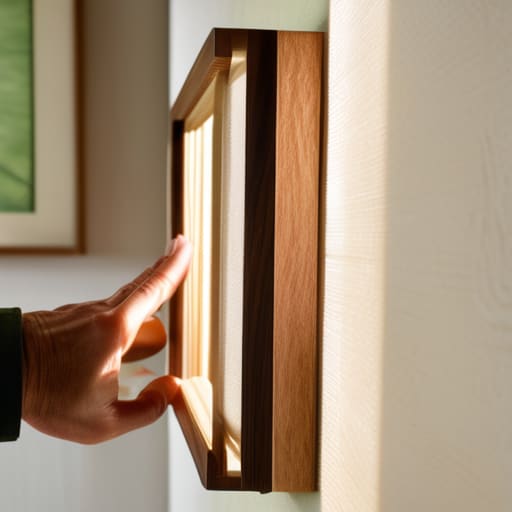
Taking a moment to step back and look at your work, I know it might feel like a lot of moving parts—from matching the right hardware to your wall type to making sure that level shows a perfectly straight line. But remember, once you’ve navigated the selection of your hooks and found that sweet spot on the wall, the heavy lifting is officially done. It’s all about that intentional approach to your space. By taking these small, methodical steps, you aren’t just putting up decor; you are effectively optimizing your environment to reflect your unique personality and style.
At the end of the day, your home should feel like a sanctuary that works for you, not a source of clutter or stress. Don’t sweat the tiny imperfections; sometimes a slightly tilted frame is just a sign that a real human lives there! I truly believe that when we take the time to curate our surroundings with care, we create a foundation for a much more fulfilling lifestyle. So, grab that last frame, find its perfect home, and enjoy the beautiful view you’ve just created. You’ve got this!
Frequently Asked Questions
What should I do if I accidentally end up with a tiny hole in my wall after taking the picture down?
Oh no, the dreaded “oops” moment! Don’t panic—we’ve all been there. Honestly, it’s just a tiny glitch in your home’s system. If it’s just a small nail hole, a little dab of lightweight spackle and a damp cloth will work wonders. It’s like a quick software patch for your walls! Just smooth it out, let it dry, and you’ll be back to decorating before you know it. You’ve got this!
How do I figure out the best height for my art so it doesn't look like it's floating too high or sitting too low?
We’ve all been there—you hang a beautiful print, step back, and suddenly it feels like it’s drifting toward the ceiling! My golden rule? Aim for “eye level.” Specifically, the center of the piece should be about 57 to 60 inches from the floor. It’s the standard museum height for a reason! If you’re hanging art above a sofa, try keeping the bottom edge about 6 to 8 inches above the furniture to keep it feeling connected.
Is there a way to hang heavy mirrors or large frames without worrying about them crashing down in the middle of the night?
Oh, I hear you—there is nothing quite like that sudden “thud” in the night to make your heart race! When you’re dealing with heavy hitters like oversized mirrors, skip the basic nails. I always recommend using heavy-duty wall anchors or, even better, finding a stud and using a sturdy screw. If you can’t find a stud, professional picture hooks rated for specific weight limits are your best friends. Let’s keep those memories safely on the wall!