How to Make a Compost Bin You’ll Actually Use
I was standing in my kitchen last Tuesday, staring at a mountain of vegetable scraps and feeling that familiar, nagging sense of inefficiency. My brain, which usually loves optimizing workflows and automating tiny tasks, kept looping on the same problem: why am I just throwing this “gold” straight into the trash? Most people think that learning how to make a compost bin requires a massive backyard, a huge budget, or a degree in biology, but that’s just a total myth. In reality, composting is just another system to optimize—a way to turn your daily waste into a high-value resource with very little friction.
In this guide, I’m stripping away the complex jargon and the expensive, over-engineered kits to give you a blueprint that actually works for a busy lifestyle. I’ll show you how to build a functional system using simple materials you probably already have in your garage or shed. We aren’t going to chase perfection; instead, we’re going to focus on creating a sustainable loop that fits seamlessly into your routine. Let’s dive into the mechanics and solve this little waste puzzle together!
Table of Contents
- Step-by-Step Instructions
- Mastering the Composting Materials Ratio for Success
- Optimizing Aeration for Compost Bins and Drainage Solutions
- Pro-Tips for Leveling Up Your Compost Game
- The Quick Cheat Sheet for Composting Success
- The Beauty of the Cycle
- Putting the Pieces Together
- Frequently Asked Questions
Guide Overview
Tools & Supplies
- Drill and drill bits for making ventilation holes
- Handsaw for cutting wood or plastic if necessary
- Plastic storage bin (18-30 gallons)
- Drill with 1/4 inch bit
- Screwdriver for lid assembly
- Potting soil or finished compost (small amount to start)
Step-by-Step Instructions
- 1. First things first, let’s gather our “hardware.” Think of this like setting up a new workstation; you can’t really get to work without the right tools. You’ll need a sturdy plastic bin (a large storage tote works perfectly), a drill with a small bit, some bricks or wooden blocks to act as feet, and a handful of organic scraps. I always say, having your gear organized before you start is half the battle won.
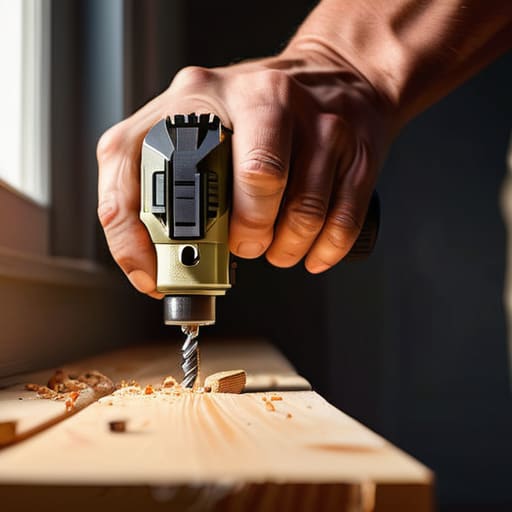
- 2. Now, we need to tackle the ventilation problem. Just like a computer needs cooling fans to prevent it from overheating, your compost pile needs oxygen to stay “alive” and prevent it from smelling like a swamp. Take your drill and poke several small holes all around the sides and the bottom of your bin. You’re basically creating a breathable ecosystem that allows air to flow through the organic matter.
- 3. Next, let’s set up the foundation. Don’t just plop your bin directly on the dirt; we want to create a little bit of airflow underneath, too. Place your bricks or wooden blocks in the corners of your chosen spot to lift the bin slightly off the ground. This simple hack ensures that air can circulate even more effectively, preventing your compost from becoming a soggy mess at the bottom.
- 4. Time to load the system! We’re going to use a “layering algorithm” here to keep things balanced. Start with a base layer of “browns”—these are carbon-rich materials like shredded cardboard, dried leaves, or even old newspaper. Think of these as the structural framework of your pile. This layer helps absorb excess moisture and provides the bulk needed for the decomposition process.
- 5. Now, let’s add the “greens.” These are your nitrogen-rich scraps, like fruit peels, vegetable ends, and coffee grounds. This is the fuel that drives the whole engine. To keep the system running smoothly, try to follow a simple ratio: aim for about two or three parts brown material for every one part green material. It’s all about finding that perfect equilibrium to keep the microbes happy.
- 6. Once you’ve added your layers, give everything a quick toss to integrate the materials. If you see a lot of moisture, toss in some more shredded paper; if it looks too dry, a little splash of water can work wonders. I like to treat this like fine-tuning a piece of code—you’re just making small adjustments to ensure the output is exactly what you want.
- 7. Finally, it’s time to let the automation take over. Cover your bin with a lid to keep out unwanted pests, but make sure those drill holes we made are still doing their job. Your only real task now is to check in on it once a week and give it a little stir with a shovel. It’s a low-maintenance way to turn yesterday’s lunch into tomorrow’s garden gold.
Mastering the Composting Materials Ratio for Success
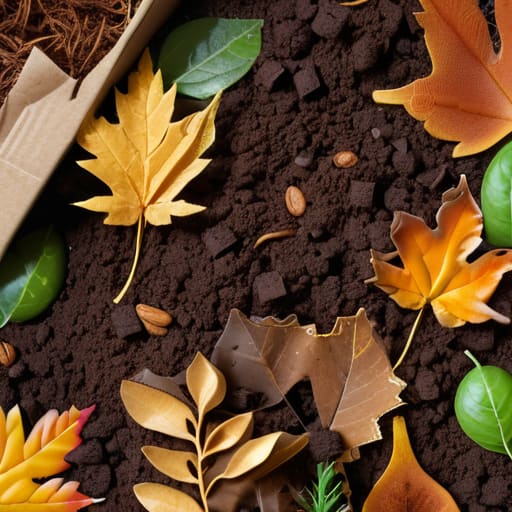
Now that your bin is physically standing, we need to talk about the “engine” that actually makes it run: the chemistry. Think of your compost pile like a complex software algorithm; if the inputs are unbalanced, the whole system crashes. To avoid a smelly, soggy mess, you have to nail the composting materials ratio. You’re essentially looking for a balance between “greens” (nitrogen-rich scraps like coffee grounds) and “browns” (carbon-rich items like dried leaves or shredded cardboard). A good rule of thumb I use is a 3:1 ratio of browns to greens. If it starts smelling like a swamp, you’ve got too much nitrogen; just toss in some more dry leaves to recalibrate.
Beyond just the ingredients, don’t forget about the importance of airflow. Just like a computer needs cooling fans to prevent overheating, your pile needs oxygen to prevent it from turning anaerobic. Incorporating regular aeration for compost bins by turning the pile with a pitchfork every week or two ensures the microbes stay happy and active. It’s all about maintaining that perfect equilibrium to turn your kitchen scraps into black gold!
Optimizing Aeration for Compost Bins and Drainage Solutions
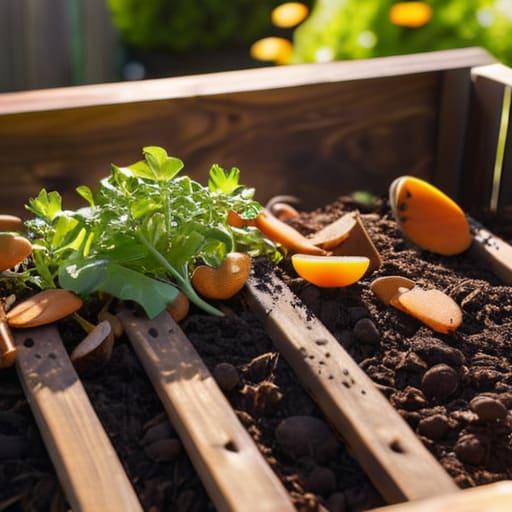
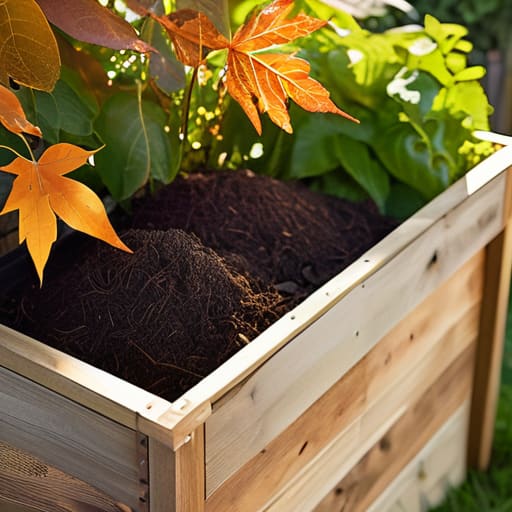
Think of your compost bin like a living, breathing organism—it actually needs to take a breath! One of the most common hiccups I see when people start their organic waste management journey is a pile that’s too dense, which essentially “suffocates” the beneficial microbes. To prevent that funky, unpleasant smell, you need to prioritize aeration for compost bins. I like to treat this like a simple airflow puzzle: if you’re using a wooden bin, make sure there are small gaps between the slats, or better yet, drill a few extra holes near the bottom. If you’re feeling extra techy, you can even use a garden tool to “fluff” the pile once a week to keep the oxygen flowing freely.
Then, we have to talk about the “wet feet” problem. Just like we hate working in soggy socks, your compost shouldn’t be sitting in a swamp. Finding effective compost bin drainage solutions is key to keeping the system balanced. If you notice your bin is getting too mushy, try elevating it on a few bricks or a wooden pallet to allow air to circulate underneath. This simple tweak ensures that excess moisture can escape, keeping your pile damp like a wrung-out sponge rather than a muddy mess.
Pro-Tips for Leveling Up Your Compost Game
- Location is everything—think of your bin like a workstation; you want it close enough to the kitchen that you’ll actually use it, but tucked away in a spot that gets a bit of sunlight to keep those microbes cozy and active.
- Don’t go overboard on the “fancy” stuff; sometimes a simple wooden pallet or a repurposed plastic bin is more than enough to solve the puzzle, so focus on function over aesthetics.
- Keep a “cheat sheet” nearby, like a little laminated card or a note in your phone, listing what can and can’t go in, so you don’t have to play the guessing game every time you head out with your scraps.
- Think of your compost like a slow-cooker; it needs a little bit of moisture to work its magic, so aim for a texture that feels like a wrung-out sponge—not a swamp and not a desert.
- Embrace the “set it and forget it” mindset, but give it a quick check-in once a week; just a little bit of maintenance goes a long way in preventing odors and keeping the system running smoothly.
The Quick Cheat Sheet for Composting Success
Think of your compost pile like a recipe; keeping that balance between “greens” (nitrogen) and “browns” (carbon) is the secret sauce to preventing smells and speeding up the breakdown.
Air is your compost’s best friend—don’t let it get compacted, or the system will stall. A little bit of regular turning goes a long way in keeping the oxygen flowing.
Don’t aim for perfection right out of the gate. Composting is a living system that you learn to tune as you go, so treat every batch as a little experiment to help you solve the puzzle!
The Beauty of the Cycle
“Building a compost bin isn’t just about managing waste; it’s about designing a tiny, functional ecosystem right in your backyard—it’s the ultimate way to turn life’s little leftovers into a masterpiece for your garden.”
Jordan Bennett
Putting the Pieces Together
At the end of the day, building your own compost bin isn’t just about managing organic waste; it’s about setting up a little ecosystem right in your backyard. We’ve walked through the blueprint, from selecting the right container to mastering that delicate green-to-brown ratio that keeps the magic happening. By focusing on proper aeration and ensuring your drainage is dialed in, you’ve essentially engineered a high-performance system that turns “trash” into liquid gold for your garden. It might feel like a lot of moving parts right now, but once you find that perfect metabolic rhythm within your bin, the system practically begins to run itself.
I know that starting a new project—especially one that involves getting a little messy—can feel a bit daunting at first. But think of this as your first big win in the grand puzzle of sustainable living. You aren’t just building a box; you are reclaiming a piece of the cycle and proving that even the smallest DIY tweak can have a massive ripple effect on the planet. So, grab your gloves, get your hands a little dirty, and enjoy the process of watching something incredible grow from the very things you once thought were useless. You’ve totally got this!
Frequently Asked Questions
How do I know if my compost bin is actually working or if it’s just sitting there becoming a smelly mess?
Think of your compost bin like a living, breathing system—it needs to “act” a certain way to show it’s healthy. If you see heat rising from the pile or notice the material starting to look like dark, crumbly soil, you’ve nailed it! If it’s just a soggy, stinky heap, your ratio is likely off. A healthy bin should smell like a fresh forest floor, not a landfill. Keep checking those vitals!
Is there a way to keep the local critters—like raccoons or even the neighbors' curious dogs—from turning my new bin into a buffet?
Ugh, the “uninvited guests” phase! I’ve definitely had a raccoon treat my bin like an all-you-can-eat buffet before. Think of your bin like a secure data server; you need a good firewall. Using a heavy-duty lid with a locking latch is step one. If you’re using a DIY wooden bin, adding a bit of fine hardware cloth (mesh) to the base and sides keeps curious noses out while still letting the magic happen.
I’m worried about my small backyard; can I still use this DIY setup without it taking over my entire outdoor space?
I totally get it—space is a premium when you’re working with a small backyard! Think of your compost bin like a tiny, efficient piece of tech; it doesn’t need a huge footprint to work wonders. You can easily scale down by using a compact tumbler or a slim vertical bin tucked into a corner. It’s all about optimizing that small square footage to solve the waste puzzle without turning your garden into a junkyard!