How to Take Better Photos With Your Phone
I remember sitting in my old cubicle during my software engineering days, staring at a blurry, washed-out photo of my morning coffee that looked absolutely nothing like the cozy vibe I was feeling. I felt so defeated, thinking I needed a $2,000 DSLR and a degree in optics just to capture a decent moment. Honestly, the tech industry loves to sell us this myth that we need more gear to achieve more results, but that’s just noise. You don’t need a bag full of expensive lenses to master how to take better phone photos; you just need to understand the logic behind the lens already sitting in your pocket.
I’m not here to give you a lecture on shutter speeds or complex manual settings that will just leave you feeling overwhelmed. Instead, I’m going to break this down like a simple system you can actually use. I’ll share the exact, no-nonsense tweaks I’ve learned from years of tinkering with tech and analyzing how we interact with our devices. By the end of this, you’ll have a practical toolkit to turn those “meh” snapshots into intentional compositions that actually tell a story.
Table of Contents
Mastering Mobile Photography Composition Rules
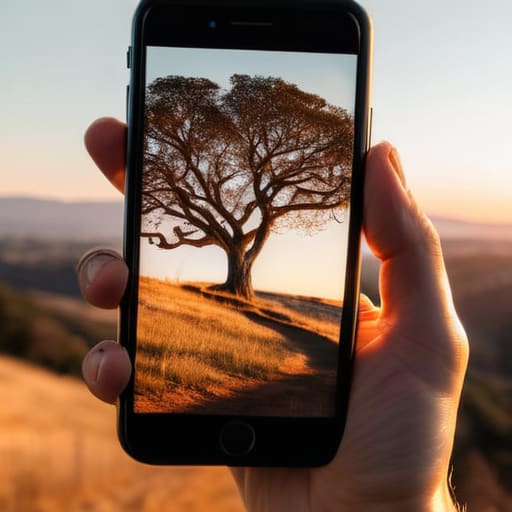
Think of composition as the blueprint for your photo; it’s how you arrange the pieces of the puzzle so the final picture actually makes sense to the eye. One of my absolute favorite mobile photography composition rules to start with is the Rule of Thirds. Instead of always shoving your subject dead-center like a target, try imagining a grid on your screen and placing your main focus along those intersecting lines. It sounds a bit technical, but it’s really just about creating visual breathing room so your shot doesn’t feel so cramped and static.
Another trick I swear by is looking for “leading lines.” Whether it’s a winding sidewalk, a fence, or even the edge of a coffee table, these lines act like tiny arrows that guide the viewer’s eye exactly where you want it to go. When you combine these structural tweaks with a few portrait mode photography tips—like finding a clean, uncluttered background—you’ll notice an immediate jump in how professional your shots look. It’s not about having a fancy DSLR; it’s about intentionally directing the gaze of whoever is looking at your screen.
Optimizing Your Best Mobile Camera Settings
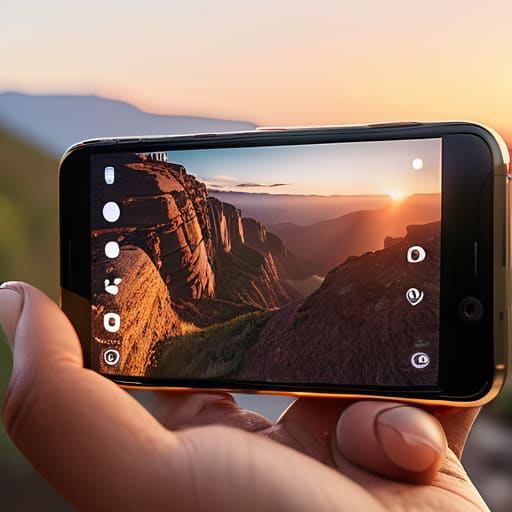
Now that we’ve tackled the “where” and “how” of framing your shots, let’s talk about the “engine” under the hood. Most of us just point, shoot, and hope for the best, but if you want to see a massive leap in improving smartphone image quality, you have to stop relying entirely on “Auto” mode. Think of your camera settings like a recipe; if you don’t tweak the ingredients, the result will always be a bit bland. Start by diving into your settings and ensuring you’re shooting in the highest resolution possible. If your phone supports it, turn on the “Grid” feature—it’s a total game-changer for keeping your horizons straight and applying those composition rules we just discussed.
Another quick win is mastering your exposure. Instead of just tapping the screen, try tapping the brightest part of your subject and sliding the brightness slider down slightly. This prevents those blown-out, ghostly white skies and keeps your colors rich. While we aren’t going full professional DSLR here, playing with these best mobile camera settings is the secret sauce to making your casual snapshots look like intentional, high-quality captures.
Small Tweaks for Big Visual Wins
- Stop relying on the flash; it’s usually a mood-killer that flattens everything out. Instead, hunt for natural light—like sitting near a window or catching that “golden hour” glow right before sunset—to give your shots that professional, soft depth.
- Clean your lens! I know it sounds silly, but I spent years wondering why my photos looked “dreamy” or blurry, only to realize my phone had a literal layer of fingerprint grease on it. A quick wipe with your shirt can be a total game-changer.
- Tap to focus and expose. Don’t just point and shoot; tap the exact spot on your screen where your subject is. Once you do that, slide your finger up or down to manually adjust the brightness so you don’t end up with a blown-out sky or a dark shadow.
- Use the volume button as a shutter. When you’re trying to get a steady shot or a group photo, tapping the screen often causes a tiny bit of shake. Using the physical volume button feels more like a real camera and keeps your hands much steadier.
- Embrace the “burst” mode for movement. If you’re trying to capture a pet, a kid, or someone walking, don’t try to time the perfect millisecond. Hold down that shutter button to take a rapid-fire sequence, then pick the one frame where nobody is blinking.
Quick Wins for Your Next Photo Shoot
Stop letting your phone decide everything; take control by tweaking your settings and using composition rules to turn a snapshot into a story.
Think of lighting and framing as the “code” behind your photo—once you understand the underlying logic, you can debug any bad shot.
Don’t get bogged down in gear obsession—the best camera is the one in your pocket, provided you know how to make it work for you.
## The Secret Ingredient
“Think of your phone camera not as a piece of hardware to be mastered, but as a tool to capture the story already unfolding in front of you; once you stop fighting the tech and start playing with the light, the puzzle pieces just start falling into place.”
Jordan Bennett
The Final Piece of the Puzzle
At the end of the day, leveling up your mobile photography isn’t about having the most expensive gear; it’s about how you interact with the world through your lens. We’ve covered a lot of ground, from mastering those tricky composition rules like the rule of thirds to diving into the nitty-gritty of your device’s internal settings. When you combine a keen eye for balance with a few smart technical tweaks, you stop just “taking” pictures and start actually capturing moments. Remember, the goal is to eliminate the friction between your vision and the final image so that your phone becomes a seamless extension of your creativity rather than a technical hurdle.
If there is one thing I’ve learned from years of tinkering with systems and workflows, it’s that the best results come from consistent, small iterations. Don’t feel like you need to master every single lighting technique or advanced filter overnight. Just keep your phone handy, play around with the settings we discussed, and most importantly, keep clicking. Photography is a beautiful, evolving puzzle, and every shot you take is a chance to learn something new about how you see the world. So, go out there, embrace the imperfections, and start telling your story one frame at a time. You’ve totally got this!
Frequently Asked Questions
What are some quick ways to edit my photos without spending hours in a complex app?
Look, I get it—you don’t want to spend your entire Sunday wrestling with a complex editing suite. Honestly, I used to be that way until I realized most of the magic happens in seconds. Try using the built-in “Auto” enhance button first; it’s surprisingly smart. If you want more control, grab Lightroom Mobile for quick preset swaps, or just play with the “Brilliance” and “Warmth” sliders in your native photo app. Small tweaks, huge impact!
How can I get my phone to take better shots in really low light or at night?
Night photography can feel like trying to solve a puzzle in the dark, but don’t let those grainy shots discourage you! First, ditch the digital zoom—it’s a total light killer. Instead, grab a cheap tripod or even prop your phone against a coffee mug to stop the shakes. If your phone has a “Night Mode,” use it, but give it a few extra seconds to breathe. It’s all about letting the sensor soak up that precious light!
Do I actually need to buy extra lenses or accessories, or can I get professional results with just my phone?
Honestly? Save your money for now. I used to think I needed a bag full of fancy clip-on lenses to get that “pro” look, but it’s usually just a distraction. Think of it like a complex piece of software: you don’t need every plugin to run it effectively. Master your lighting and composition first. Once you feel like you’ve truly outgrown your phone’s natural capabilities, then—and only then—should you start looking at accessories.